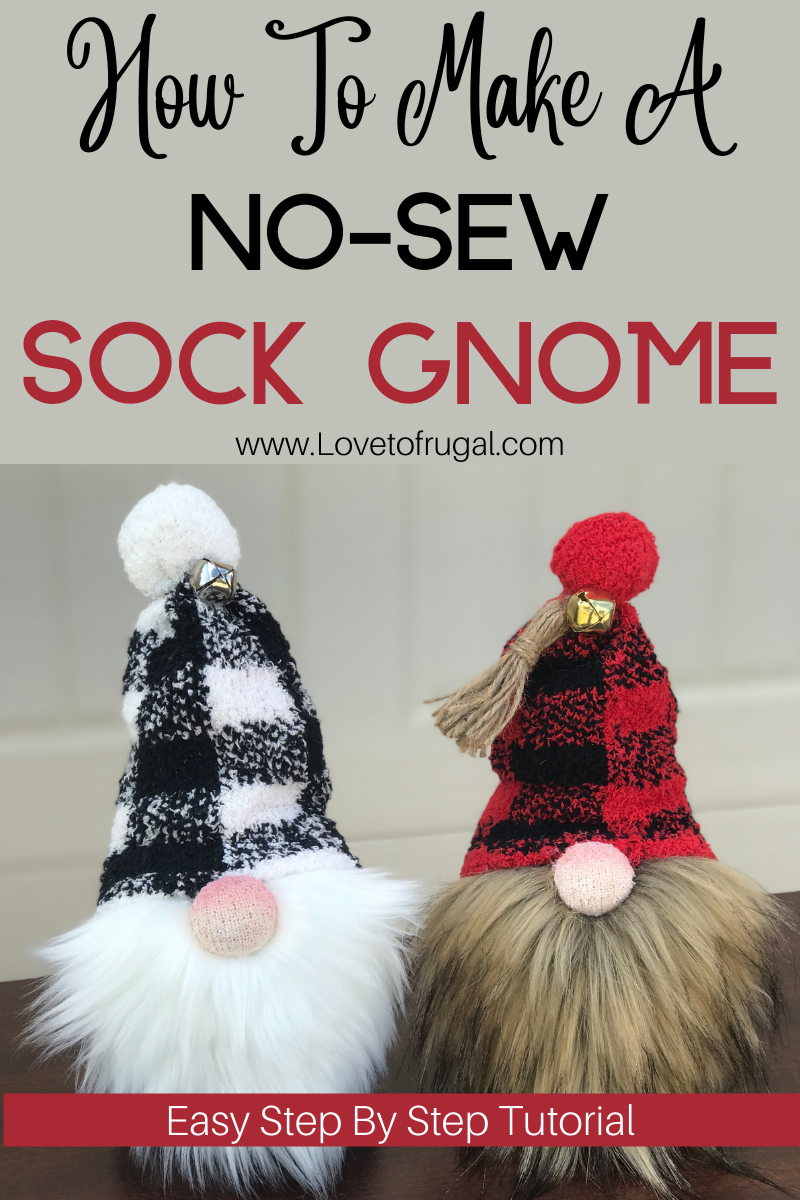
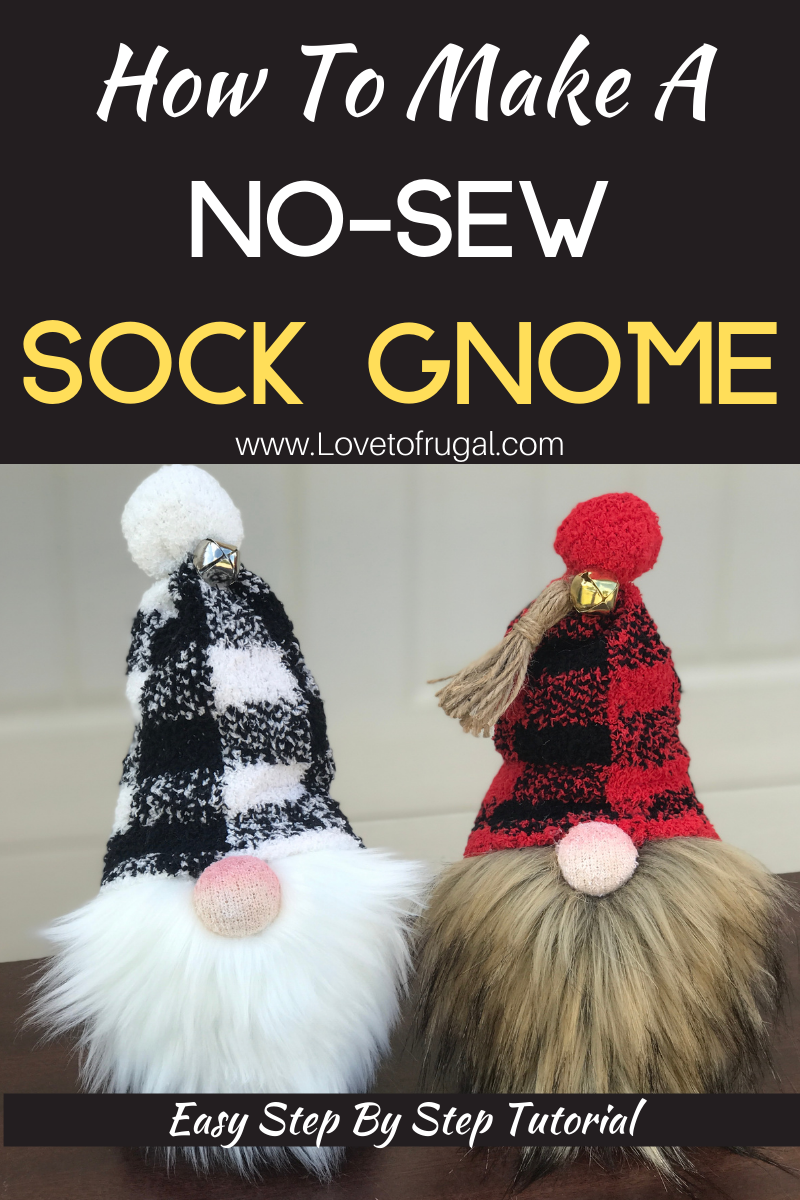
How To Make A No-Sew Sock Gnome – Easy Tutorial

If you’d like to learn how to make a no sew sock gnome, you’ve come to the right place, friend! Gnomes have gained popularity so much over the last few years and you see them pretty much, everywhere.
They make adorable decor accessories for just about any season and they are so much fun & easy to make! I get most of my supplies from…you guessed it!! Good ol’ Dollar Tree!
The Fall is the best time of year to grab socks because Dollar Tree puts out a large selection of the “Snuggadoo” socks in a variety of colors and patterns.
These adorable no sew sock gnomes are super cheap to make and they also make wonderful gifts! You can coordinate each one to someone’s liking so easily and pretty much everyone loves them!
So, if you’re ready to get started, let’s have some fun and learn how to make a no sew sock gnome!
*This post may contain affiliate links, which means that if you buy a suggested product, I will earn a small commission, at no extra cost to you. For more information, see my disclosure page.
How To Make A No Sew Sock Gnome!
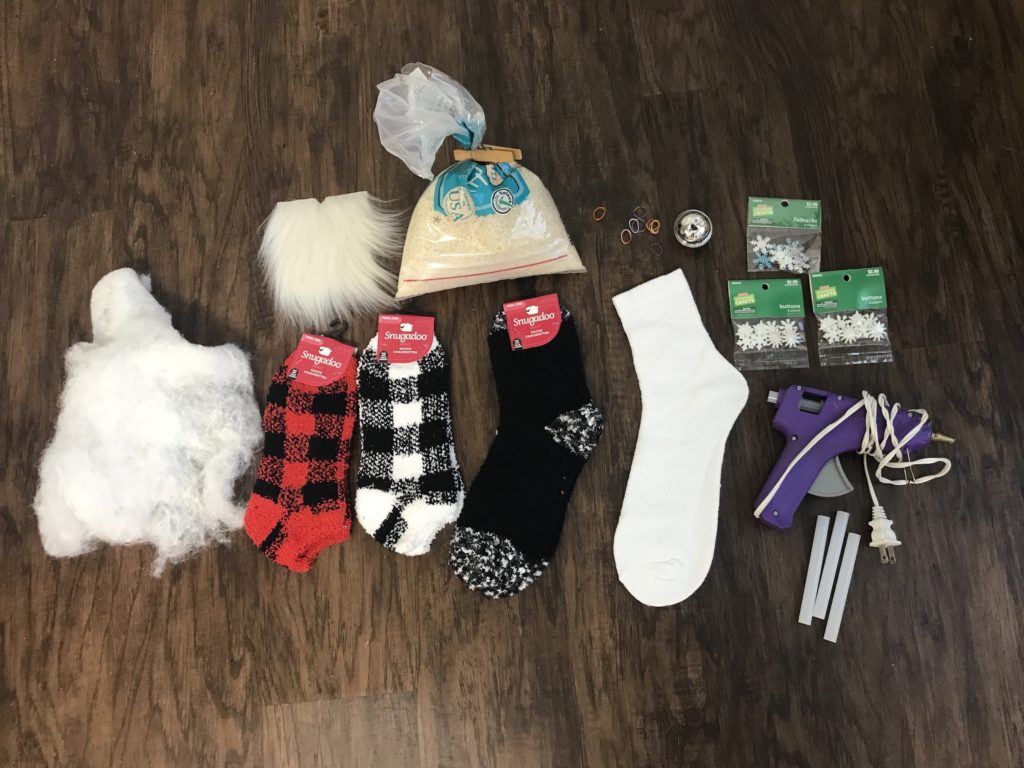
Here’s what your going to need to make your sock gnome:
Materials List
- 1 men’s or ladies crew or tube sock
- Pair of patterned socks of your choice. You can mix & match if desired. You need a sock for hat & a sock for the body.
- Faux fur for beard (5″x4″ square)
- 4 cups of rice (You can purchase a 16 oz bag at Dollar Tree, so you’ll need 2. To make several gnomes, purchase a large bag at your grocery store because it’ll be cheaper per oz.)
- Batting or stuffing from an old pillow.
- Rubberbands (I use ponytail bands)
- Jute, string or twine
- Glue gun & glue sticks
- Scissors
- Embellishments of your choice
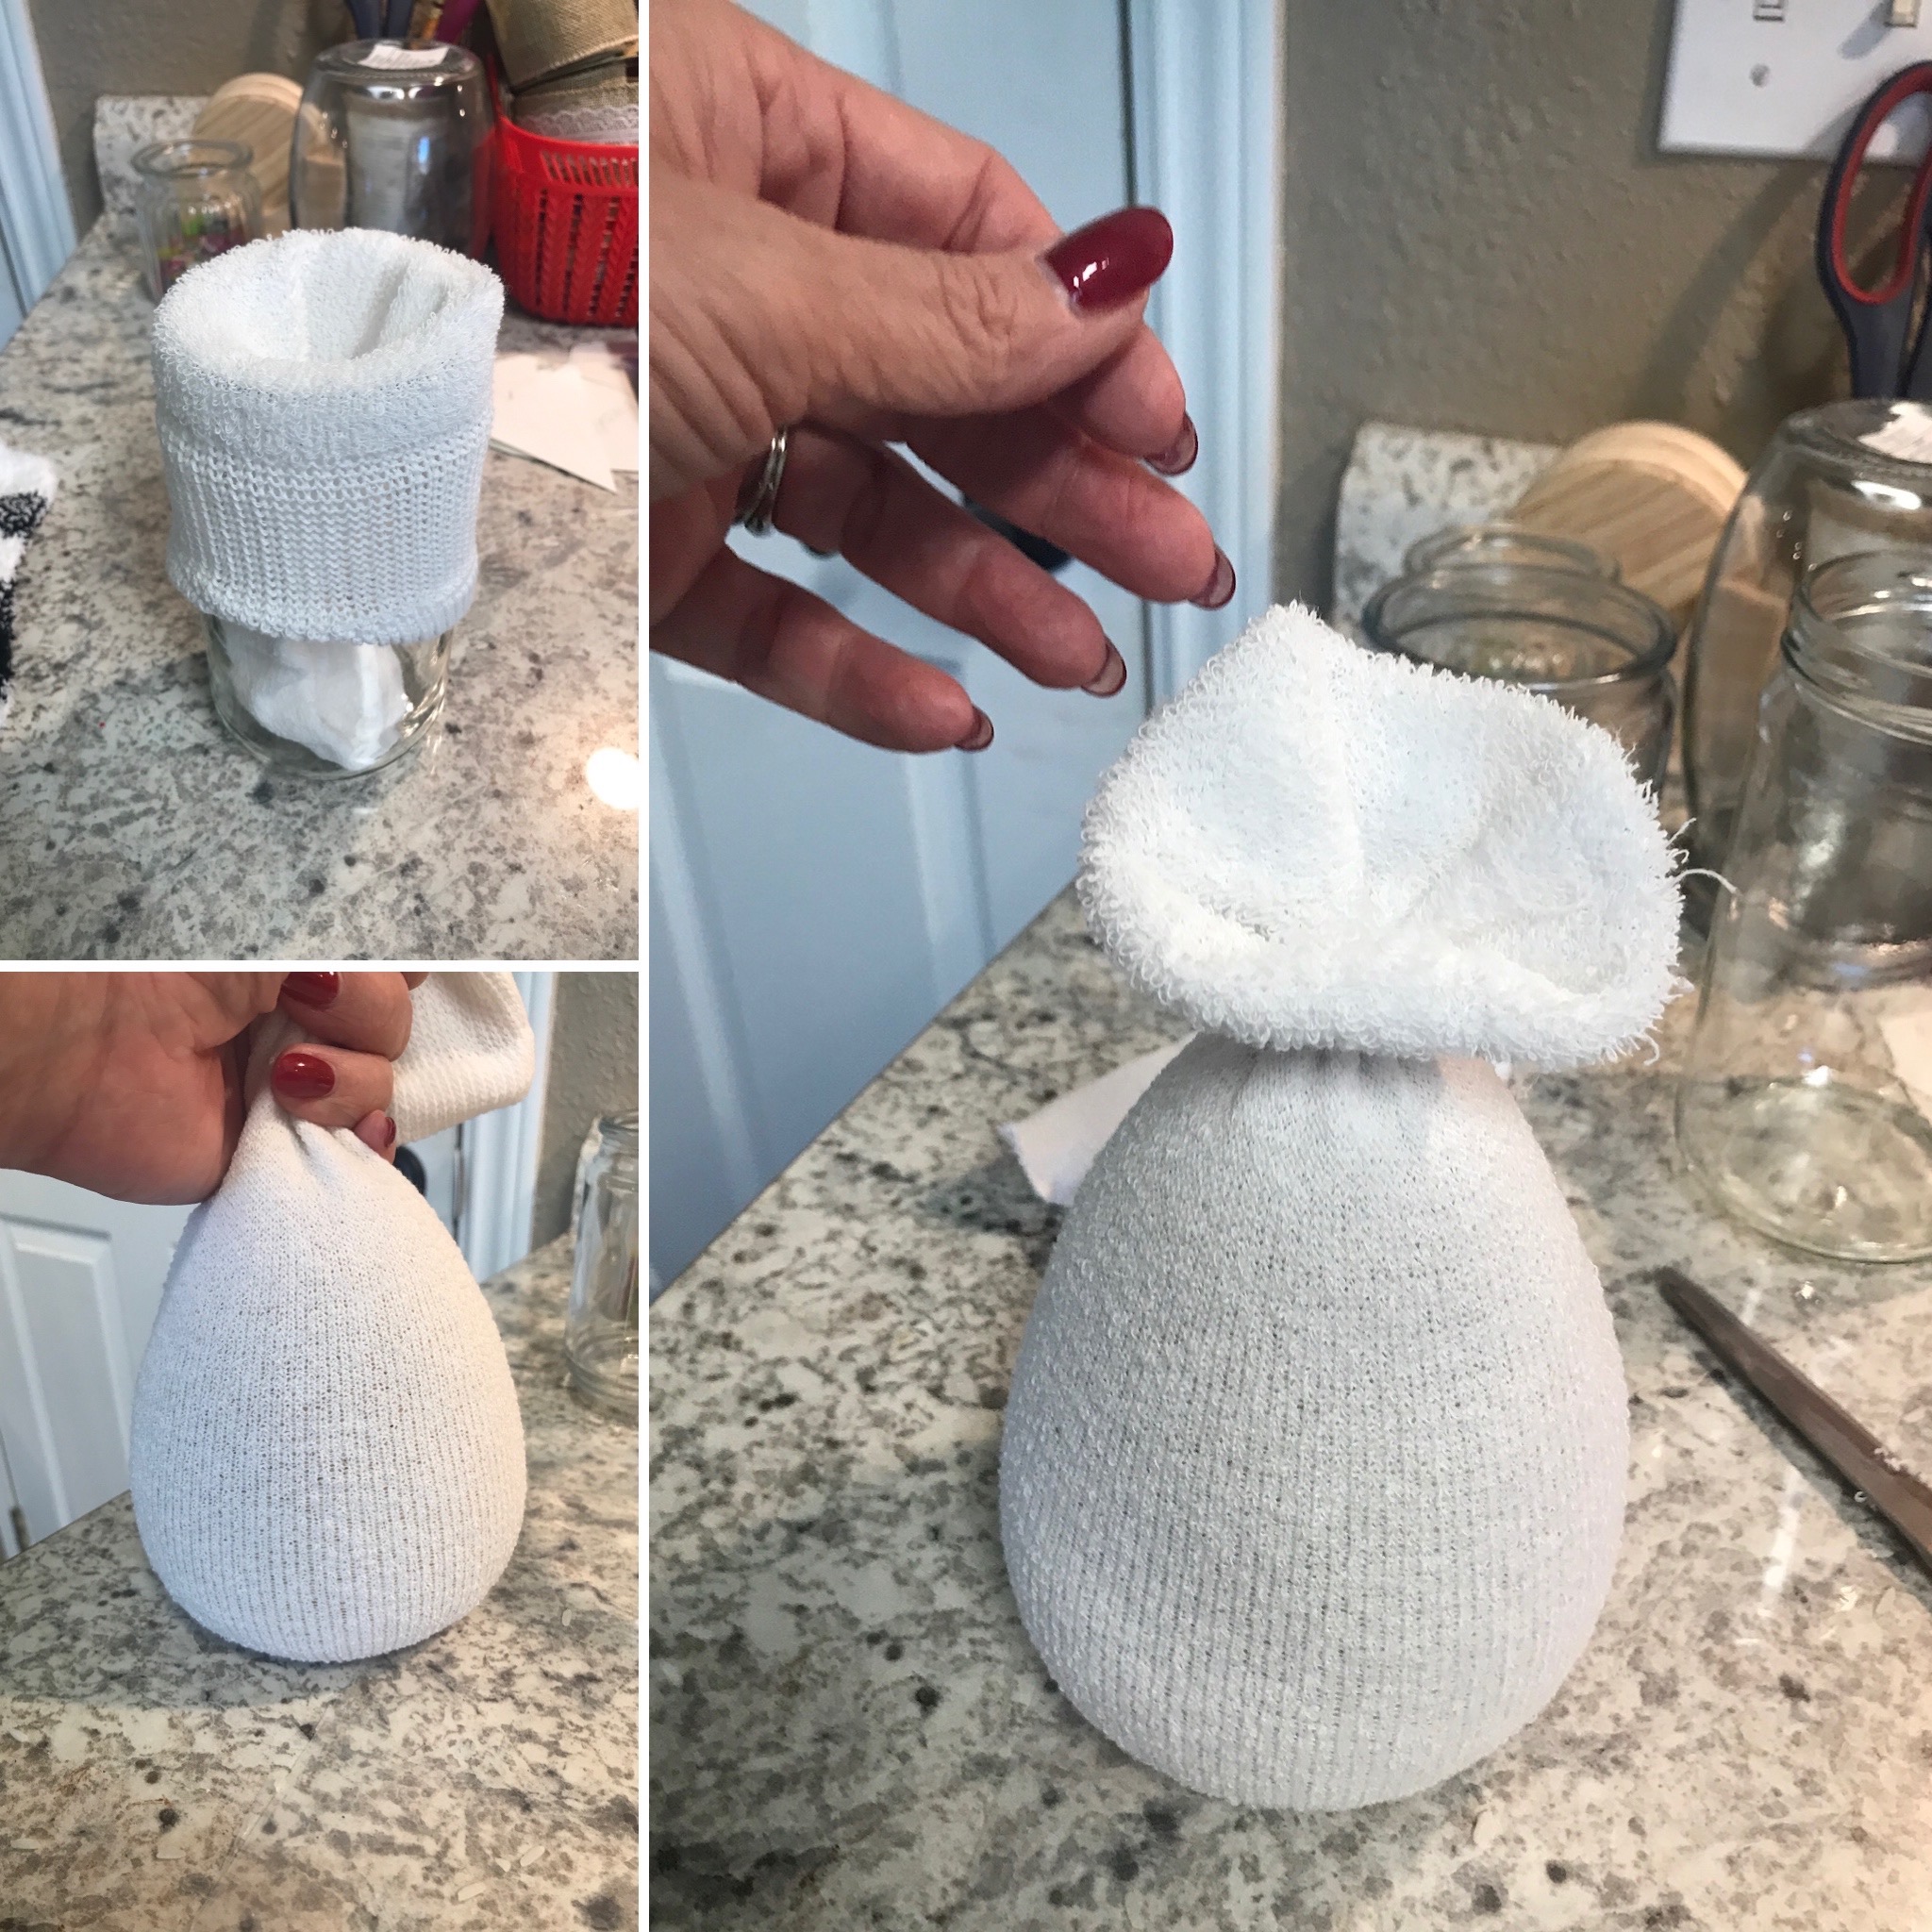
How to make the body
First, measure out 4 cups of uncooked rice. I make the sock easy to fill by putting it into a jar or glass, like the first pic, above. This will open up the mouth of the sock for easier pouring.
Next, if you need to make room in the sock to get all of the rice in, pull it up, gripping the “neck” of the sock and bounce it a couple of times to make the rice settle down into the sock.
Once you have the body filled, take one of the small rubber bands and secure the opening closed like in the pic above. For added reinforcement, take some twine or jute string and tie it tightly around the rubber band. Over time, the rubber band will disintegrate and you don’t want your gnome to ever fall apart.
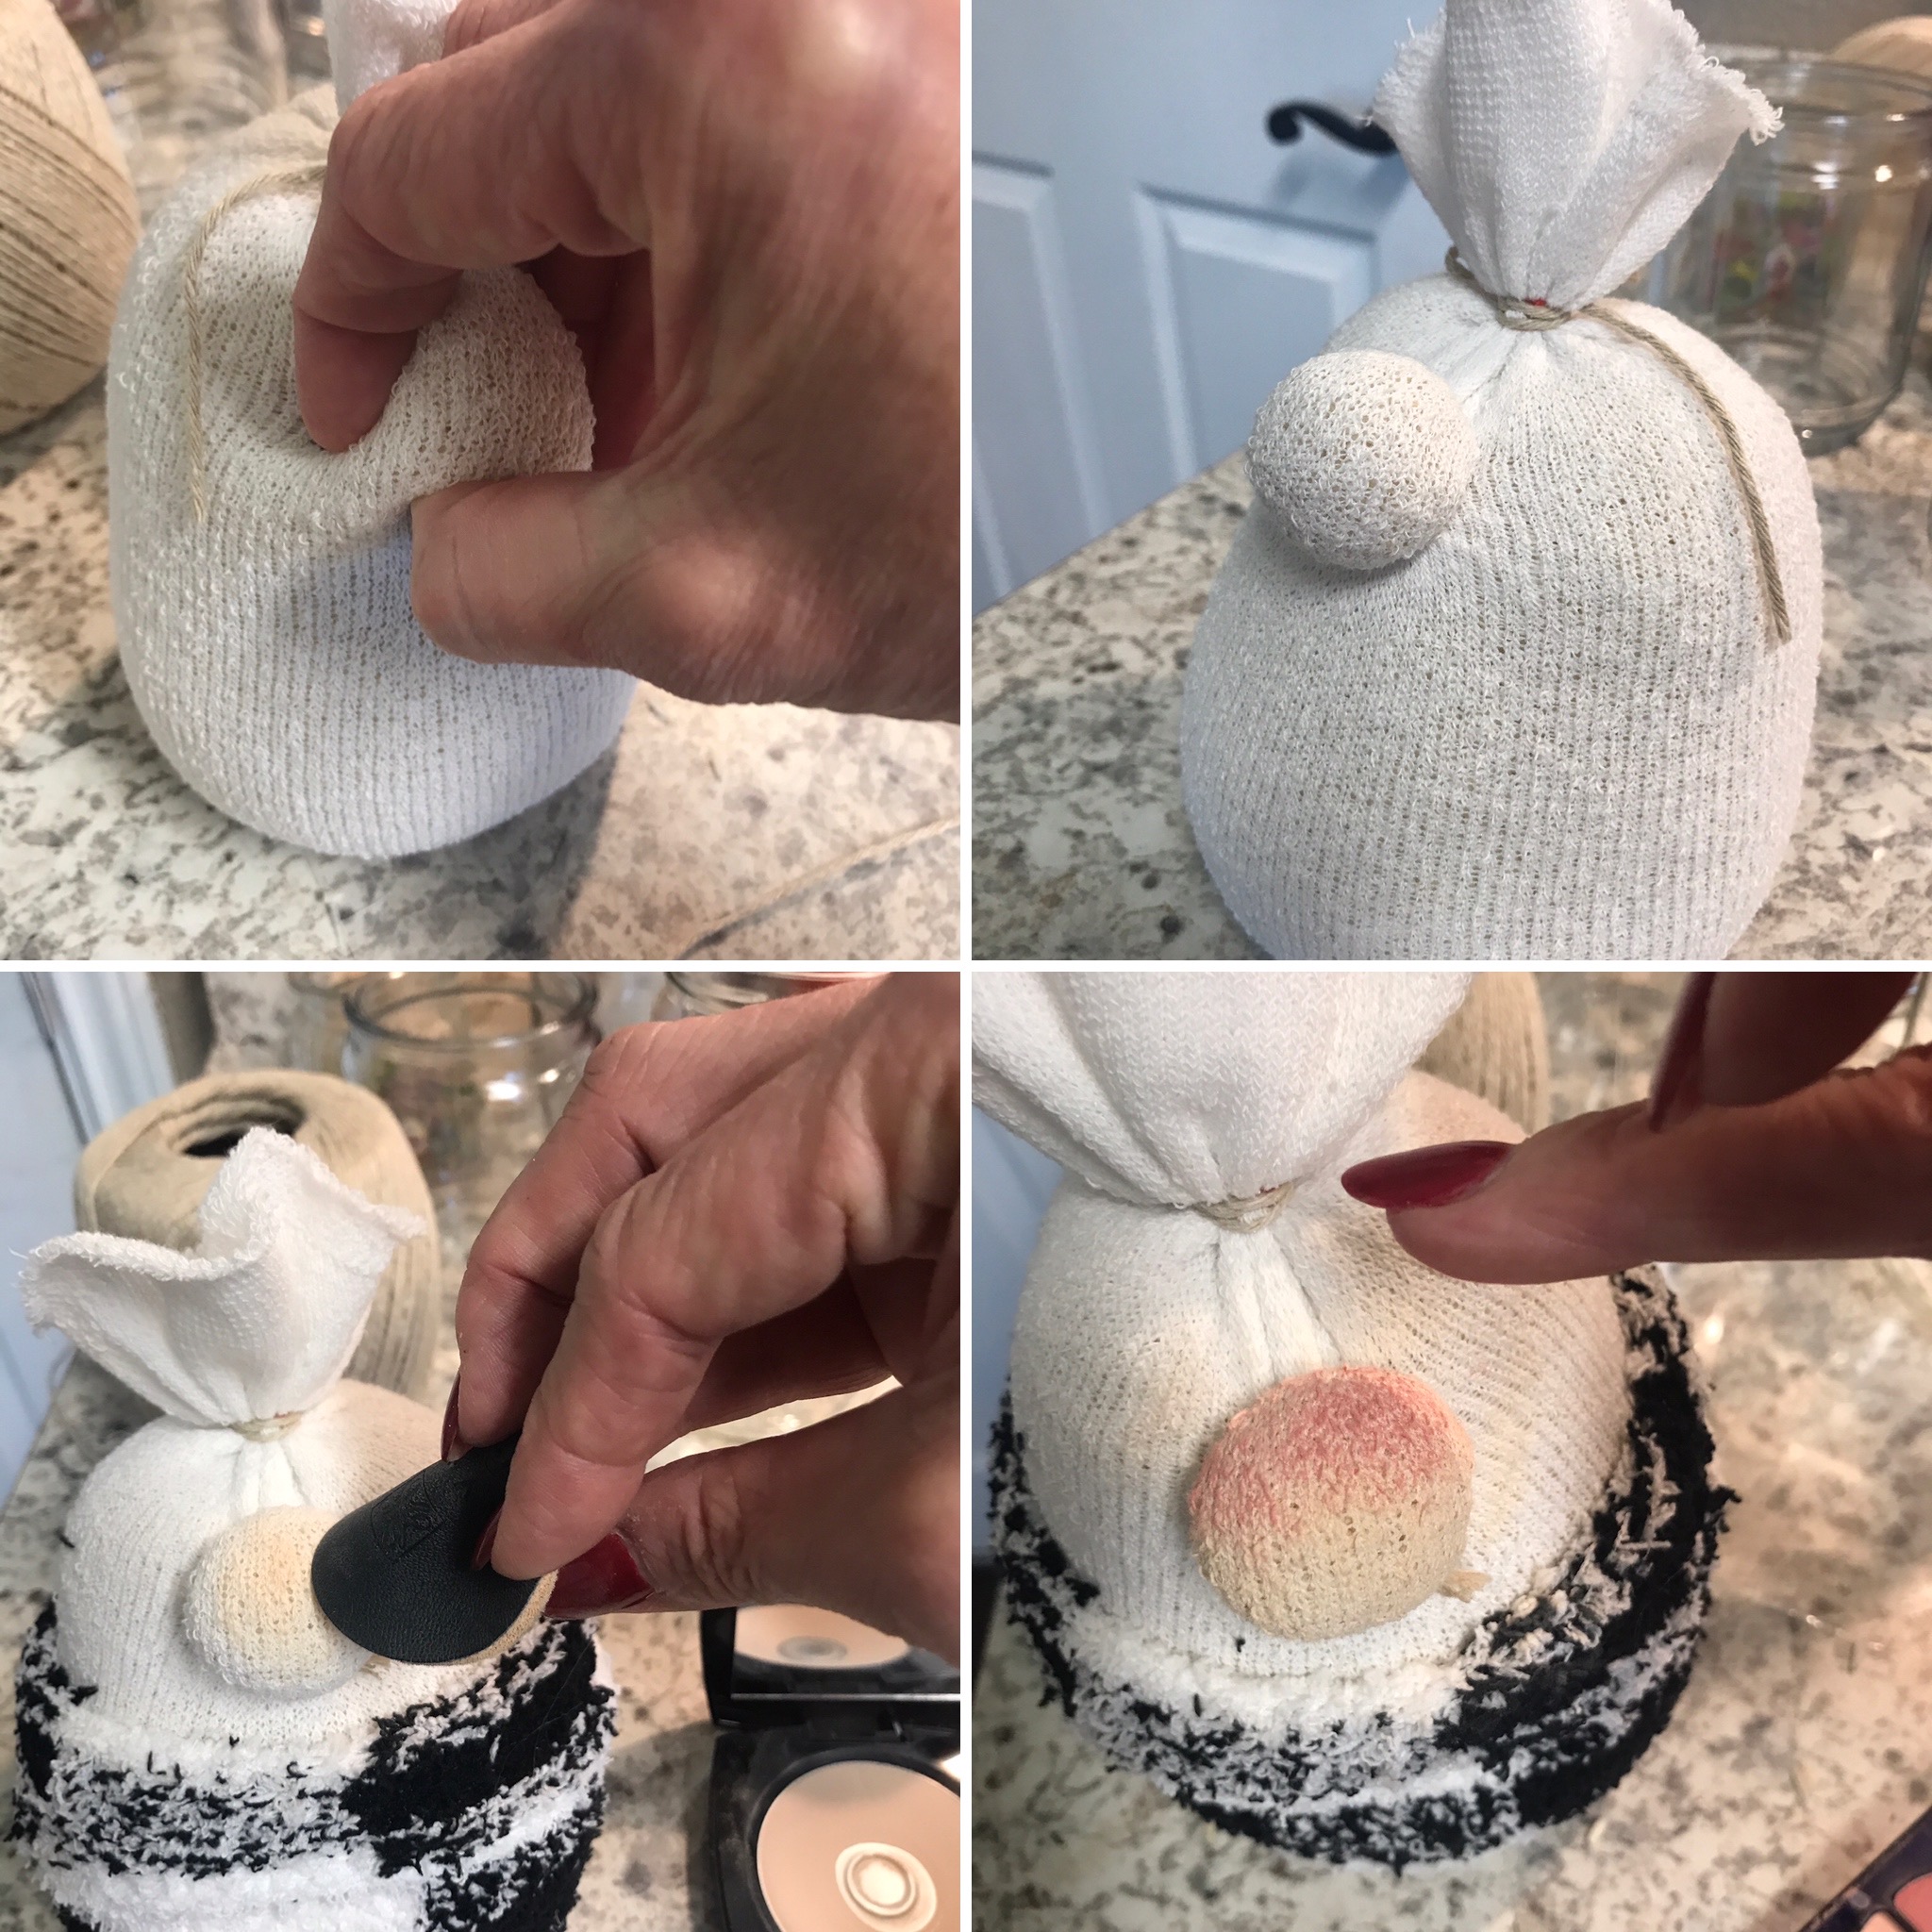
How to make the nose
You can make the nose as large or as small as you like. Personally, I prefer large noses on the gnomes, so I try and grab as much rice as possible. As you can see from the first pic, grab a hunk of rice (through the sock) with one hand and use the other hand to wrap the rubber band around the “nose ball” 2-3 times. Again, I take a 7″-8″ piece of twine or jute and tie it off.
To give the nose a fleshy color, I use face powder and blush. Take your puff and rub it all over the nose until you achieve your desired colored, then, take your finger (or a blush brush) and dip it into the blush and then rub mainly on the top of the nose. I work it in pretty well and this seems to permanently color the nose.
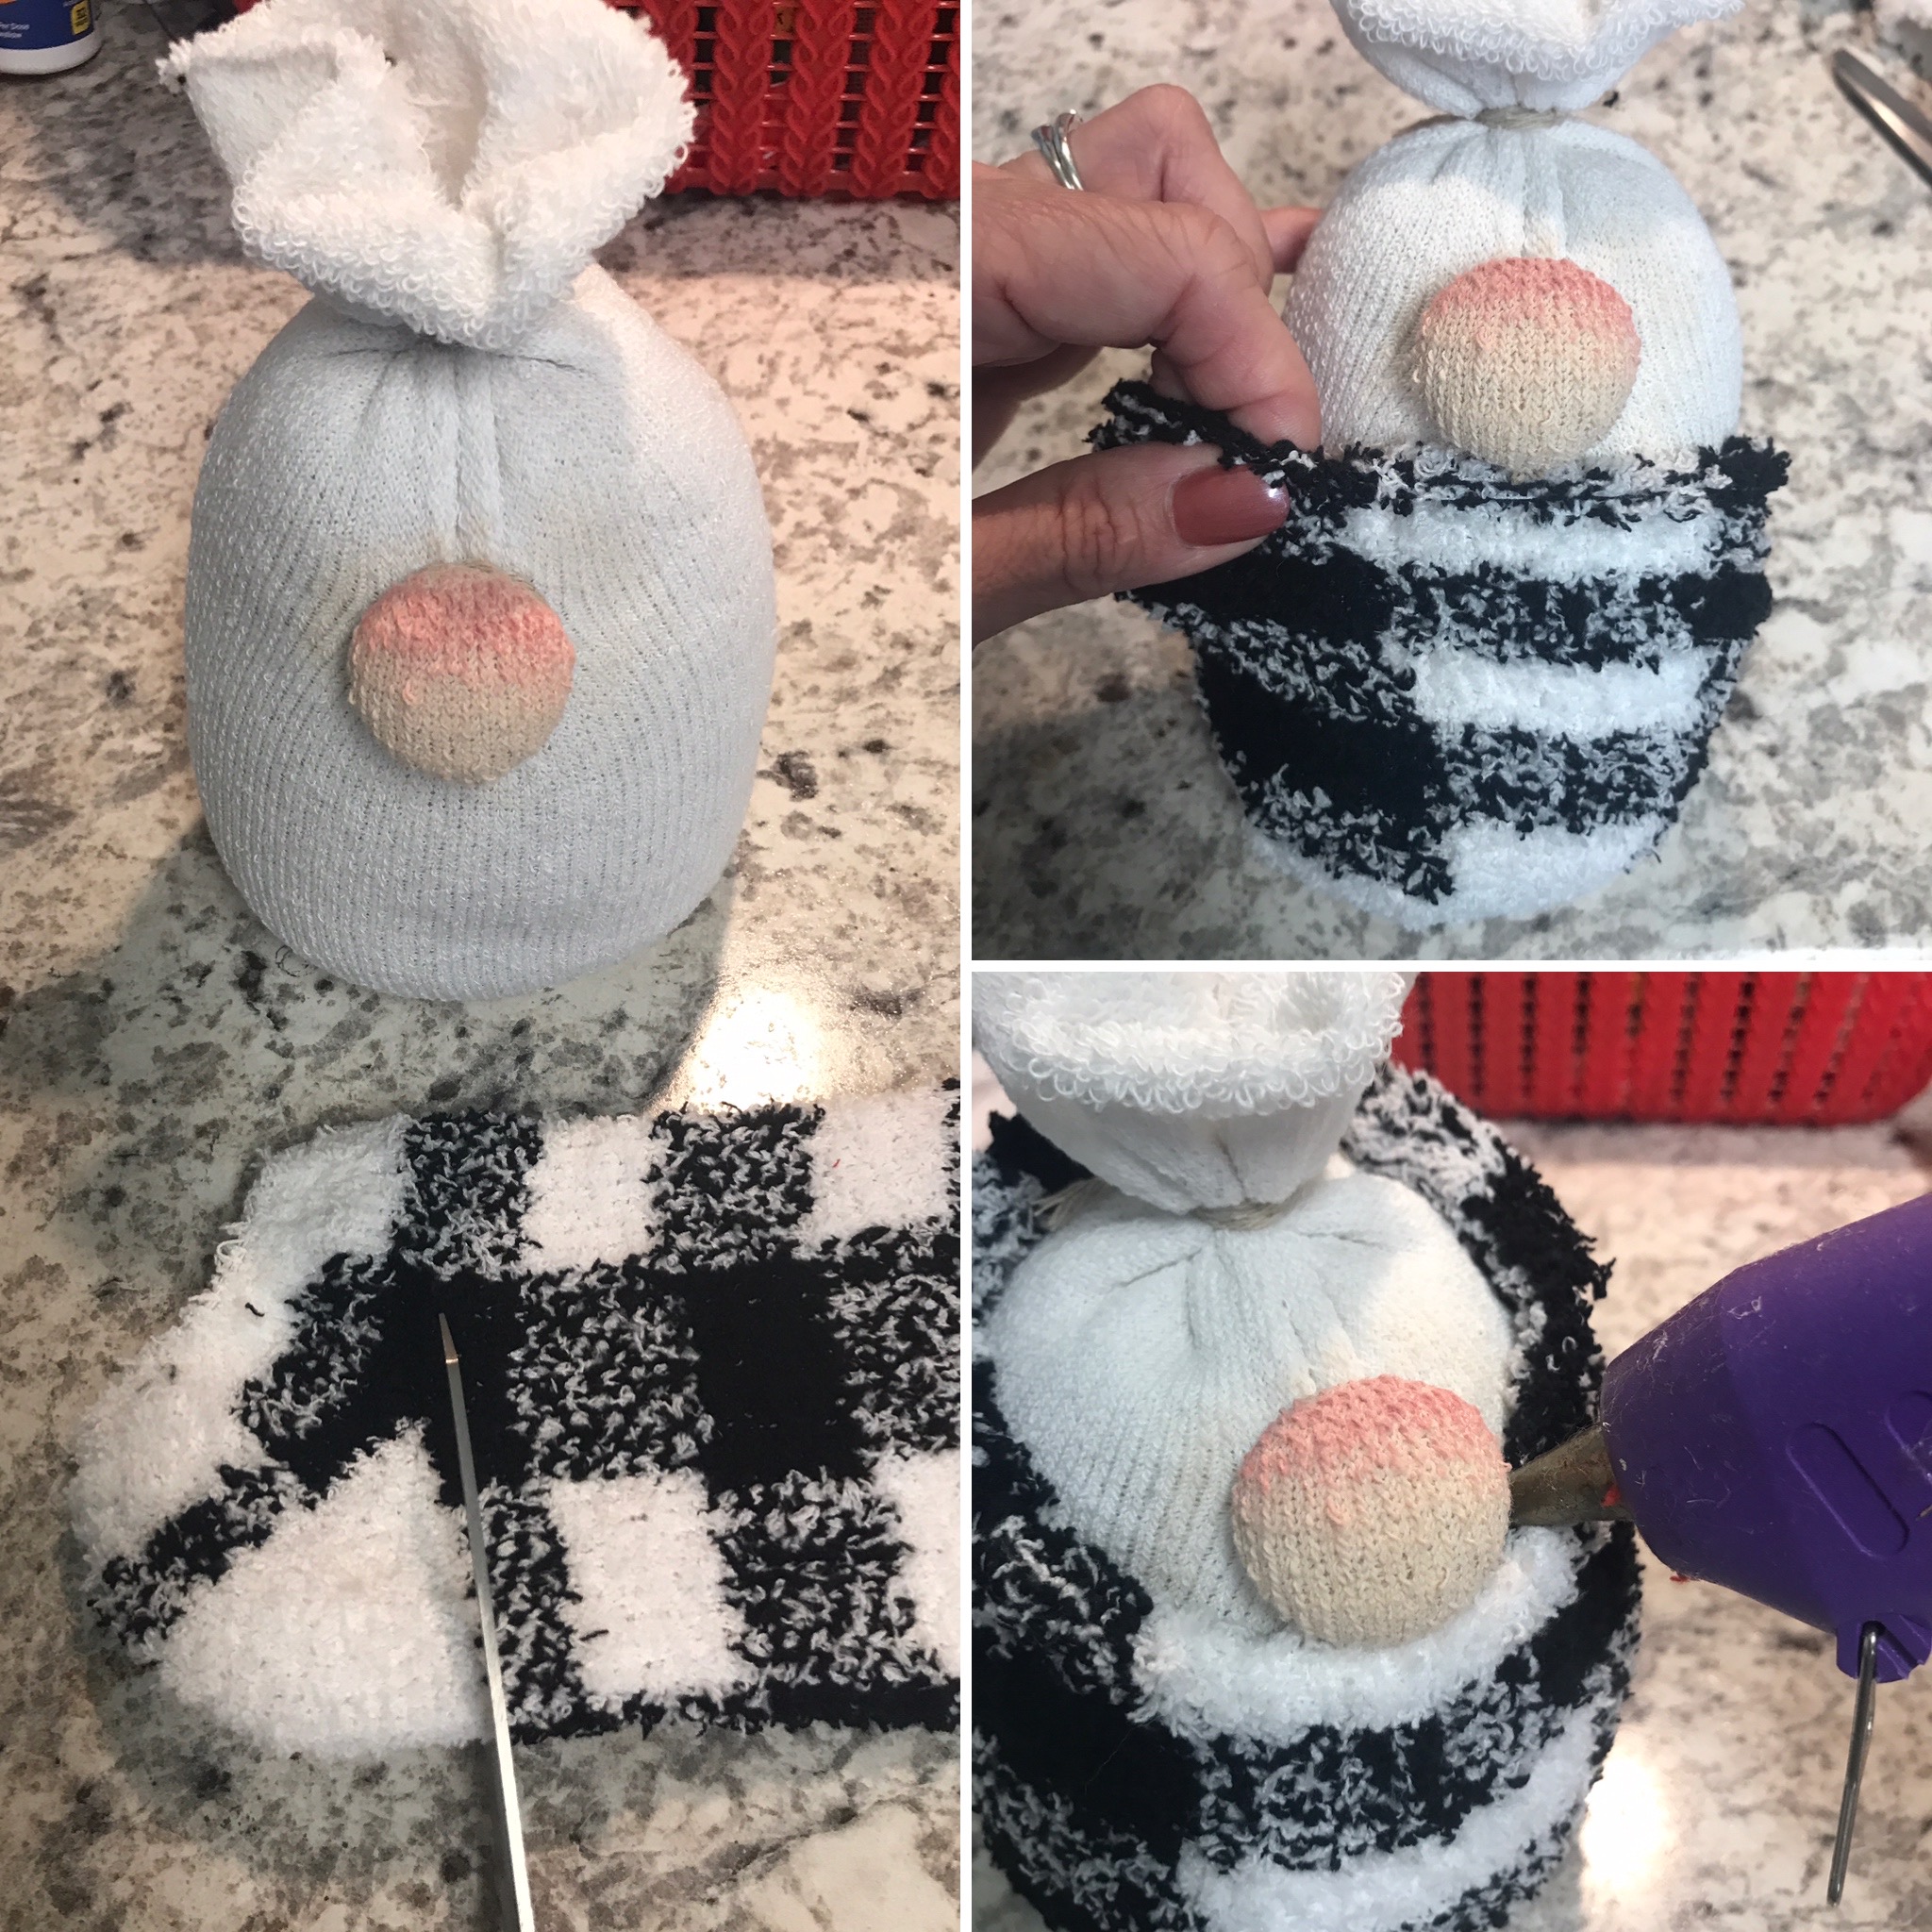
How to dress your gnome
Take one of your fuzzy socks and cut it right below or at the heel (1st pic). Next, slip the body into the sock. If you still have some heel on the sock, make sure to put it in the back.
TIP – The fuzzy socks tend to shed from the inside. To keep the shedding from getting on the outside of the gnome, tuck the cut side to the inside and hot glue it to the body all the way around.
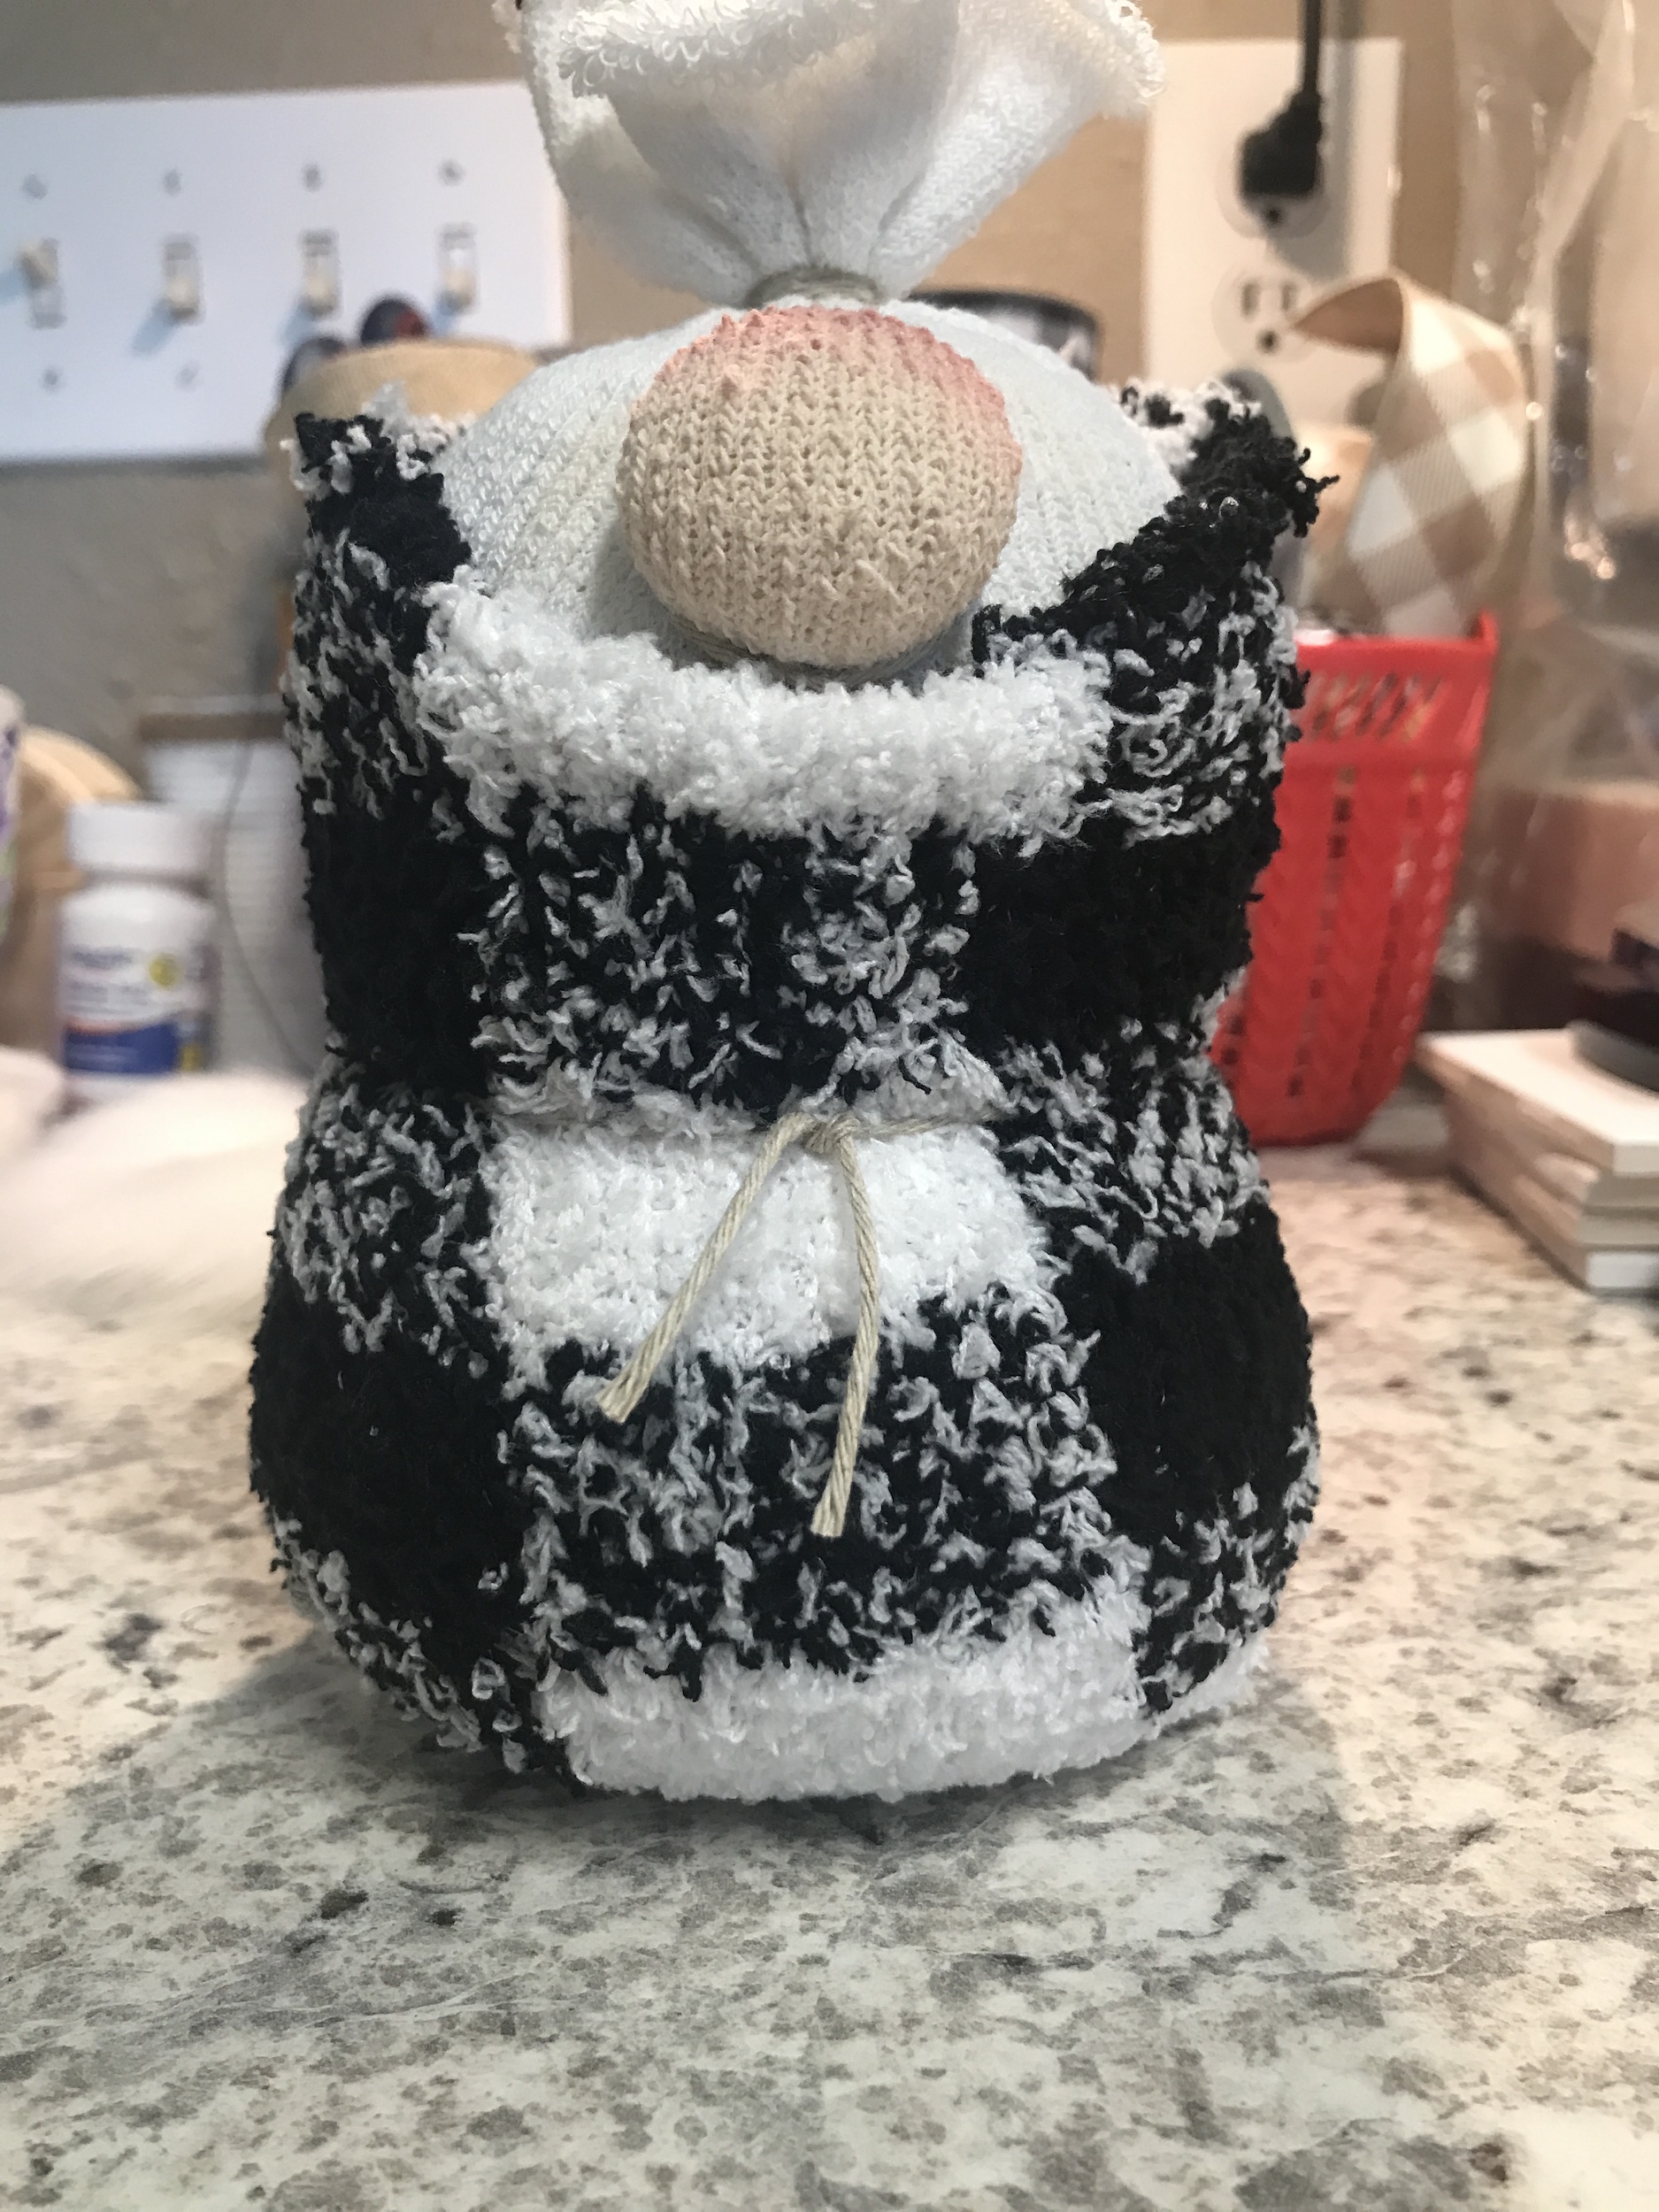
If you’d like to give your gnome’s body a little more stability, tie some twine, jute, or ribbon around his waist, like the above pic, but that’s totally optional. If you prefer a short, chunkier body, you can leave this step out.
How to make the beard
The beard totally makes the gnome. I buy the faux fur from Hobby Lobby’s fabric department, as they a a few kinds to choose from. I buy it by the yard, which if purchasing a whole yard, it is a little pricey, but I usually buy 1/4 yard and I’m able to get several beards out of one piece.
If you prefer not to buy that much, they do sell a 9″x12″ piece of fur for $3.49. This would be enough for 3-4 beards, easily.
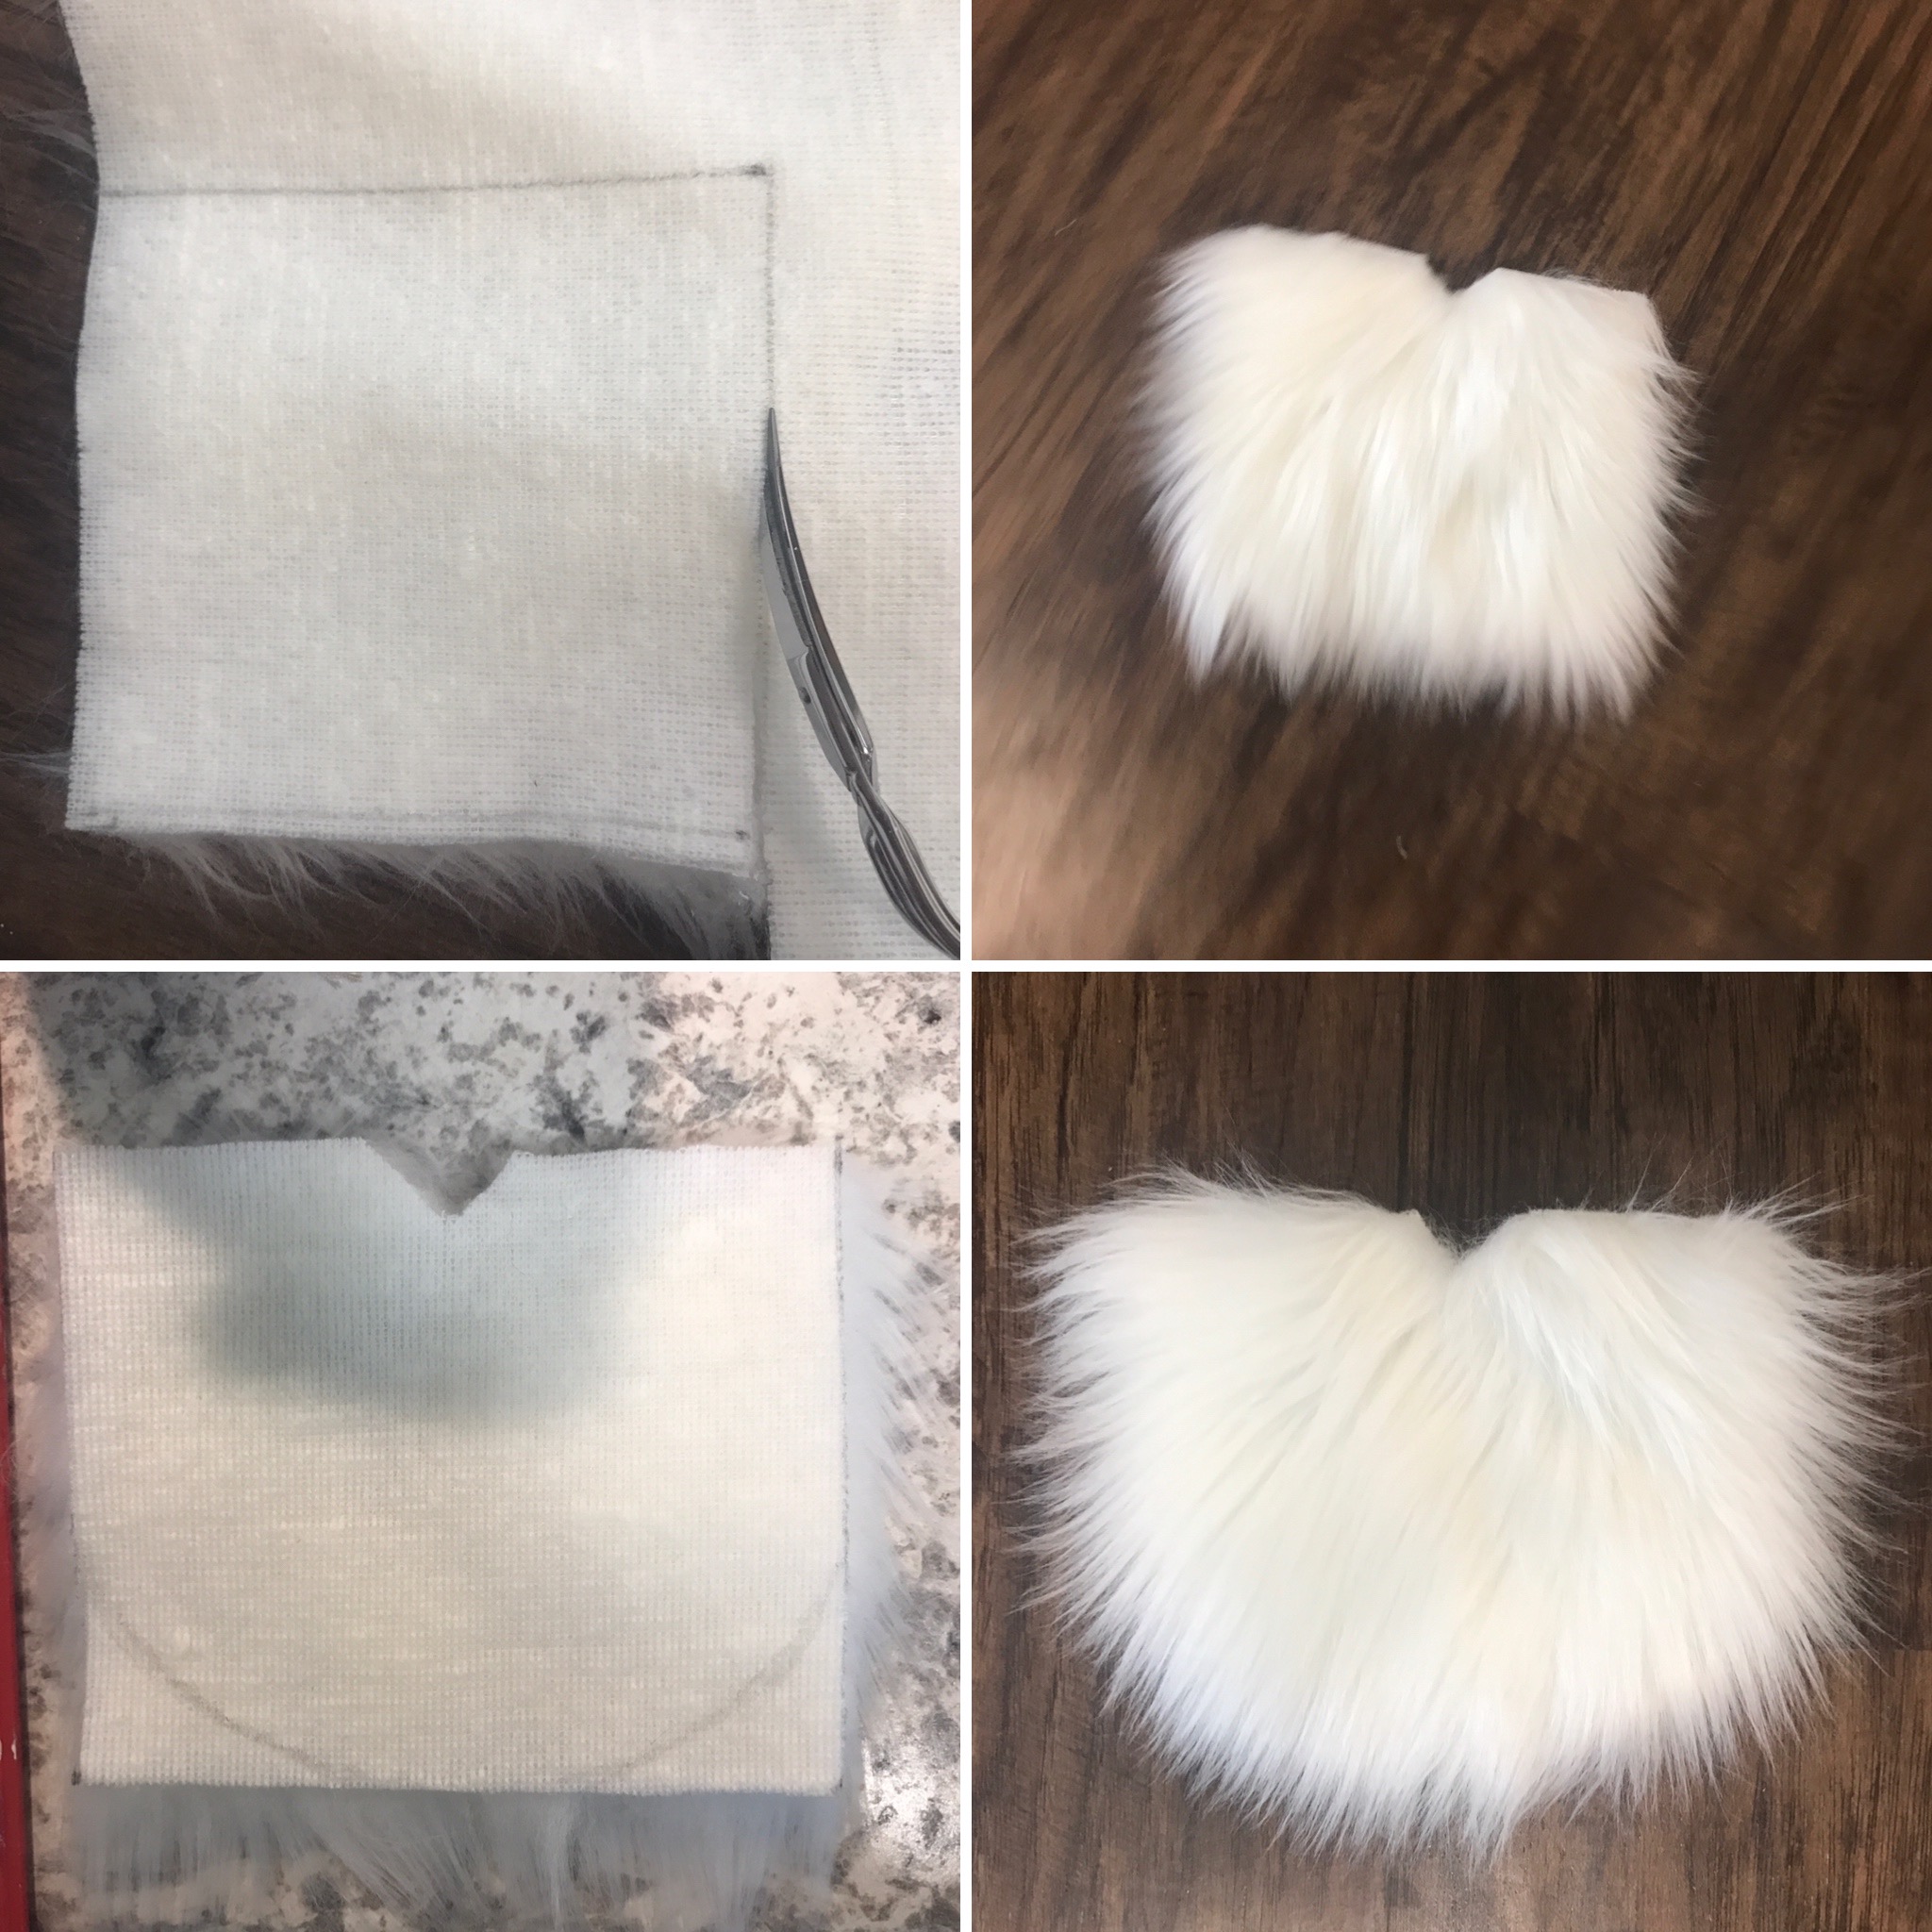
To make the beard, your will need to cut a 5″x4″ square.
Now, here’s the trick to cutting the fur…
First, you need to turn it over so the fur is facing down and draw a square with a pencil or chalk marker. DO NOT cut through the fur, itself. You will need to cut the piece of craft fur from the fabric side, just through the fabric and not all the way through the fur/hair side. Cutting through both layers trims off the bottom of the beard hair and will give him a “blunt” cut. You don’t want this. The top two pics, above, illustrate what I’m referring to.
TIP – I use a very sharp, pointed pair of embroidery scissors, but you can use a regular pair of scissors if you’re very careful not to cut the fur, itself. You could also use a pair of manicure scissors or an X-Acto Craft Knife.
Lastly, cut a notch/triangle in the center of the beard for the nose, making sure that the the fur is flowing downward. You can then leave the beard as a square or cut, as I did, the bottom corners into a rounded v or u shape.
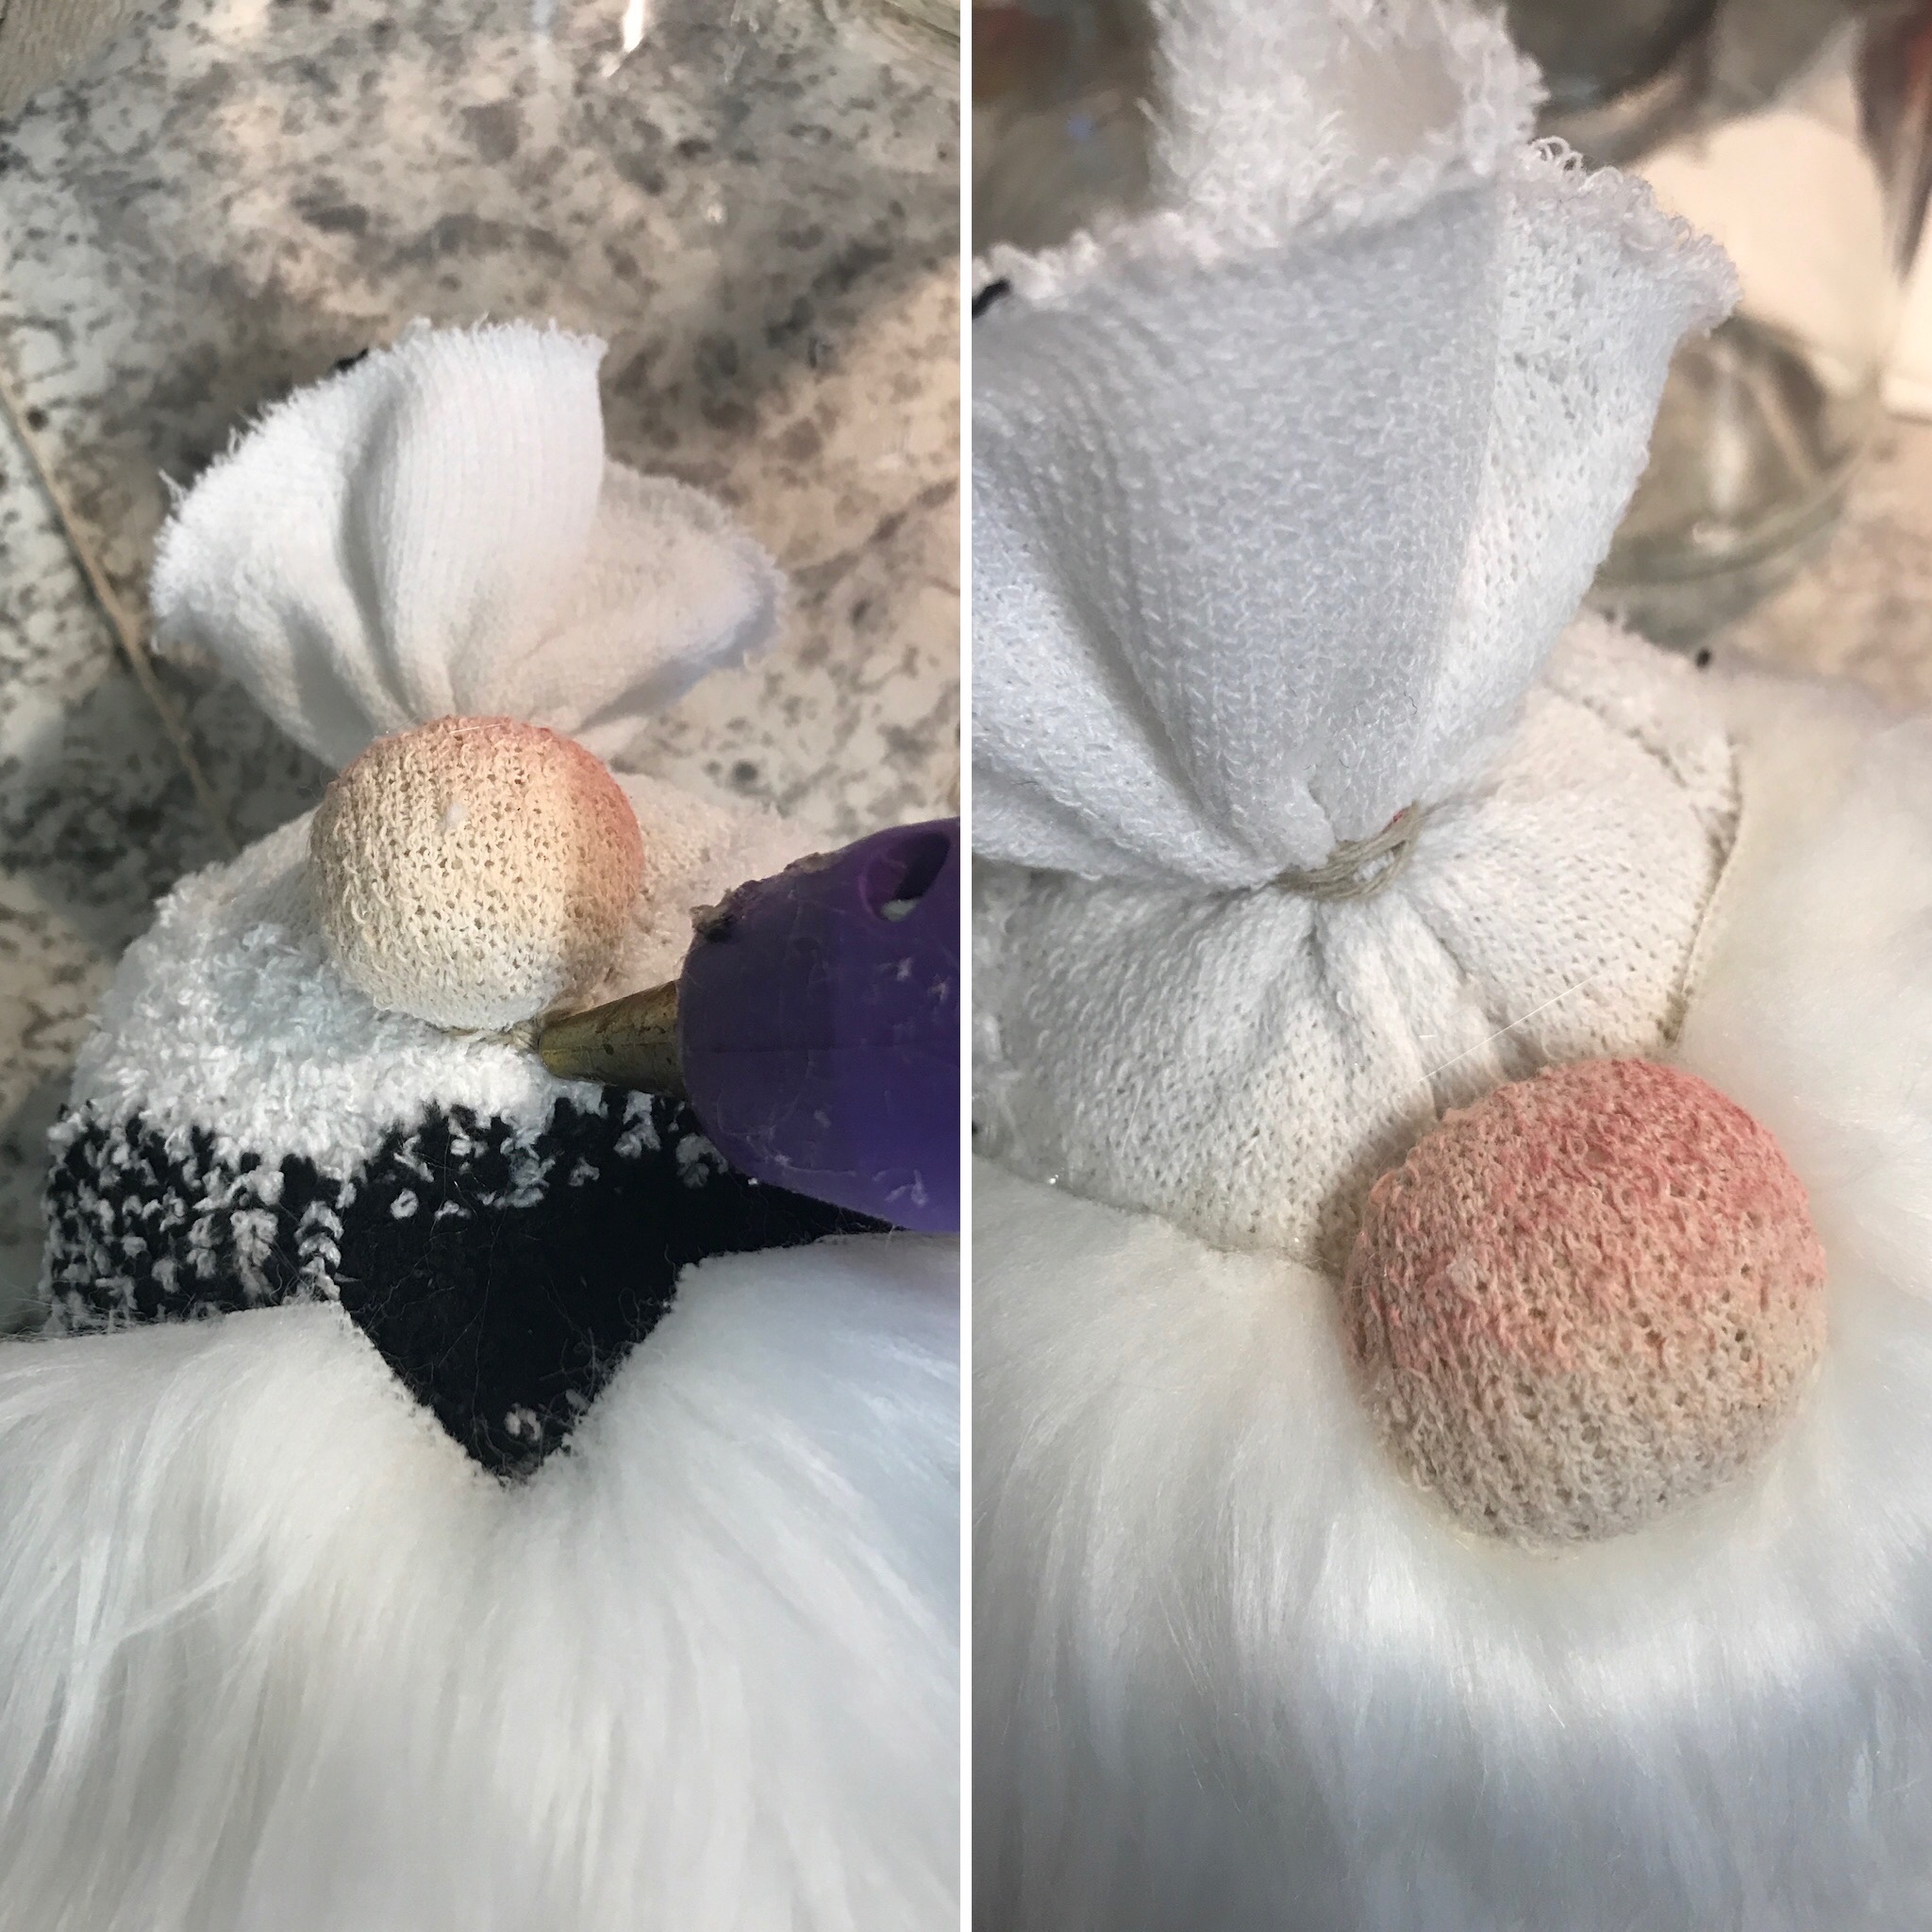
Once you have the gnome “dressed” and the beard ready to go, you can begin gluing it to the body. First, start by putting a bead of glue under the nose or on the back side of the beard on the V where you notched it.
Next, gently pull the fur up and taught and glue to the body.
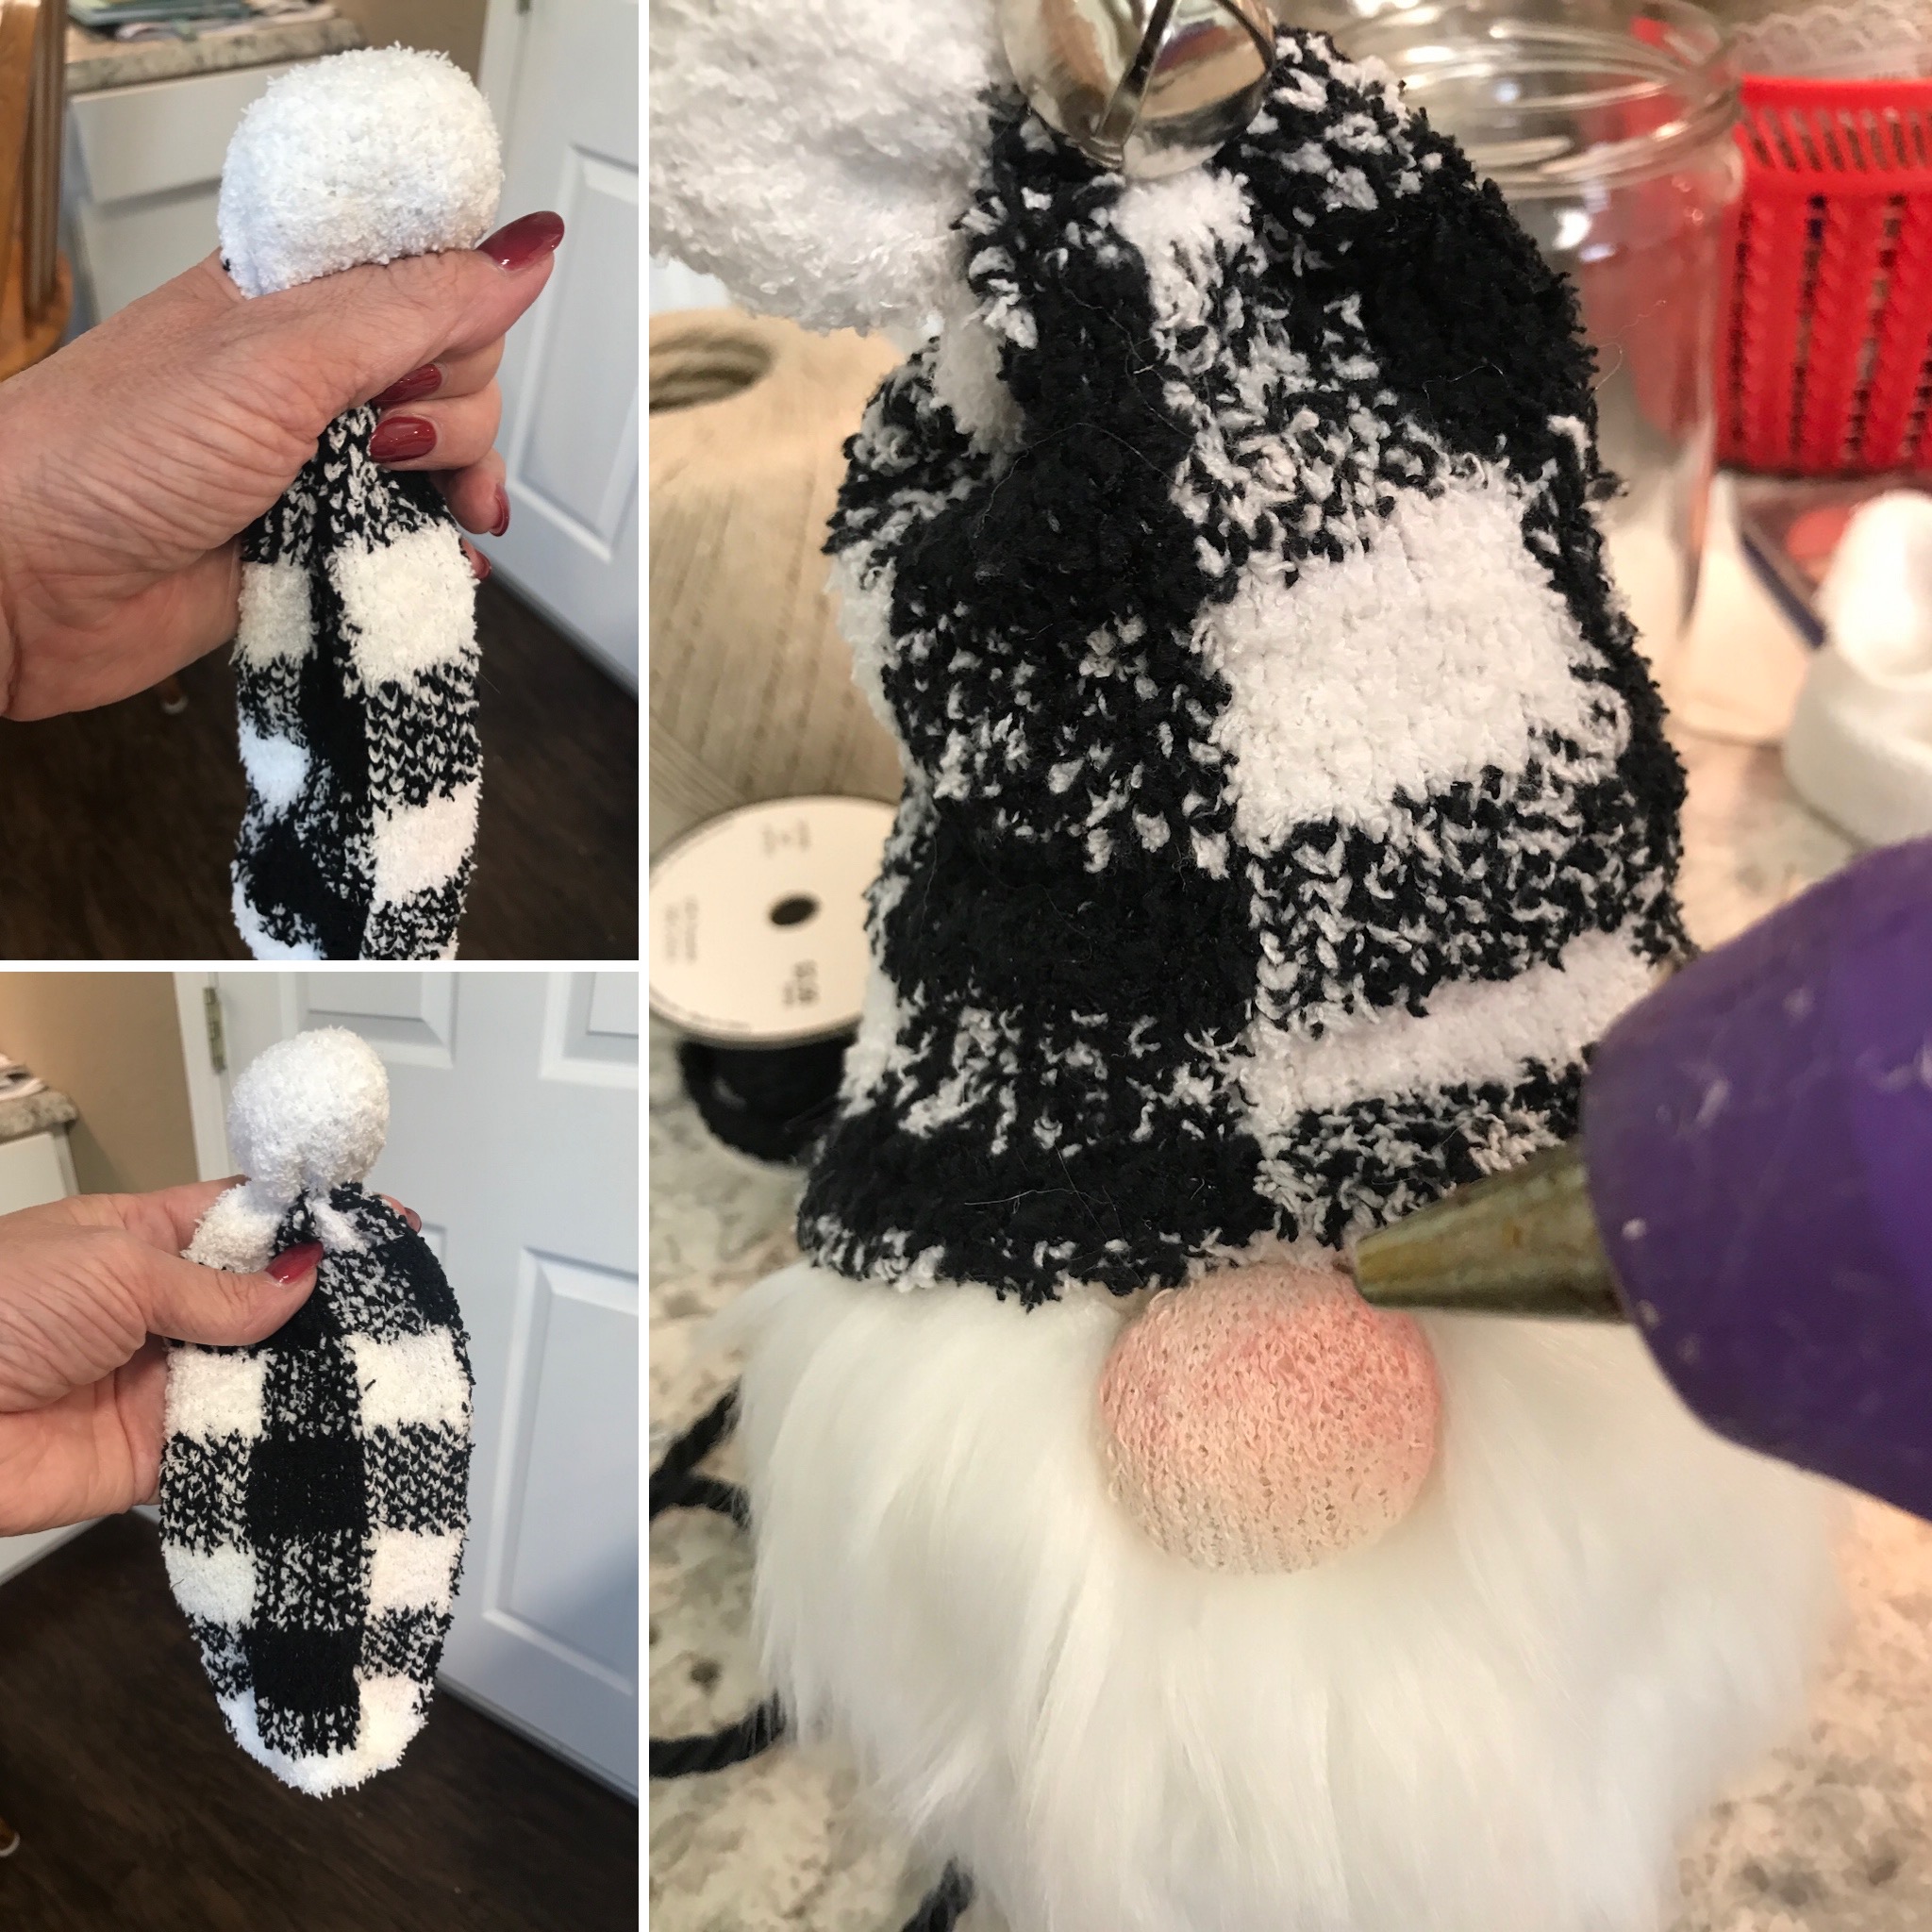
How to make the hat
Take some Poly Fil Fiber Fill Batting or pillow stuffing and push it into the other sock…all the way to the toe. This will make your pom pom. Once you get it to the desired size, take a rubber band (hair band) and secure it. You’re going to want to tie some twine or jute around this as well. You can also use baker’s twine or ribbon to dress it up. I used twine to attach a bell to the one in the pic.
Next, take more of the batting/stuffing and stuff your hat, but this is totally optional. If you’d like your hat to be floppy, use less batting. If you’d like your hat to stand up straight, use more.
Once you have it filled to your liking, place the hat on top of your gnome, making sure to have the heel of the sock to the backside and centered on the body.
Begin gluing by putting a couple of drops of hot glue on the top of the nose and attaching the sock. Do not put glue on the faux fur. It will be a big mess. Next, place a drop of hot glue every inch or so all the way around the hat, but avoiding the fur.
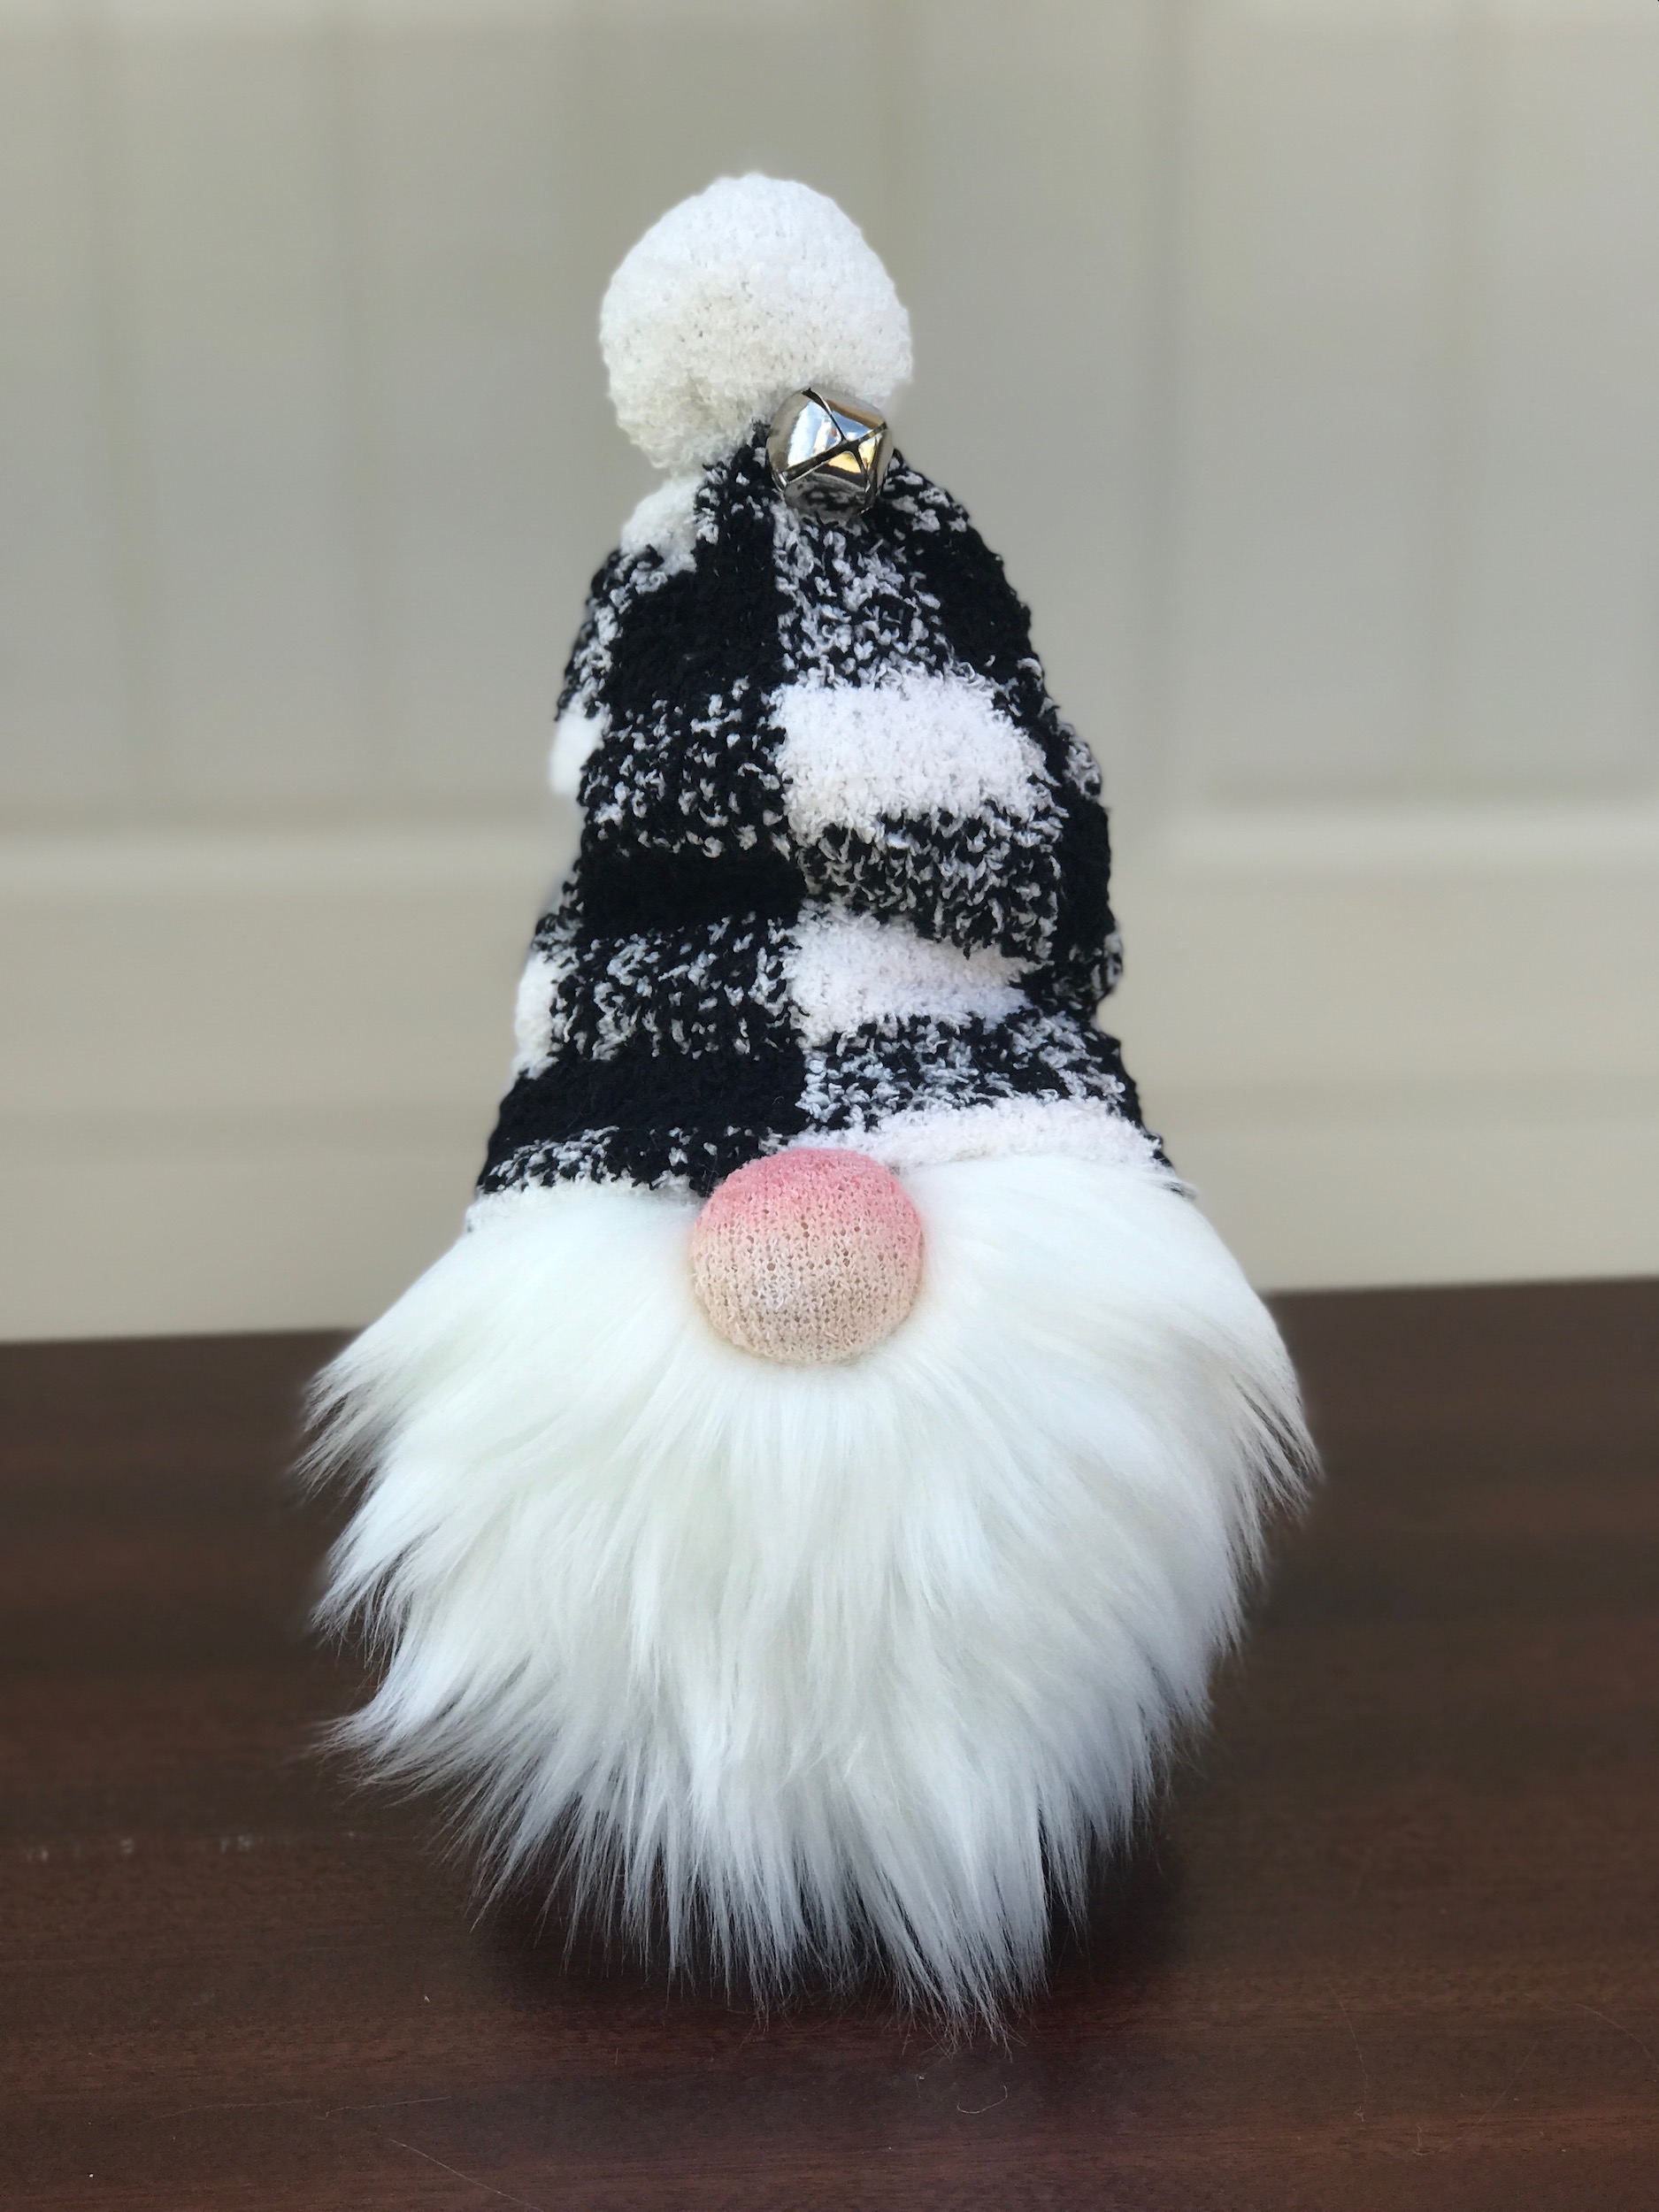
Now you know how to make a no sew sock gnome!
You can stop here or keep going and add embellishments, like buttons, bells, ribbons, bows, snowflakes or whatever suits your fancy! When you’re at Dollar Tree, be sure to check out the Crafters Square section and also the seasonal crafting items for tons of embellishment ideas!
You can get so creative with this fun DIY and make sock gnome for every holiday and season! What I love about these little guys are they make great gifts that can be personalized to each individualized tastes! They are quick & easy and extremely inexpensive to make if you purchase most of your supplies at Dollar Tree. You can even get the rice there!
TIP – If you can’t get to Hobby Lobby for the faux fur, you could also use the car shammies at the Dollar Tree for a cute, shorter style beard. I have even seen people use mop heads, but it’s certainly a matter of personal preference.
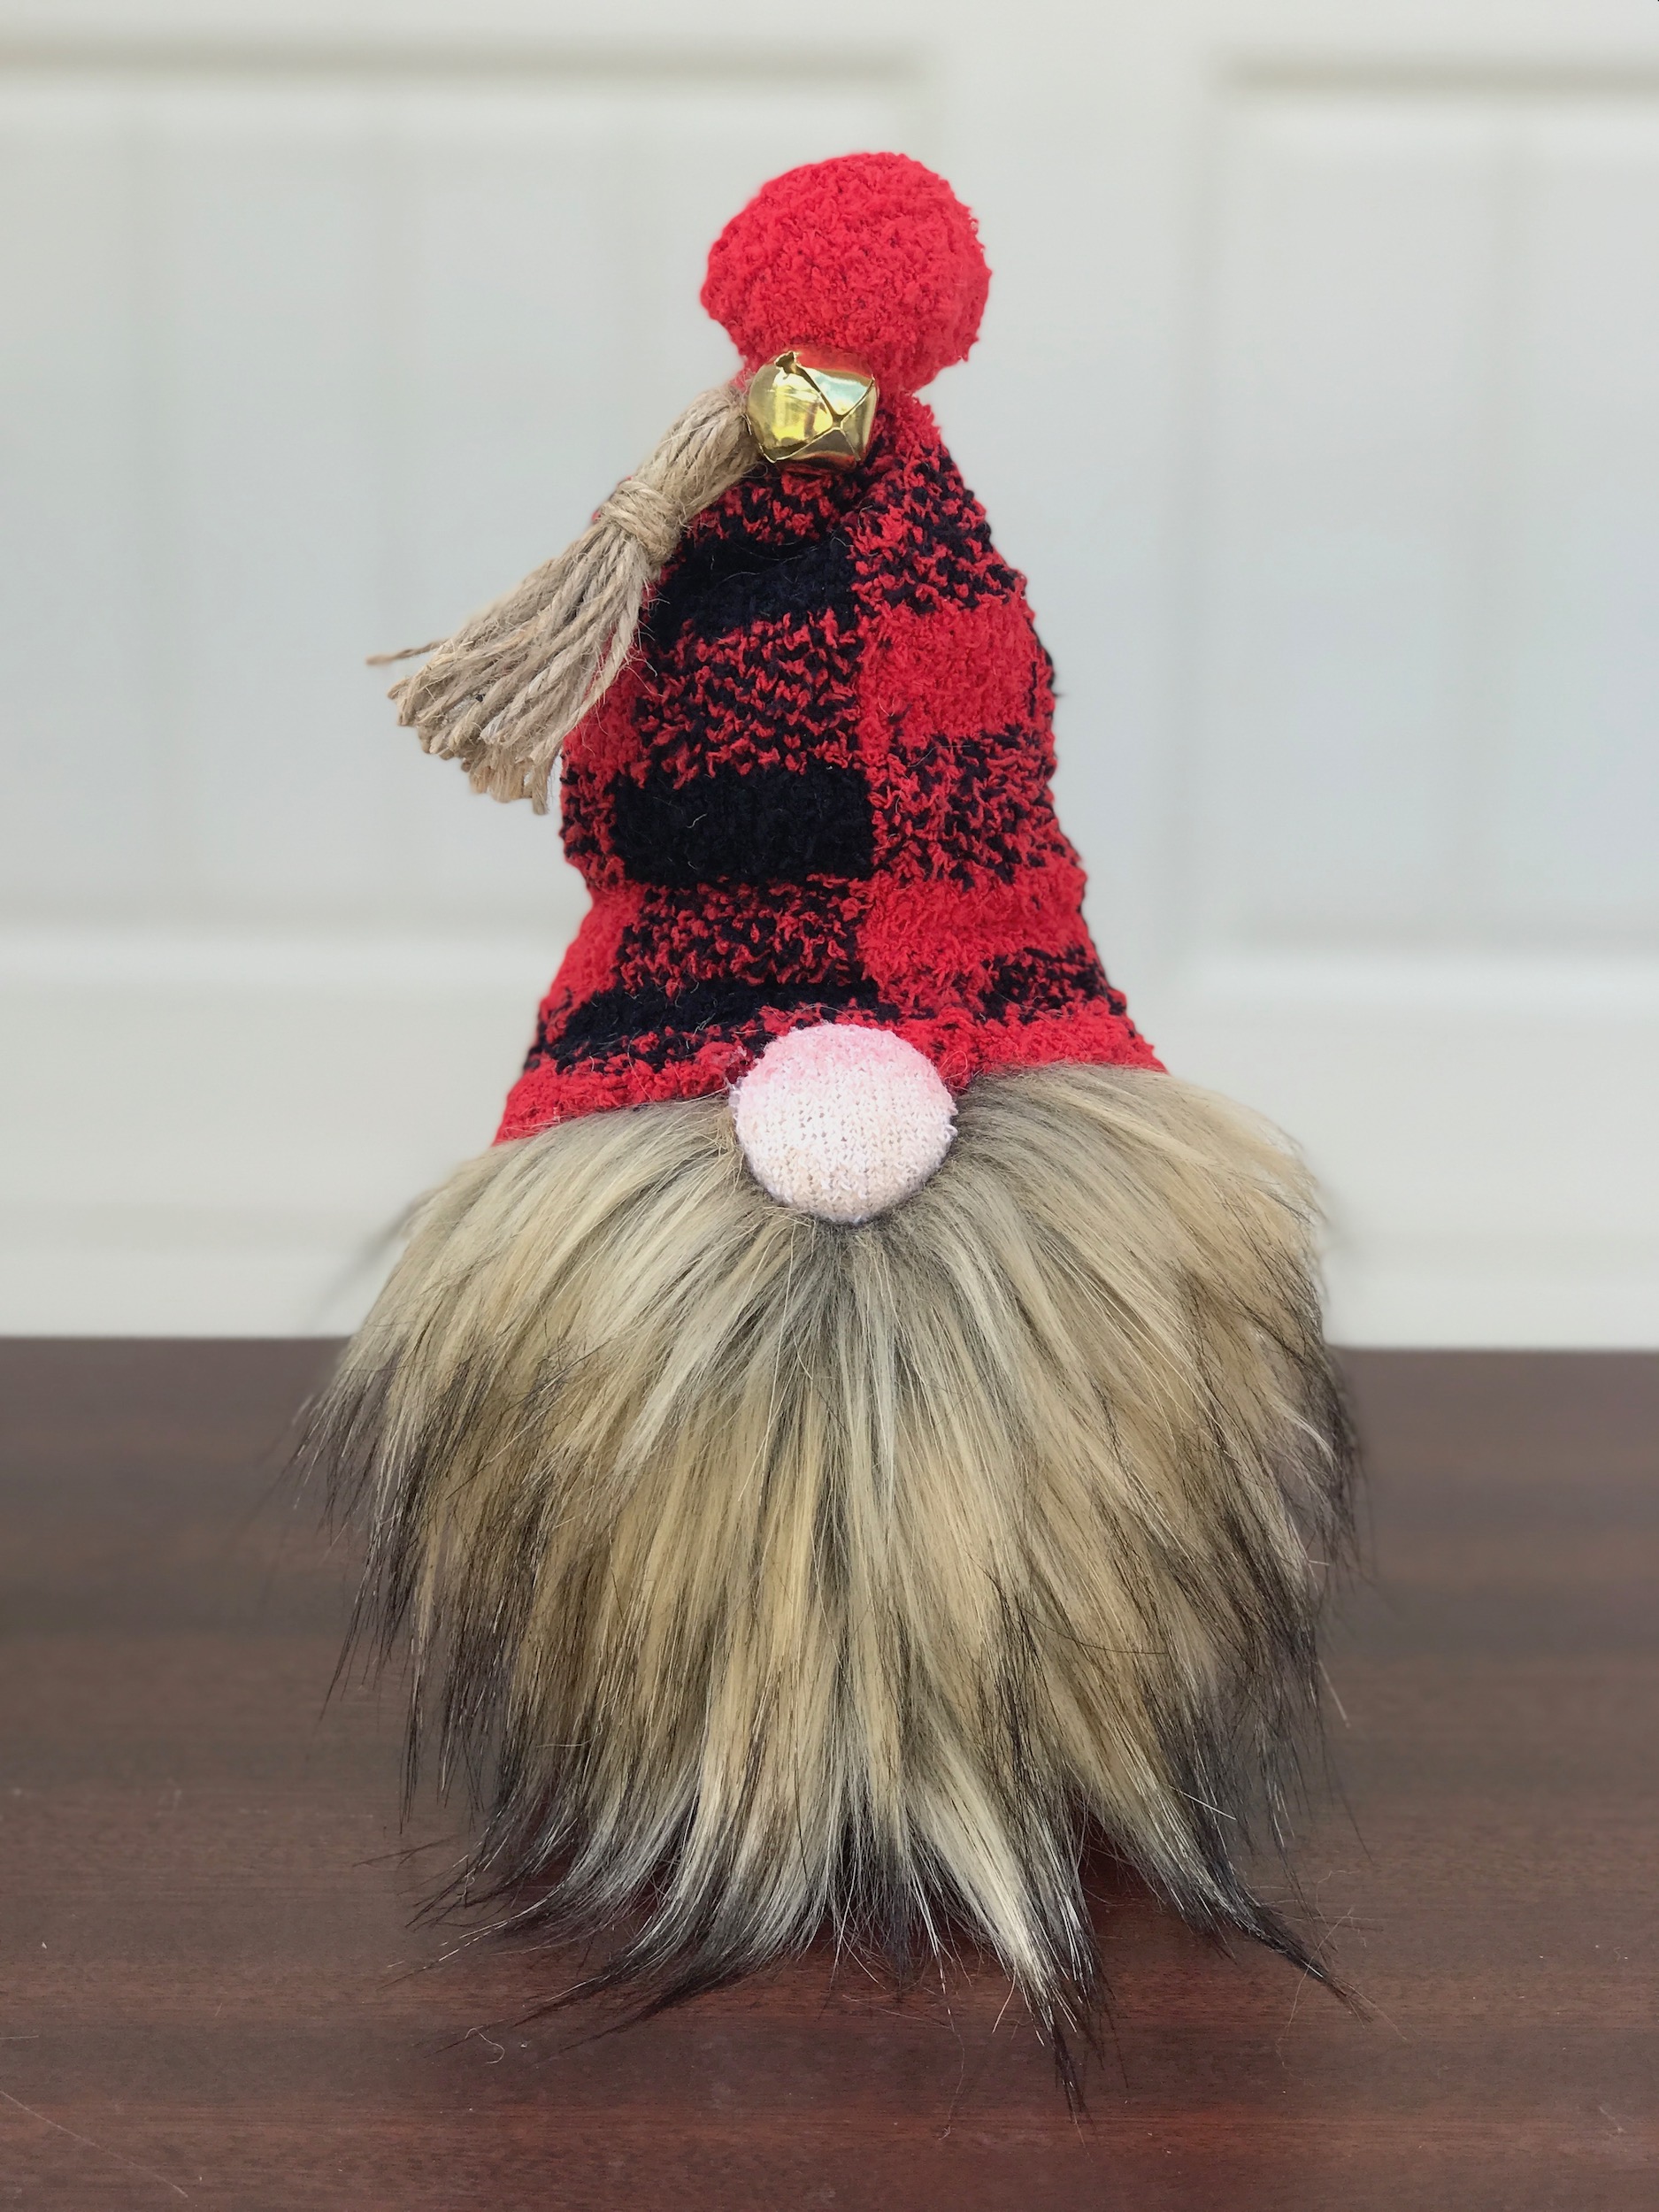
Here’s another cutie, below, using brown faux fur and a red/black plaid sock. The combinations are endless!
Let’s get social
If you try this fun DIY, leave me a comment below and let me know how you liked it and also, make sure to Pin it too in case you don’t have time to make one right now. Pinning it really helps me out, as well and it’s very appreciated.
Also…be sure to subscribe to Lovetofrugal for more money saving, frugal living tips and follow me on Pinterest, Instagram & Facebook!
Other fun & frugal diy’s you may be interested in:
If you’re looking for some other fun & frugal DIY’s, check out these posts, too! No sew fleece blankets make wonderful gifts and so do Icebox Dill Pickles!
How To Make A No Sew Fleece Blanket
![]()
![]()
![]()
I’m not a crafter at all! My Son, 39 passed unexpectedly almost 5 years ago, and I haven’t done Christmas since. I used to go crazy when the children were young. I made up my mind this year I’m not going to be the bummer in my family, I’m going all out. I saw these gnomes and they are adorable. You explained it so simply with pictures, and I’m excited to try it. I’m going to put them on my tree, so I guess I’ll need little people socks. Thank you for making this fun for me. Wish me luck and God Bless!
Hi Ruby! Thank you so much for your kind words and I’m so happy you like this adorable craft. They are so much fun to make and no two turn out the same. I know you’ll enjoy making them as much as I did. I hope you have a Merry Christmas and blessings to you, as well. 🙂