How To Make A No Sew Fleece Blanket
A no sew fleece blanket has long been a favorite go to gift for…well…everyone. These blankets literally fit the bill for one size fits all!
They’re so simple to make and you can personalize them to each person’s likes and decor because fleece comes in every color and pattern that you can imagine!
I’ve made dozens of these, over the years, for just about everyone I know and they are usually the most favored gift. I mean, who doesn’t love a warm, soft blanket?
These no sew fleece blankets are great for EVERYONE…men, women, children, babies, elderly, teenagers…you name it! And if you’re on a tight budget, you can make one for usually, under $20, although some patterns, i.e. ones with NFL teams, tend to be more expensive, per yard. So, if I need an NFL team, I always check Hobby Lobby and use a 40% off coupon to help cut the cost.
My hubby is a Dallas Cowboy fan, so he has two of those. He was also a firefighter and yes, he has a couple of those, too! Each one of my grand babies have one that coordinates with their nursery. I could go on and on. These blankets make the most awesome gifts!
So, if you want to give it a go, let’s get started and I’ll show you how to make a now sew fleece blanket that you or your gift recipient will treasure for years!
How to make a no sew fleece blanket
Did I mention that there’s no sewing required?? Nope! Nada!! All you need are your two hands and very few supplies.
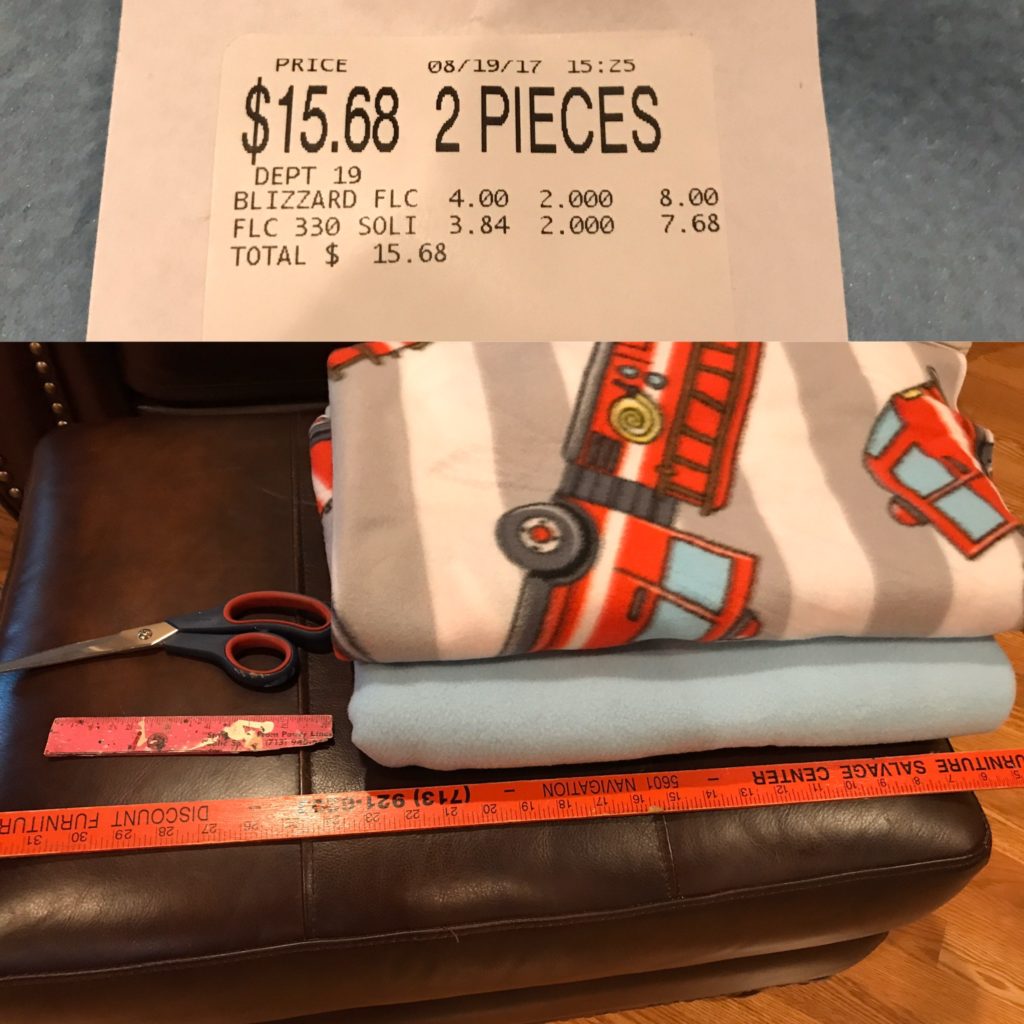
No sew fleece blanket supplies needed:
- 2 yards of patterned fleece (This is for an adult blanket. I use 1 1/2 yards for a child or baby blanket)
- 2 yards of solid fleece (or whatever size the patterned fleece is).
- 1 pair of sharp scissors
- Ruler
- Yard stick (optional)
Step One:
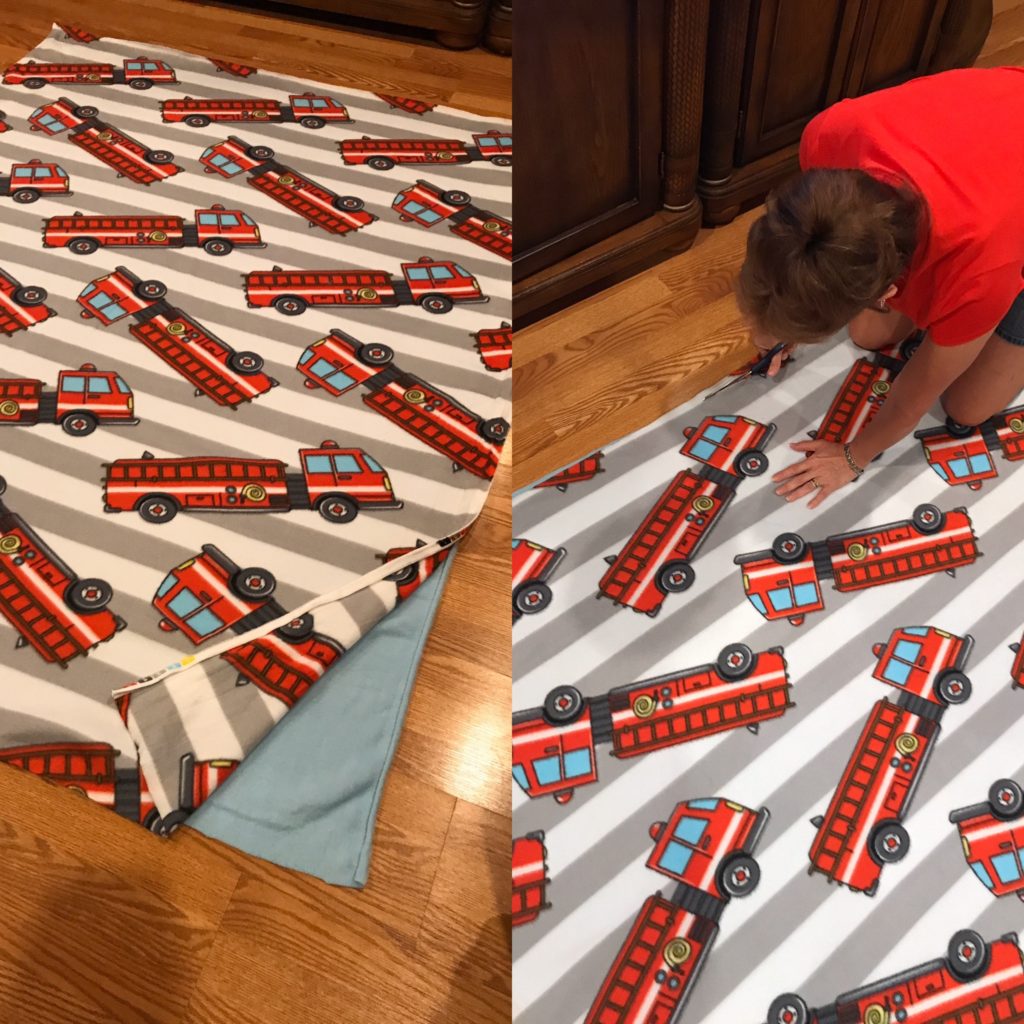
Lay your solid fleece out on a smooth hard surface. I have always used the floor. (If you do this, make sure your surface is clean and free of pet hair and dirt.). Usually, there’s no wrong side on fleece, but it you look closely, there may be a fluffier (fuzzier) side or a little crisper in color. Next, lay the patterned side on top of the solid with the fluffiest sides facing out. Square them up as best as possible and smooth out in wrinkles.
Now grab those “sharp” scissors and square both pieces of fabric by cutting through both layers to the same size, as seen in the pic below. Most fleece have a pattern, similar to wall paper. I like to find the “repeat” and I use this a my guide when I’m squaring the pieces up.
Step two:
Once you have your fabric trimmed, cut each of the four corners by measuring 4″ in on each side. In other words, you’re going to cut a 4″x4″ square out of each corner.
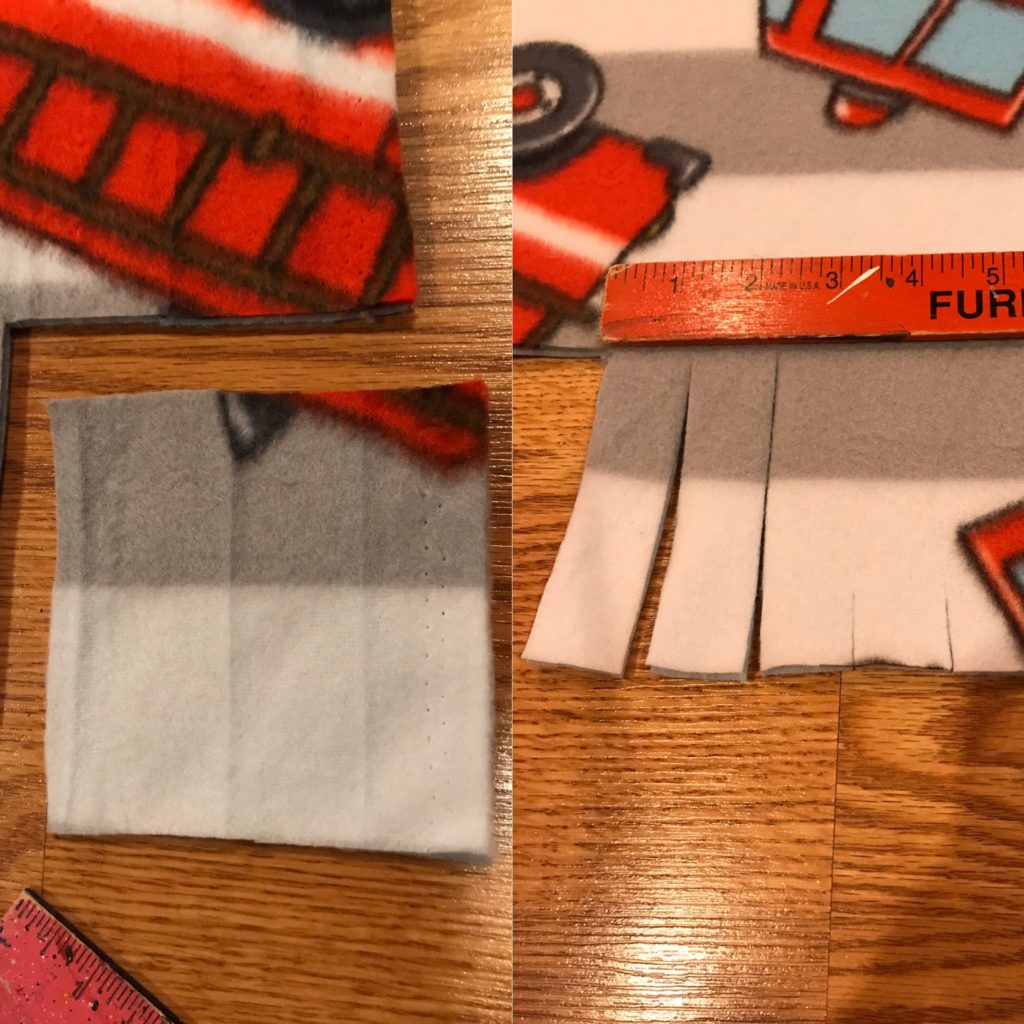
Step three:
Now, using your ruler, cut 1″ strips, 4″ long, around all sides. A little trick I use to help me keep them as uniform as possible is, I lay a yardstick at where the 4″ mark is and cut the 1″ strips until I get to the end of the yardstick…then move it down as I go. That way, I don’t accidentally cut my strips longer (or shorter) than 4″ long. (See 2nd pic, above.)
Step four:
Now that you have all four sides cut, you’re ready to start tying your strips together. DO NOT move your fabric yet, because the strips need to stay together because the need to match up.
Start in one corner and tie every other strip together using a simple square knot. Pull it firm and tight but not so tight that the fabric starts bunching. I simply scoot around on my rear until I make it all the way around.
By this time, I need to take a break and stand up, walk around a bit and maybe stretch. Lol!

Step five:
At this point, you can pick your blanket up, flip it over and begin tying the other strips, using the same knotting process that you use on the first side. But I usually do this from the comfort of my couch or a chair.
Note: Once you’re done tying all four sides, you may notice that each side has bunched or drawn up, slightly. You can remedy this by stretching each side out, by pulling firmly from corner to corner. Fleece is very durable, so don’t worry about hurting it. You need to do this so it will be square again.

Blanket is done!!
These are some pretty simple steps to making an awesome gift to give away or a great gift to yourself, but remember that the first one you make will be the most difficult and time consuming, until you get the hang of it.
No sew fleece blanket tips:
- Use sharp scissors! – I remember the first one that I made took me 5 hours! The main reason why was that I had some very dull scissors. I highly recommend using a brand new pair, if possible. I have fabric scissor that I ONLY USE for fabric. This will make the cutting process so much easier and quicker.
- Use a flat surface – If getting down on the floor is difficult for you, try laying fabric out on a bed (preferably King) or a large table. You need to be able to access all 4 sides. If you do use a bed, be careful not to cut through the bedding.
- Use a rotary cutter – All your cuts can be done using a rotary cutter if holding scissors are difficult for you. Just make sure to use a cutting mat underneath. This can speed the process up a little, as well. Personally, I prefer the scissor method.
- Personalize it! – This makes your blanket even more special! I have my own Janome 350E machine, so I do this for most blankets, but if you don’t, you can take it to someone who can do this for you. It will add to the cost as personalizing can sometimes be pricey. Should you decide to do this, decide where you want the name or monogram to go and leave about 12″-15″ open on that side and do not tie it closed until after you have the name on it. That way, you won’t be able to see the back side of the stitching or the stabilizer.
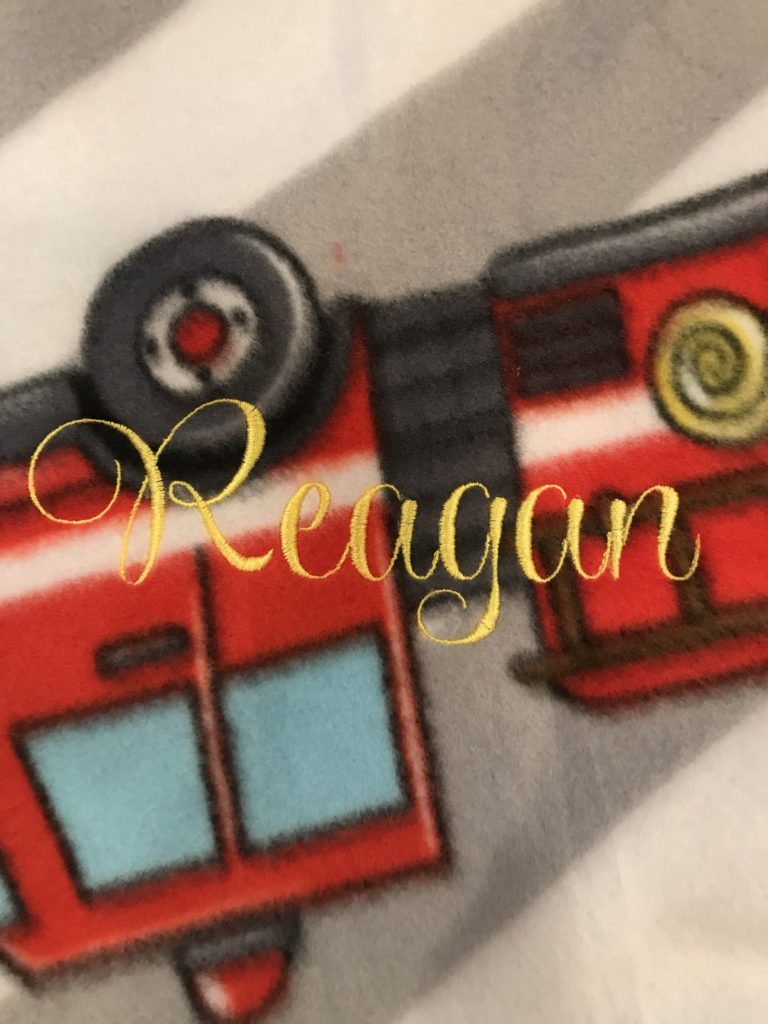
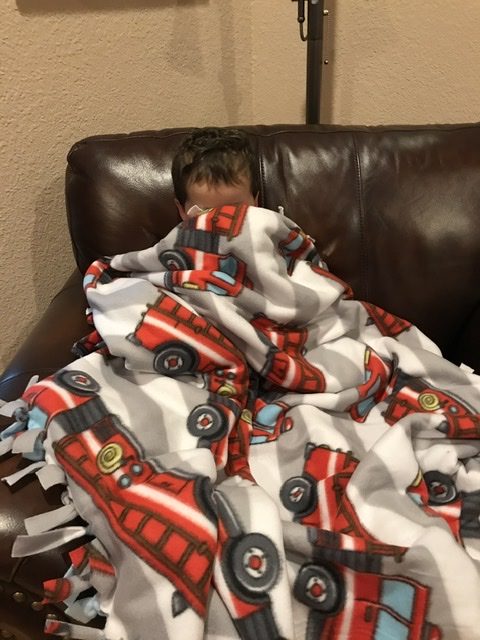
Reagan loves his blanket! So simple, practical and cute!
Washing instructions:
Throw your blanket in the washer using warm water and tumble it dry.
The gift that everyone will love!
That’s it, friends! Such a simple, frugal and meaningful craft project that literally everyone will love! You can’t go wrong with this one!
If you’d like to try another easy, budget friendly DIY decor project, be sure to check out how easy it is to make Easy DIY No Sew Napkin Pillows. Also, if you love this project, be sure to subscribe to Love To Frugal for more projects like this one and awesome money saving tips & recipes!
If you enjoyed this post, please be sure to PIN IT and follow me on Pinterest and Facebook!
Thank you for setting out all of the instructions for how to make the blanket. I need to get a blanket for my newborn. He only seems to like wool.
You’re welcome, Tex! These blankets are wonderful and so simple to make! Congratulations on your newborn! 🙂
Awesome list of ‘frugal’ baby shower gifts! Thank you so much for including my no sew fleece blanket! This is like a one-stop-shop list chocked full of baby gifts that anyone would love! 🙂