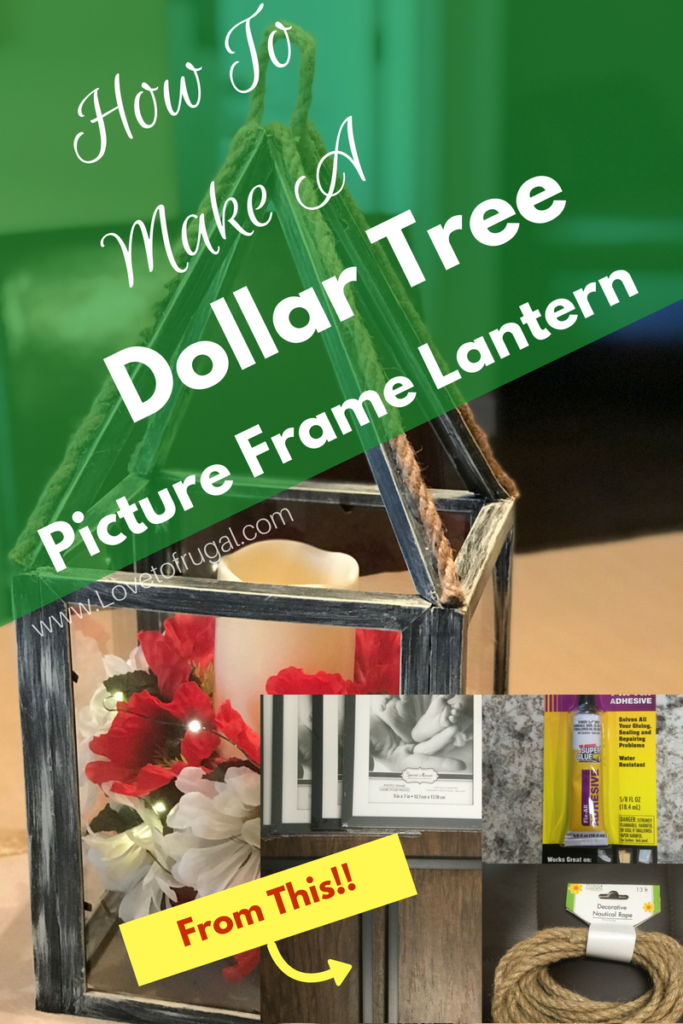
How To Make A Dollar Tree Picture Frame Lantern
If you’re into Farmhouse style decor, then this picture frame lantern will fit right into your decorating scheme! My decorating style doesn’t incorporate too much of the Farmhouse theme, but that doesn’t stop me from loving certain aspects of this popular decorating style. One common decor piece that I see in every magazine or pic that depicts anything “Farmhouse”, are the lanterns. If you’ve done any type of looking and pricing, lanterns can go for $25 and up. I love the idea of a lantern, because they make great centerpieces for dining room tables, coffee tables, decor for mantles or library tables…you name it, You can put them almost anywhere.
Well, this blog is Love To Frugal and you know that I look for the easiest, least expensive way to create something from inexpensive items and turn them into beautiful pieces to decorate my home. Well…guess what!? I think I’ve achieved that and then some! I created my very own Dollar Tree Picture Frame Lantern with all items from… you guessed it…Dollar Tree and turned some inexpensive frames into a super trendy Farmhouse lantern on a dollar store budget!
*This post may contain affiliate links. For more information, see my disclosure page.
Dollar Tree Picture Frame Lantern
This is an easy, fun project that will make you want to do more than one. Check out below what you need for this project!
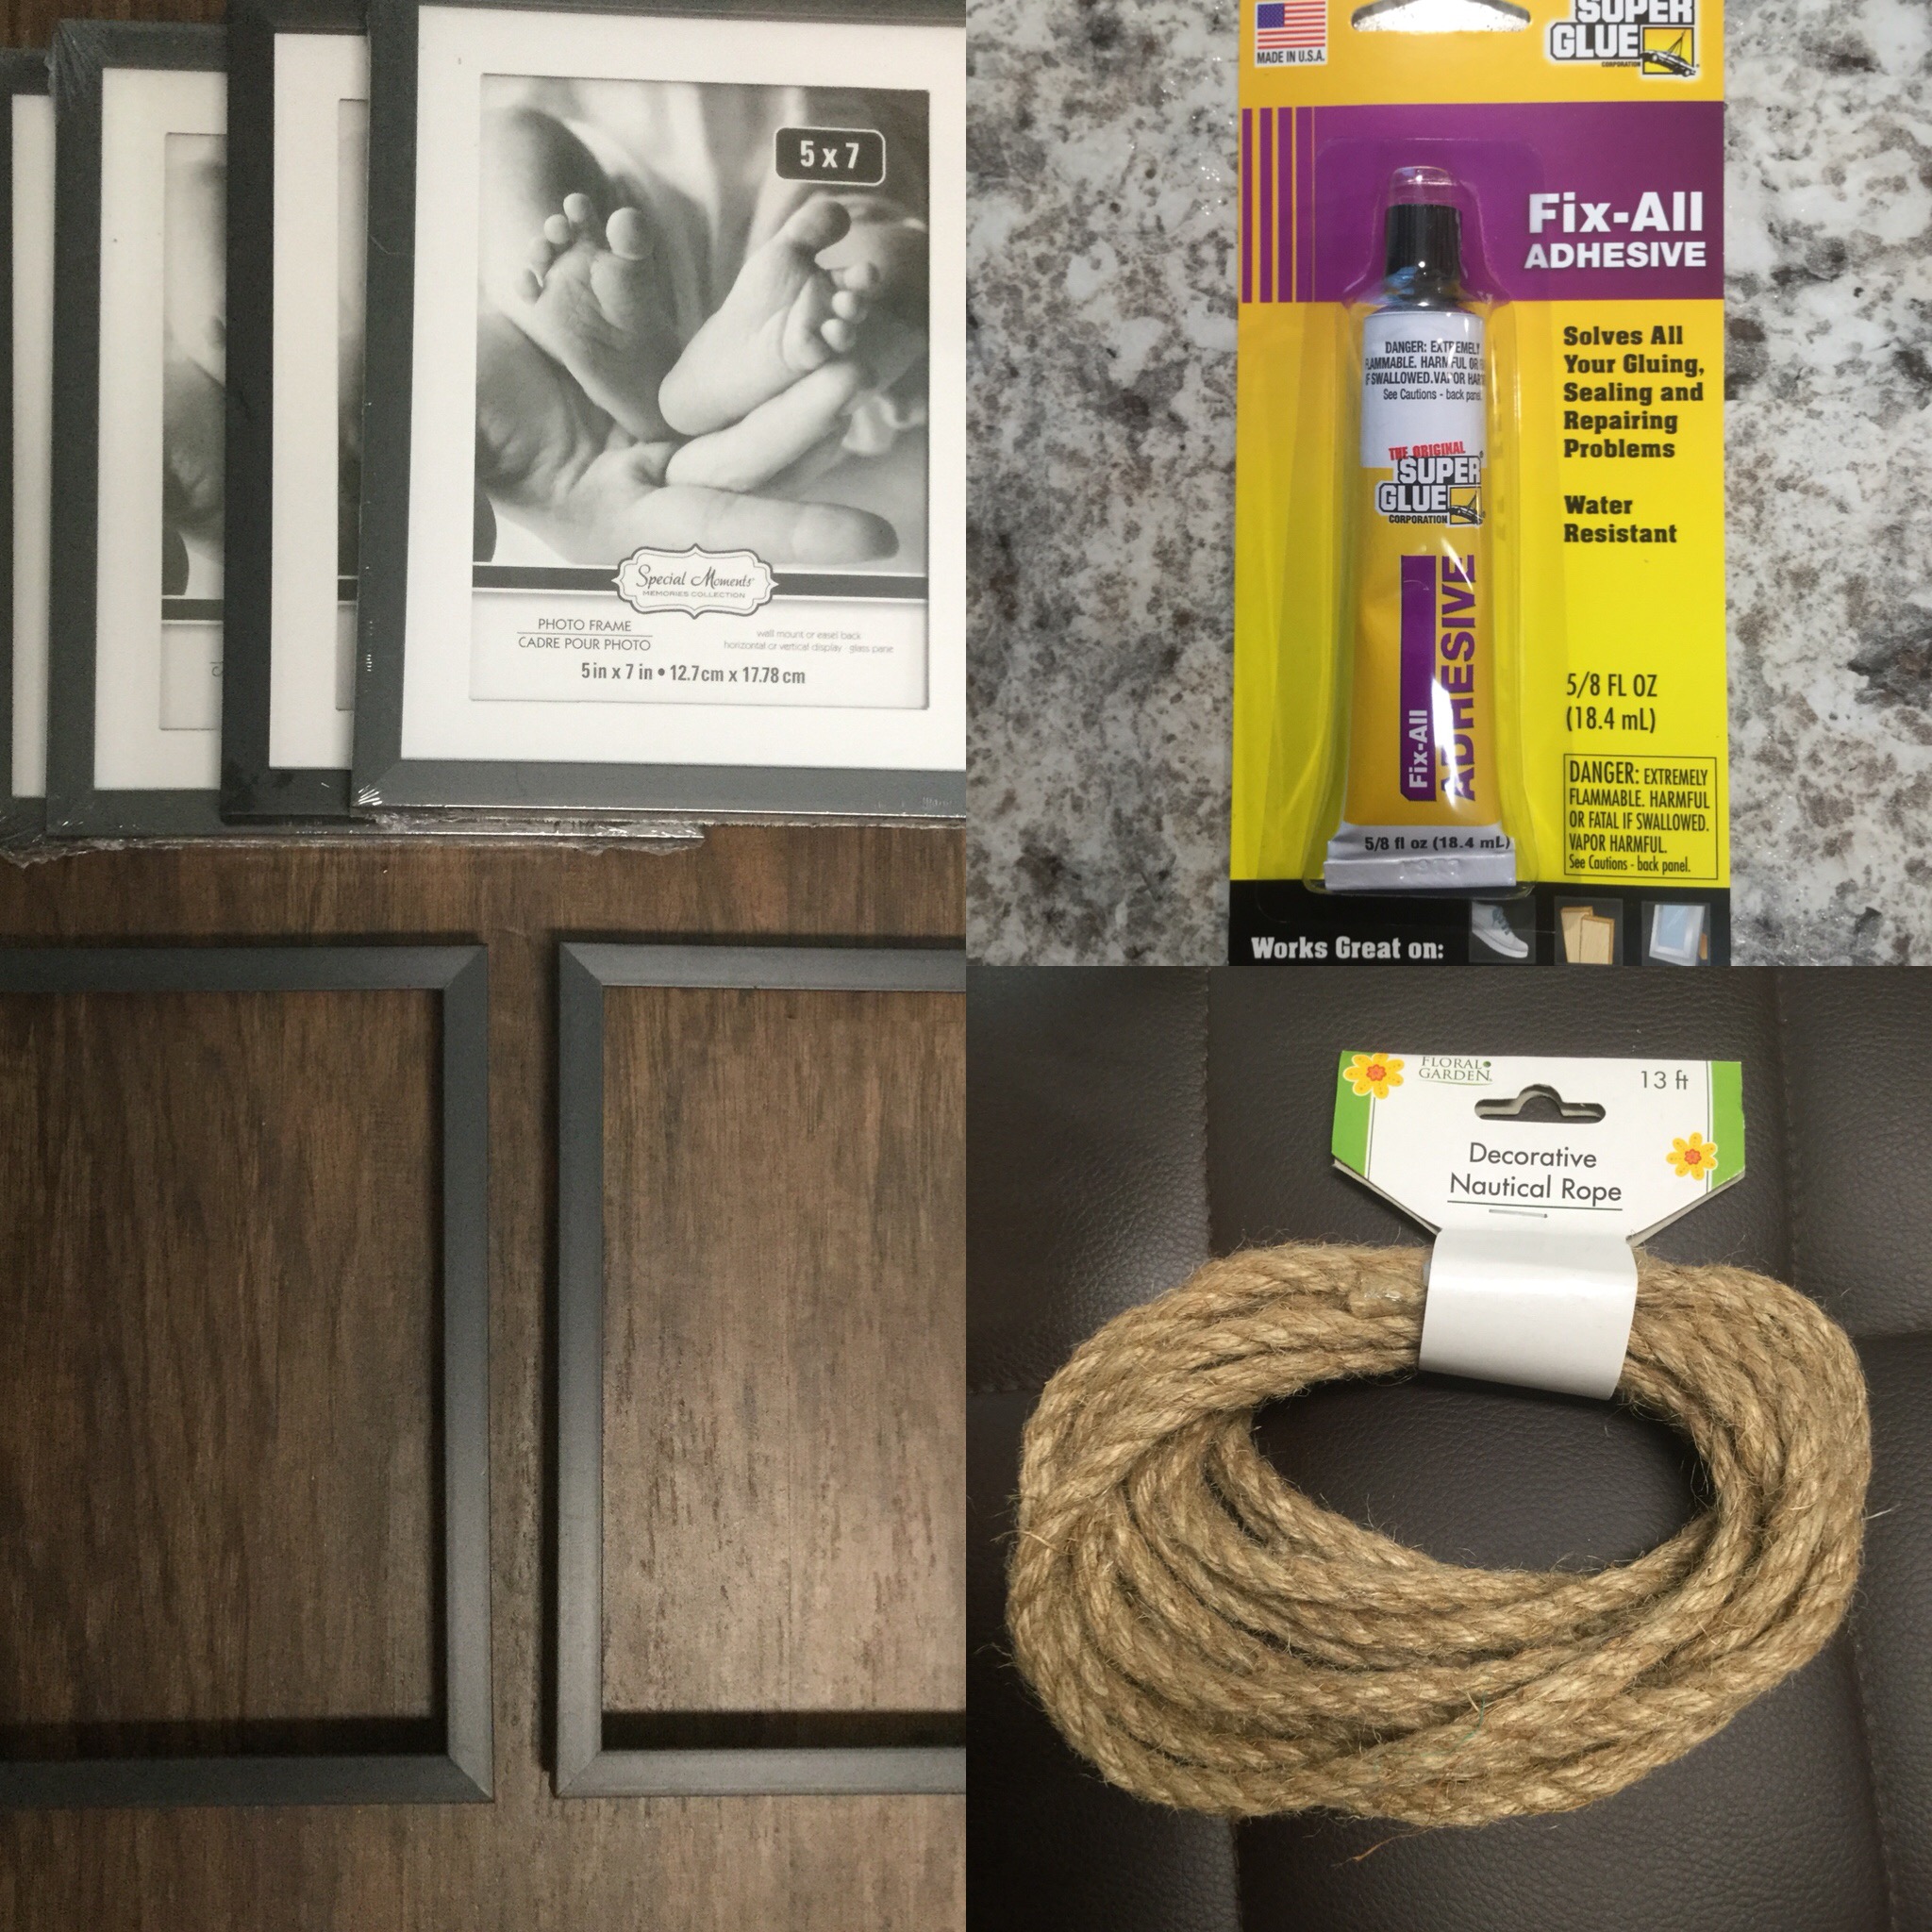
Supply List:
- 6 5×7 Dollar Tree frames in your choice of color. Note: Not all 5×7 frames are the same size. The ones I purchased are a little larger because they come with a mat.
- Fixall glue
- Hot glue gun and glue sticks
- Nautical rope
- Leftover chalk paint-Waverly in Cashew (Can be found at Walmart or Hobby Lobby). If you don’t live close enough to either store, FolkArt chalk paint will work just as well. This can be ordered on Amazon, below. Color: Bavarian.
- Paint brush
- Needle nose pliers
TIP Before you start gluing:
I learned the hard way, that before you begin gluing the sides together, you need to put have the glass already secured in each frame. On the lantern you see here, I took the glass out of each one, glued all 4 sides together, dry brushed all pieces with paint…then tried putting the glass in. Big OOPS! I could only get glass into two of the sides. The way you glue the sides, making each side flush with one another, makes it impossible to put the glass in, afterwards.
To remedy my goof up and not to trash the whole thing, I happen to have a large piece of plexiglass on hand (from another project). I simply cut two pieces out, the same size as the glass and was able to use this instead. Thank goodness! Project saved!!
Directions:
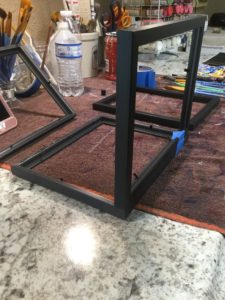
1. Take the backing off of each frame, and glue each side together, with glass already secured (glued) into each frame, to create a cube with the four frames. Make sure to glue the front of each frame facing the outside. You can use hot glue for this or use the Fixall glue. If you choose the latter glue, you can use painters tape to secure one side to the other. The glue usually dries fairly quickly, although hot glue is much faster.
2. Using the needle nose pliers, break apart the other two frames and remove the tiny metal pieces holding the sides together. You need 4 long pieces (2 on each frame) to construct the top. Keep the short sides for another project or discard.
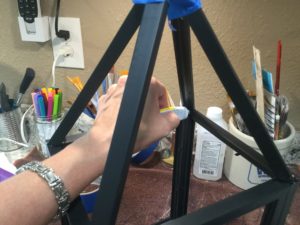
3. Take two long sides and position them as shown in the pic, below. I used the Fixall glue AND the hot glue for this step. The Fixall glue will make the project a little sturdier as, sometimes, hot glue may not hold forever. Use minimal amounts of each, so it doesn’t ooze out and make a mess. The hot glue will dry quickly so you’re not having to hold the pieces together for a long amount of time.
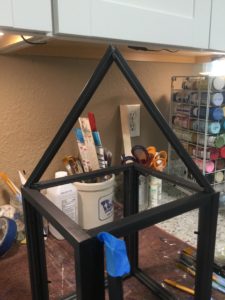
4. Once the two sides will stand on their own, take another long piece and place a small amount of glue on each end of the piece and place it on the corner of the cube and have it meet at the top where the other two pieces are joined. Again, a little dab of Fixall and a small dab of hot glue for speedy adherence.
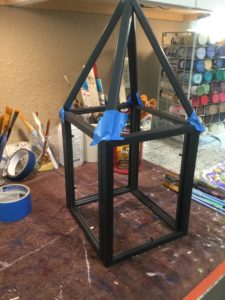
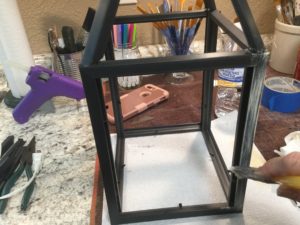
5. Once all 4 sides will stand on their own, take the Fixall glue and put a small amount in each inside corner for extra sturdiness. I used painters tape, as seen in the pic below, to make sure that the sides would not fall, before the glue was good and dried. If you use the Fixall glue, please allow a few hours to dry. I let mine dry over night, just to be safe.
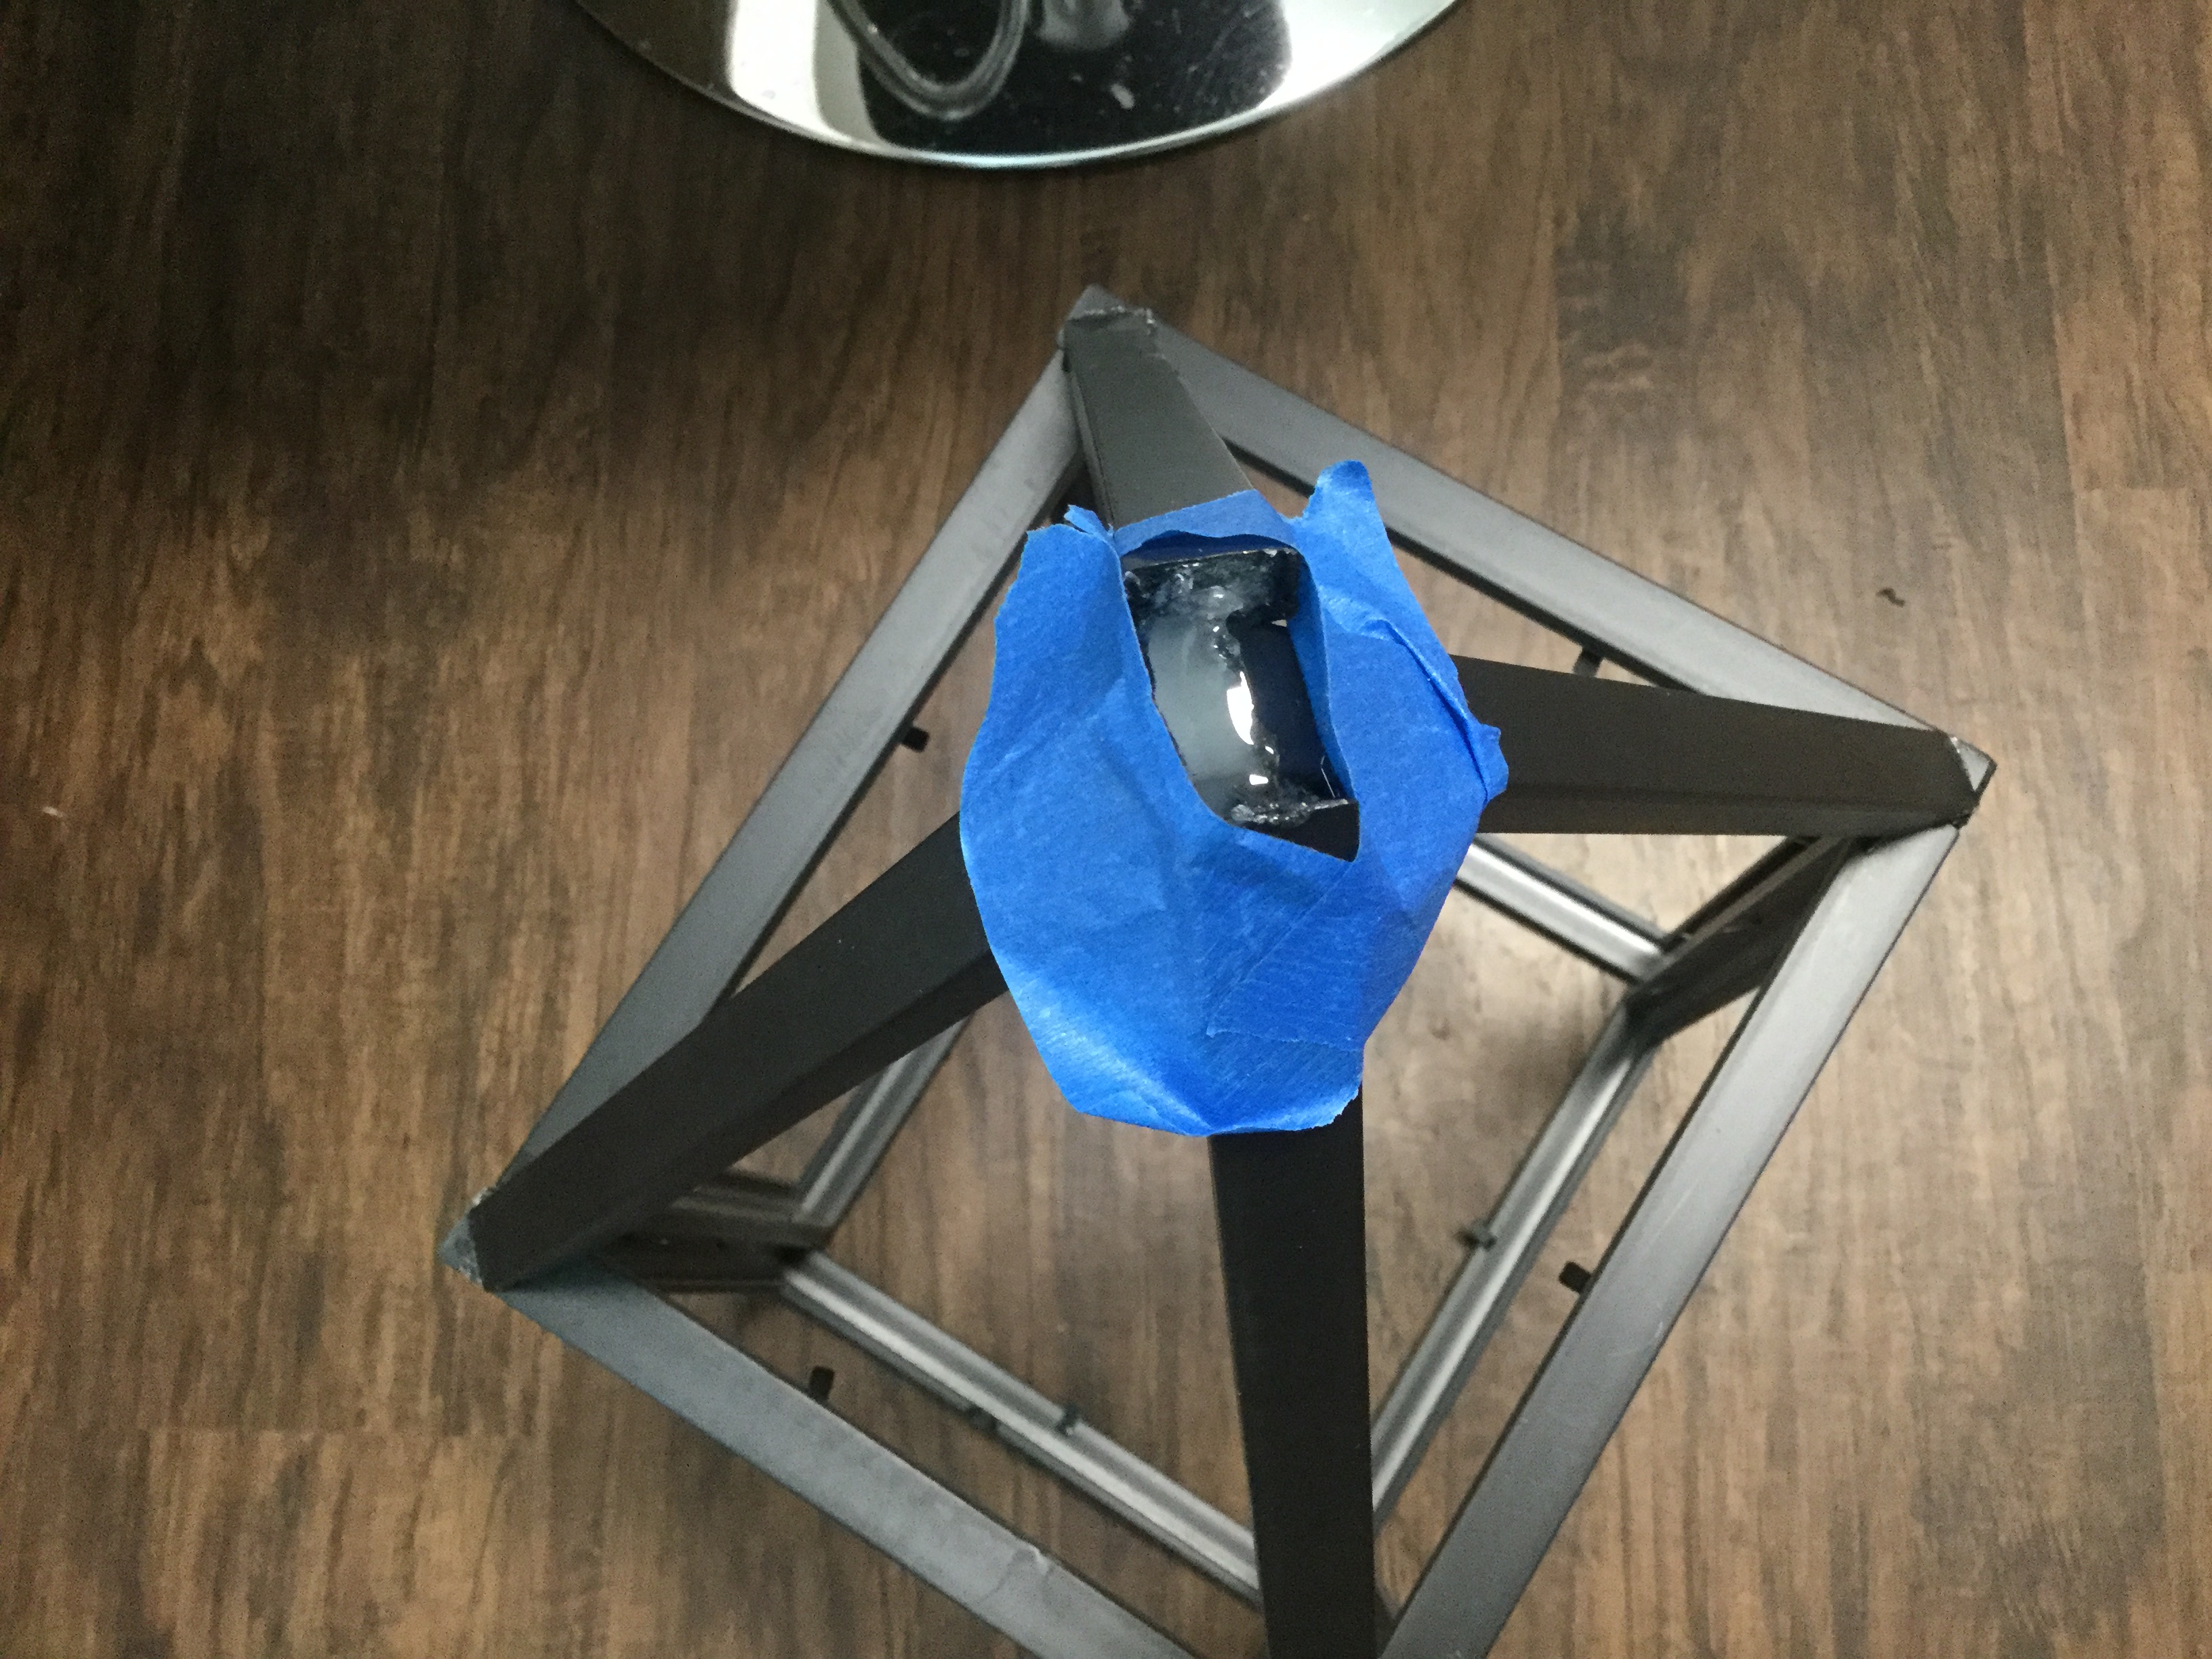
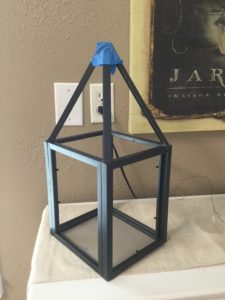
6. As an added step, I taped around the very top point of the lantern (as seen below) and placed a significant amount of glue where all 4 pieces came together. This step isn’t totally necessary, but since I was going to let it dry overnight, anyway, I figured that it couldn’t hurt.
7. After the glue has completely dried, I took an old paintbrush and the chalk paint and did a dry brushing technique on it. I was going for a rustic look. The way you achieve this look is by putting a small amount of paint on your palette…about the size of a quarter. Dip the brush in it and then wipe most, but not all of the paint off the brush. Do not add any water to your brush prior to dipping in paint. Hence…dry brushing. Using a very light hand, make sweeping motions, back and forth over the all sides of the lantern. Do this until you achieve the look you want. I wanted the black to show through to give it an aged look.
This paint dries extremely fast and the beauty of chalk paint is that you don’t have to spray it to seal, but there is a wax you can rub on it to seal, if you choose to do so. I didn’t do that for this project.
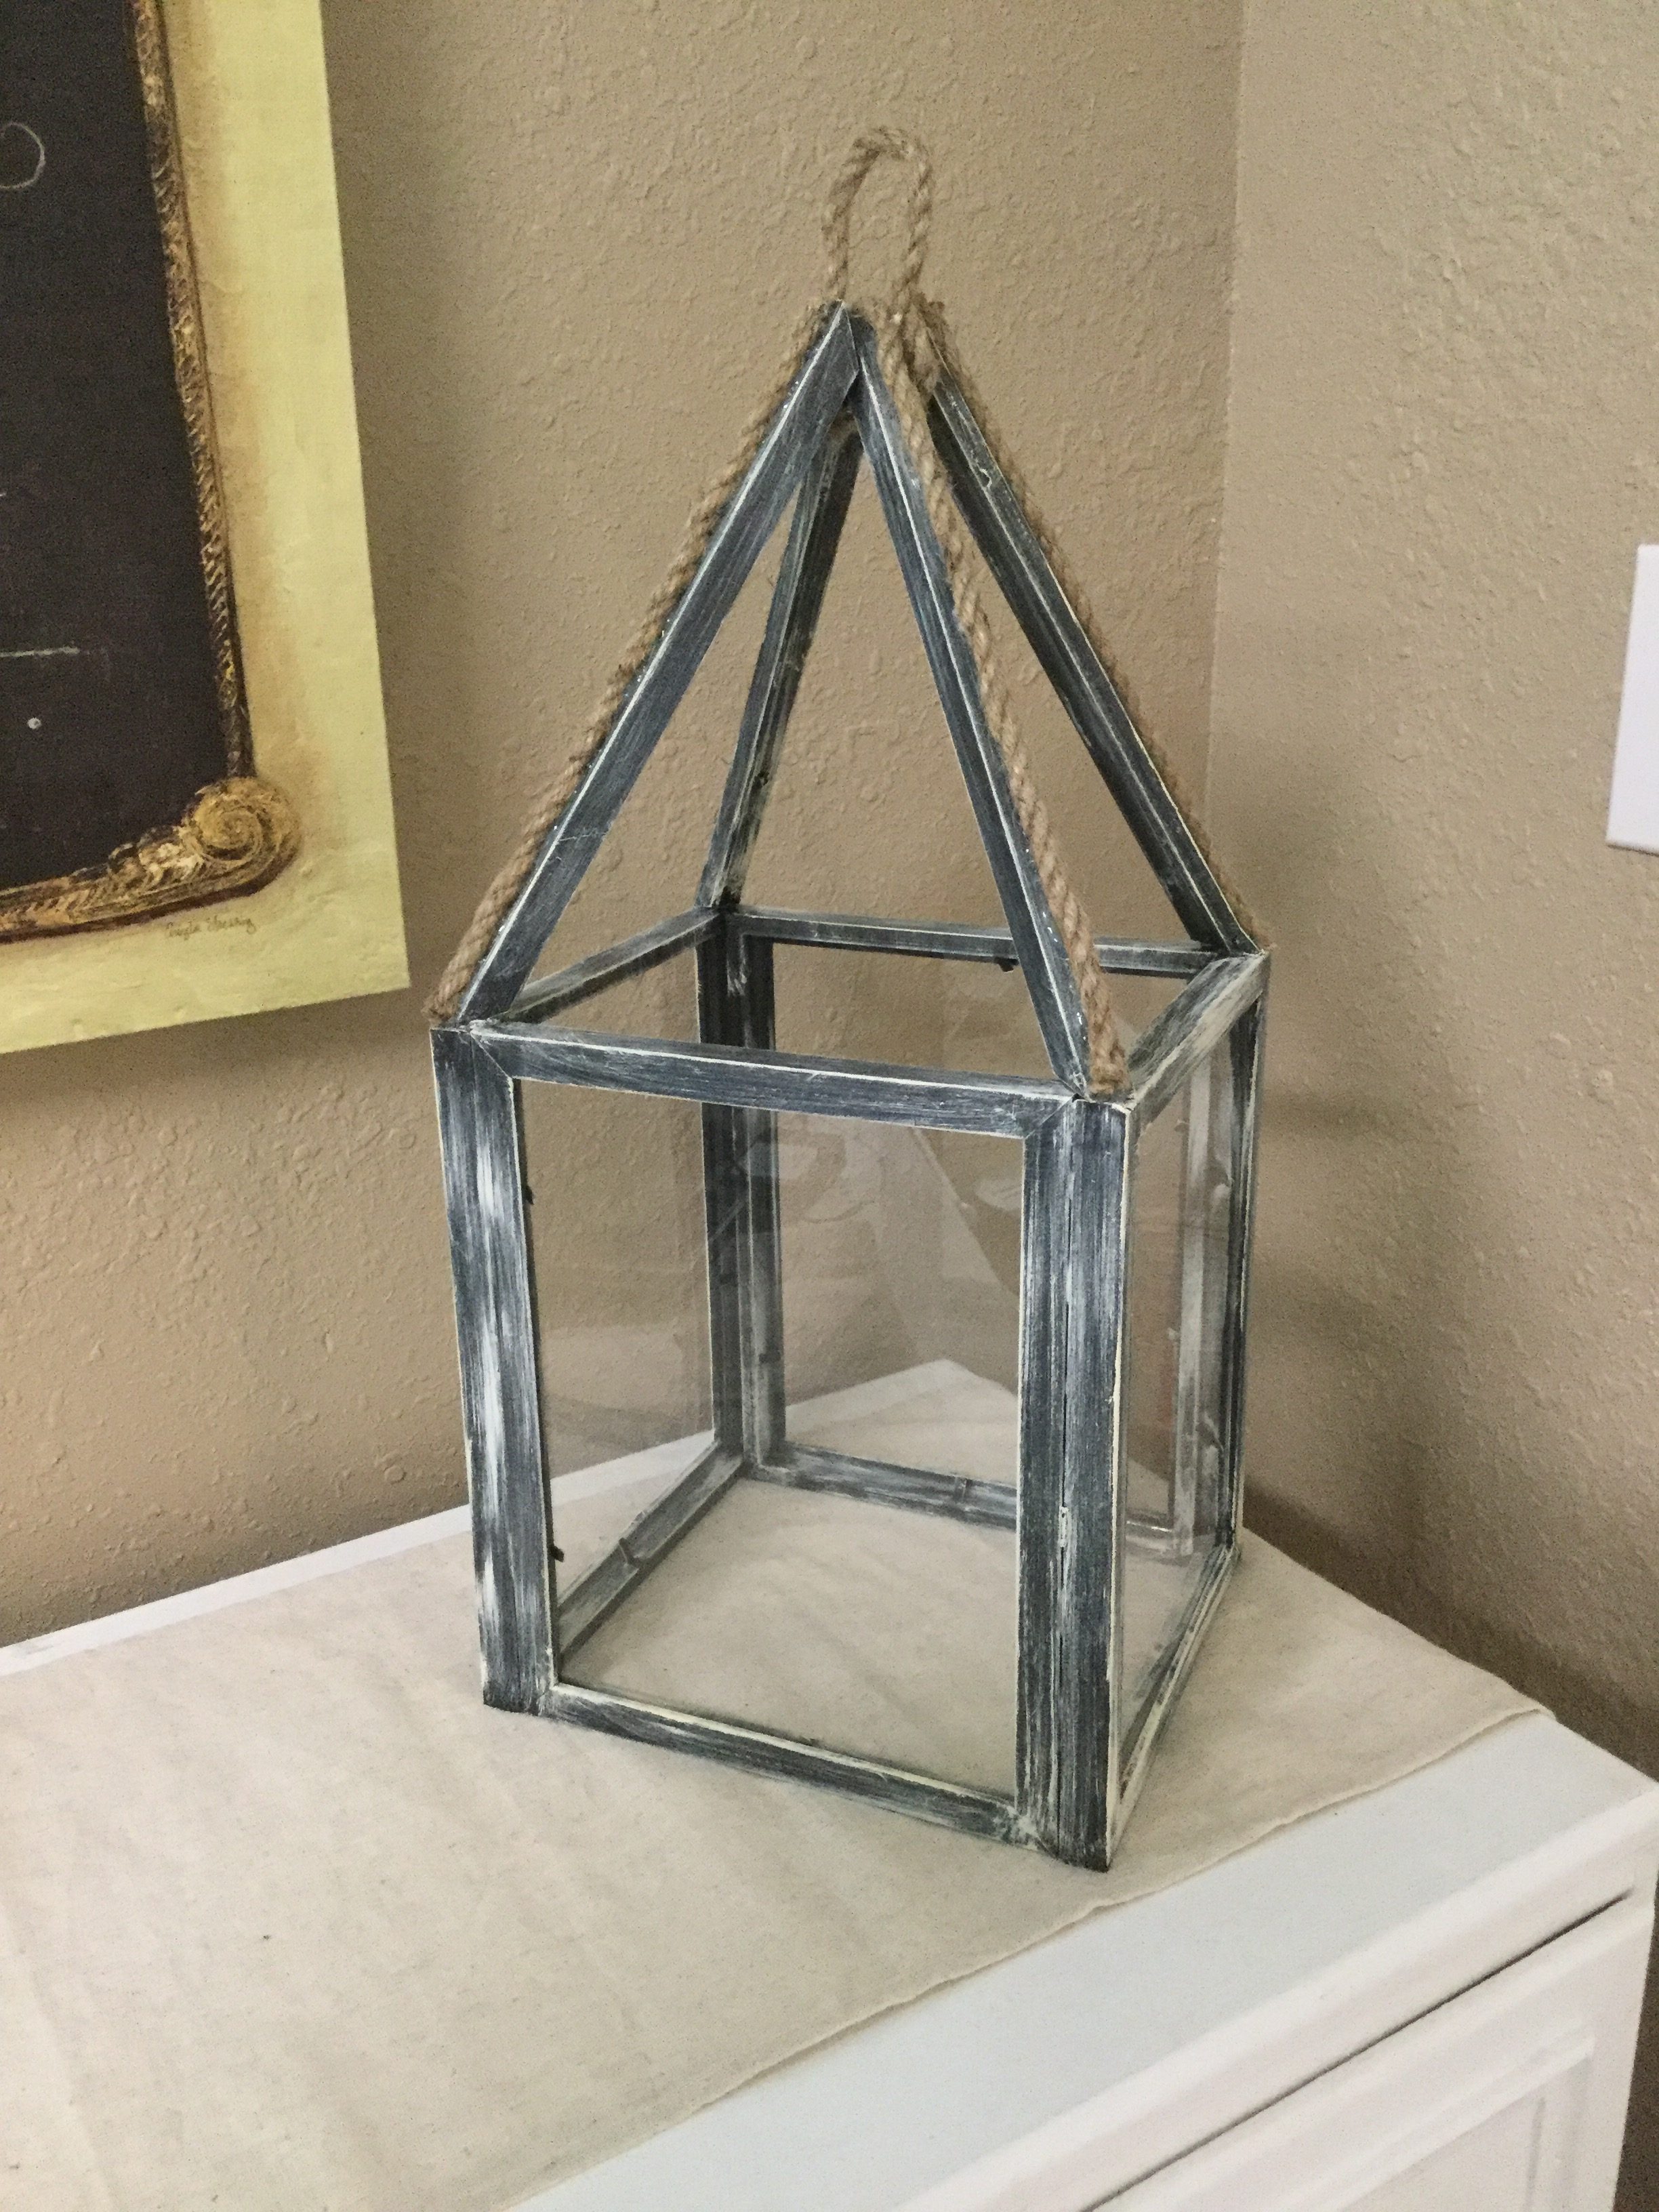
8. The last step is to glue the rope on. Measure out 3 pieces. Two should be the same length as each roof piece and one should be be double the length of one side. Run it across the top of the lantern from one corner to the other (diagonally) I used hot glue for this. Run a bead of glue down the center of each roof piece, working fairly quickly, and place the rope in the center, on top of the glue. For the loop at the top, measure a piece long enough to make the loop (as seen in the pic) and glue each end up underneath the point. I also glued the loop to where it stood up (as seen in this pic, below.).
The loop is totally optional, but I think it gives it a nice, finished look. Another option you could use for the loop would be a shower curtain ring. You can easily spray paint or chalk paint to match the lantern.
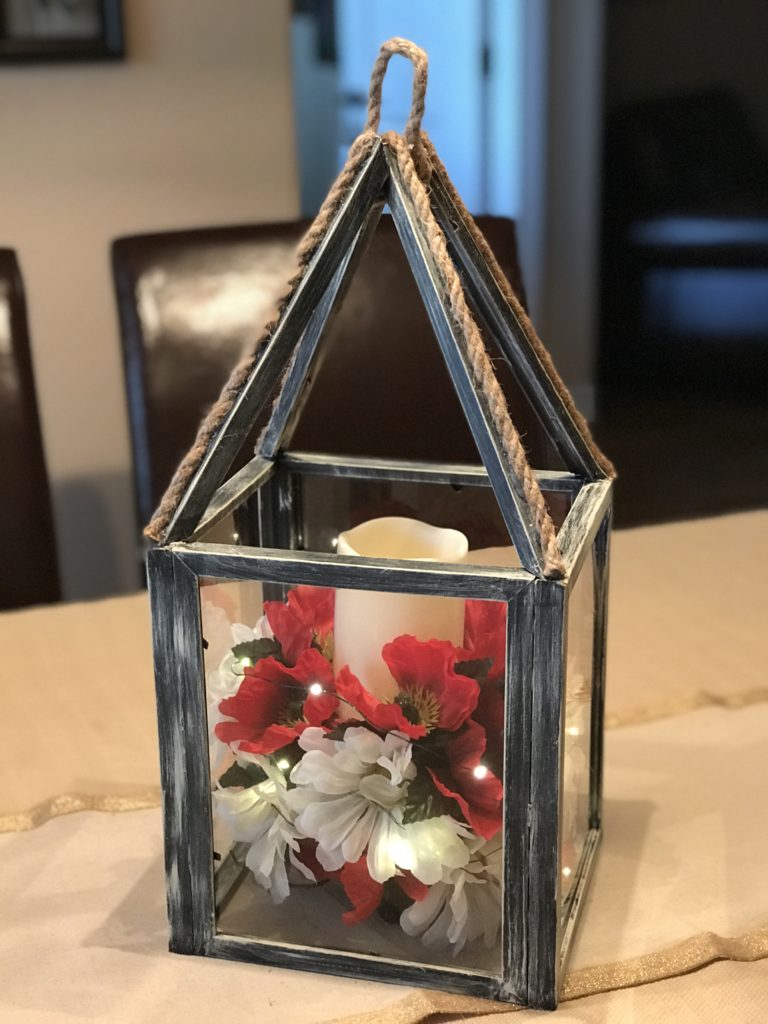
9. Now the fun part! Add your decor! The sky’s the limit here! You can display pillar candles, greenery, seasonal decor, or just about anything! Using more Dollar Tree items, I took a piece of green styrofoam and 4 bunches of DT flowers (2 poppies & 2 daisies) and made the small centerpiece, inside. I cut each flower stem down to about 2 inches from the flower and inserted them into the foam, arranging until I was happy with it, then left the top of the foam free from flowers so I could set the battery operated candle (also DT) on top and also used fairy lights on the inside.
I love how my Dollar Tree Picture Frame Lantern turned out!
This is such a versatile decor piece that can be used in just about any room in the house! I spent about $8.00 (not including arrangement on the inside) making the lantern and that included the glue. There’s plenty of that left over, so I won’t need to buy any for my next lantern. I can’t wait to style it for the holidays!
This is a super fun project and would make an awesome, inexpensive gift! This picture frame lantern would also make beautiful centerpieces for weddings or parties and with so many frame sizes, you can make one that is really large or much smaller than the one I made.
I hope you’ll give this fun and easy project a try and be sure to subscribe to Love to Frugal so you never miss a post!


One Comment