Easy Icebox Dill Pickles
As the summer heat rolls in, there’s nothing quite as refreshing as a cool and tangy snack. Enter icebox dill pickles—a delightful treat that combines the crispness of cucumbers with the tangy flavors of brine. The best part? You don’t need any canning equipment or extensive preservation processes to make them. With just a handful of ingredients and a little bit of patience, you can create your own batch of mouthwatering icebox dill pickles right in your kitchen.
Whether you’re a seasoned pickler or a complete beginner, this recipe is designed to be approachable and foolproof.
The satisfying crunch, the tangy burst of flavor and the sheer delight of creating something homemade—these pickles have it all. So, gather your supplies and let’s dive into the wonderful world of icebox dill pickles. Prepare to impress your family and friends with this simple yet impressive treat that will elevate any summer gathering.
Once you try this delicious recipe, you’ll never buy store bought again. And did I mention how easy it was? So, without further adieu, here ya go!
*This post may contain affiliate links. For more information, see my disclosure page.
Let’s make some Icebox Dill Pickles
Here’s what you’ll need:
- A stock pot for heating the liquid and a pot to heat the lids up.
- Mason jars with lids, preferably wide mouth quart or pint.
- Funnel and a ladle
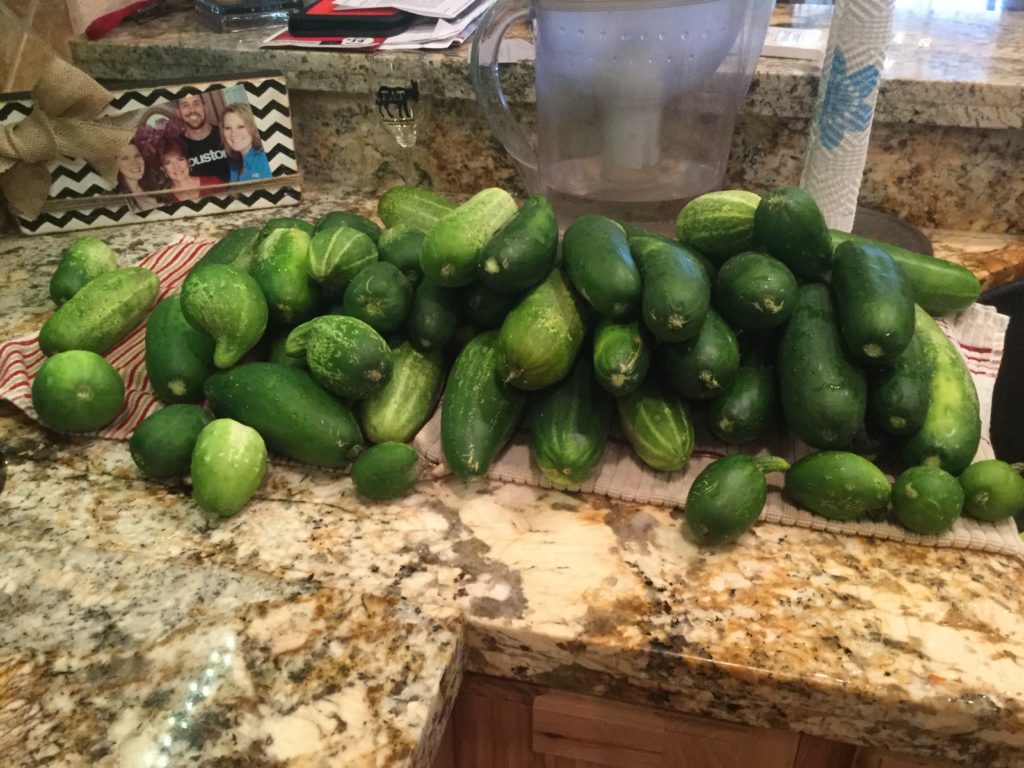
- 18-20 Pickling cucumbers
- 4 Qts. Water
- 1 Qt. Vinegar
- 1 – 1 1/3 cups Pickling salt
- Fresh bunch of dill
- Large head of garlic
- 1 Lg. Onion chopped
- Grape leaves (for crispness), one for each jar.
- Pkg. dried red peppers (found in produce)
**Scroll down to blue/grey recipe card for a printable recipe card.**
Get the jars ready
First thing you do is wash all your jars, lids and rings. Put the lids and rings in a pot on the stove, in water. I wasn’t sure why this was done, so I researched it and found out that the hot water softens the rubber on the lid to create a better suction. Who knew?
prepare the brine
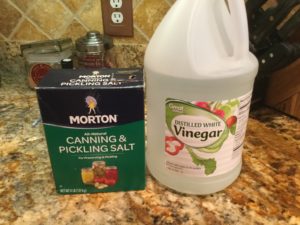
Next thing you do is heat the brine. I use a stock pot for this. You’ll use canning/pickling salt, water and vinegar.
Put the water and salt in the pot and turn it on to med/high heat and stir until salt completely dissolves. Next, add your vinegar and continue stirring. You’re going to want to keep the brine hot, but do not boil it, as it will begin evaporating. Once it’s hot, lower the heat.
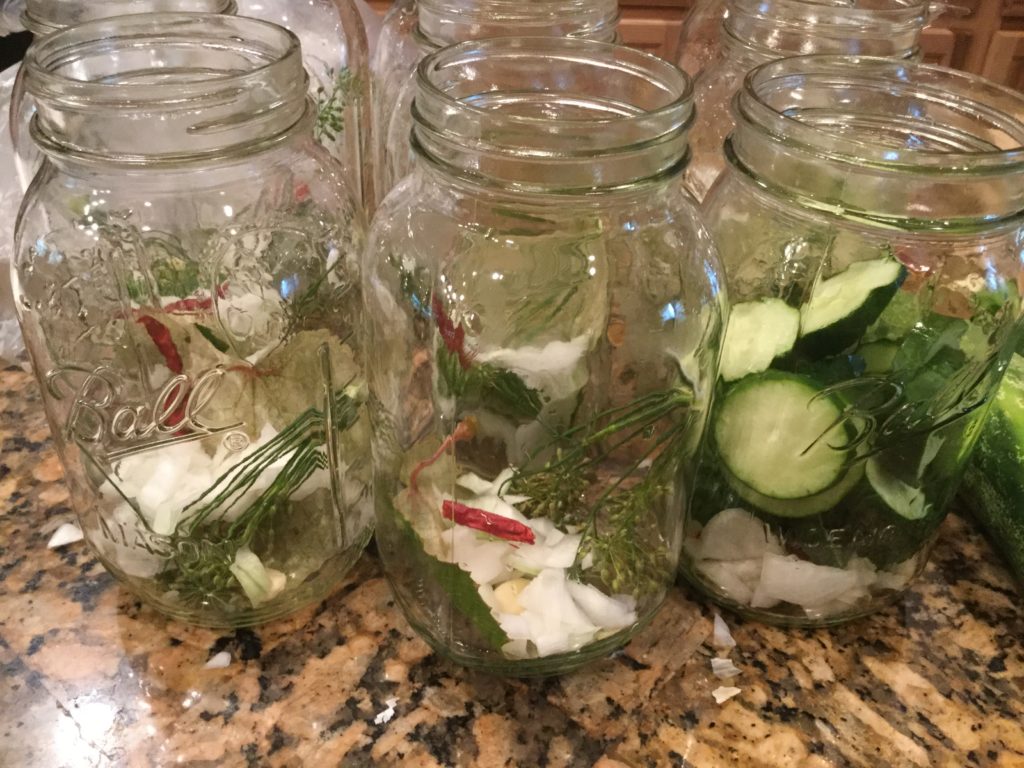
Next, I create an assembly line, of sorts. I put a clove of garlic, a dried red pepper, a sprig of dill, a grape leaf (for crispness) and some chopped onion into each jar.
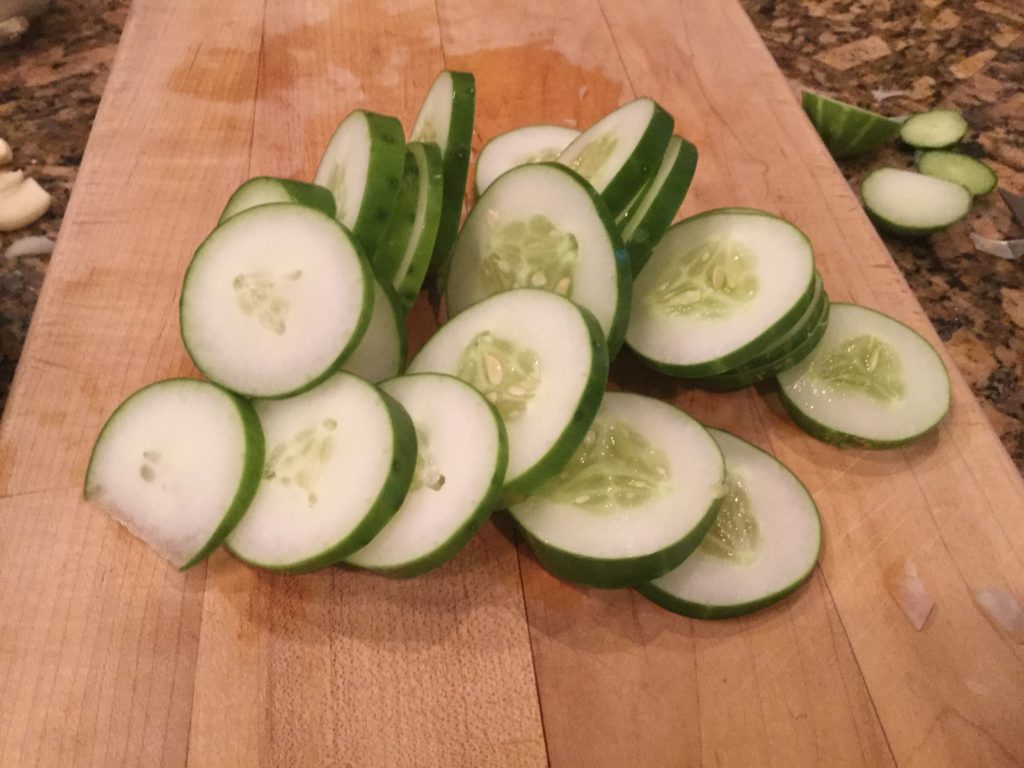
Selecting the Best for Pickling
For pickling, you want to select very firm ones, especially if you like crisp pickles. If they’re too bendable, you probably won’t get the desired crispness.
prep the cucumbers
Start by washing the cucumbers thoroughly under cold water. Trim off both ends and then slice them into thin rounds or spears, depending on your preference.
TIP – I bought a little nail scrubber from the Dollar Tree and it really helps to get the bumps off, when washing.
assemble the pickles
Begin stuffing your jars with the cucumber slices. I put a few in and shake the jar, just a little to help pack them down. Try to get as many as you can in, but be sure to leave room for the brine. Also, when you get up to the mouth of the jar, add another clove of garlic, red pepper and a small sprig of dill to top it off, then leave about an inch at the top.
we’re ready for the pickling brine
Now comes the fun part. Be very careful here as the brine is extremely hot! I use a funnel and a ladle to add the brine to the jar. I hold the funnel with a hand towel, as you need some kind of protection between your hand and the brine. Trust me…I speak from experience. It’s HOT!!
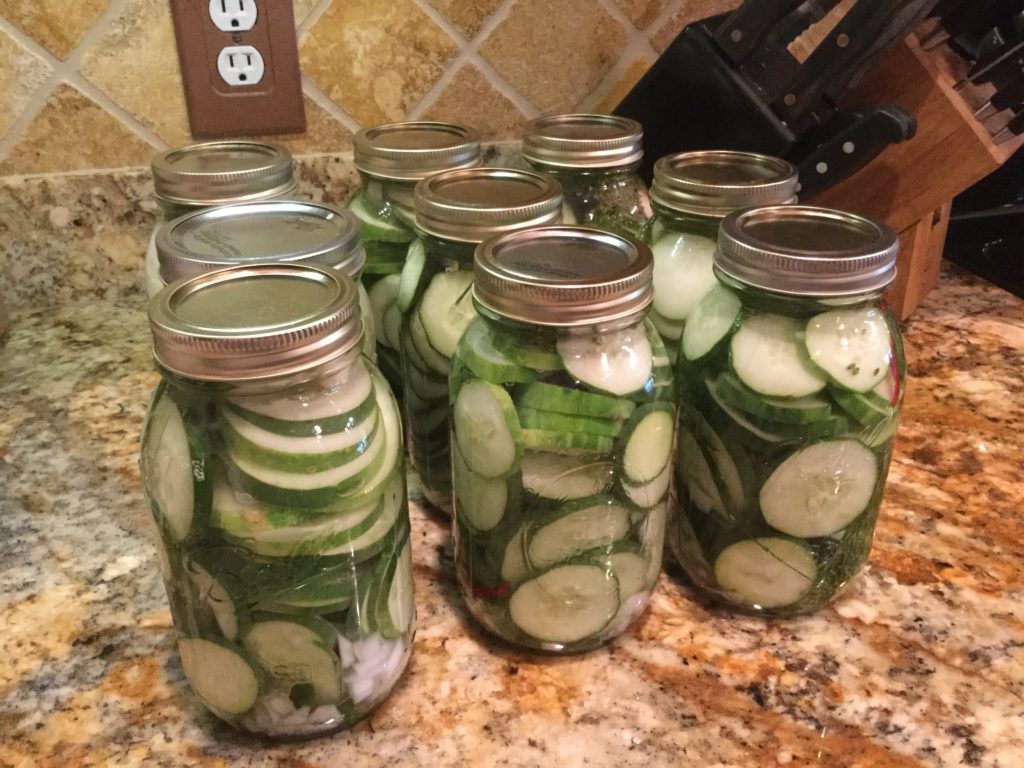
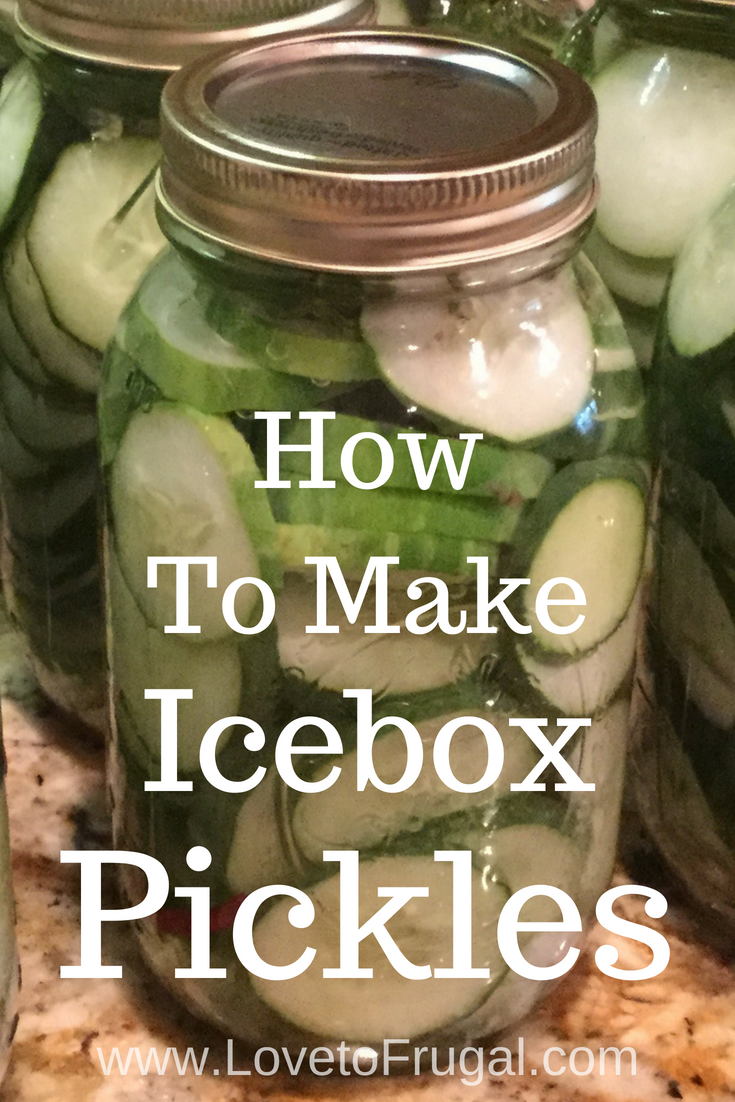
Fill the jars with the brine until you have about a half inch left at the top. Then put your lid and ring on and tighten firmly.
As the jars begin to cool, you’ll be able to hear a “pop”. That means it’s sealed. Let completely cool and put them directly into the refrigerator. That’s it!!! They can be eaten practically the next day, but the longer they sit, the more flavorful they will become.
These pickles are easy and so worth the little bit of effort that they take to make. Your family and friends will be asking for more and I think these would be a great homemade gift idea. They would go great in gift baskets for housewarmings, birthdays, showers and even Christmas! There’s so many possibilities!
My Amazon picks:
Do you have cucumbers coming out of your ears? Give this recipe a try! You won’t regret it! You’re welcome to drop me a note if you make them and let me know how you like the recipe!
Also, make sure to subscribe to Love To Frugal so you never miss a post AND you can also follow me on Pinterest, Facebook & Instagram for more fun, money saving, frugal ideas!
other recipes to try:
The Best Homemade Salsa – Easy Recipe
Slow Cooker Salisbury Steak
Cauliflower Mac and Cheese
- 18-20 Med. to Large pickling cucumbers (washed/scrubbed)
- 4 quarts of water
- 1 quart of vinegar
- 1 to 1⅓ cups of pickling salt (I used 1 cup and they were plenty salty for me)
- Fresh bunch of dill
- 1 large head of garlic (skins removed)
- 1 package dried red peppers (found in produce dept.)
- Grape leaves (1 for each jar) washed
- 1 Large onion (chopped)
- Slice cucumbers about ¼ inch thick or slice into spears. Make sure spears are not taller than jar.
- Combine water and salt, then stir until salt completely dissolves.
- Add vinegar and stir, heating to almost boiling, then reduce heat to low.
- Add grape leaf, dill, onion, garlic and pepper to each jar.
- Pack cucumbers in each jar, leaving room at the top to add brine.
- Top each jar with another clove of garlic, pepper and sprig of dill.
- Add brine with a funnel and a ladle, slowly until filled to about a half inch from top.
- Put lid and ring on and tighten firmly.
- Let cool and refrigerate.
Hi! Love these pickles. Do you know how long they will last in the fridge? Thanks!
Hi Emmylou! Refrigerator pickles are good for 4-6 weeks, when kept refrigerated and the lids are sealed after each use.