How To Make A DIY Dollar Tree Fall Centerpiece
If you’re wanting to create a gorgeous fall centerpiece for your dining room table or coffee table, Dollar Tree has you covered!
Fall is my favorite time of year! I don’t know if it’s the warm colors, the cool(er) nights or just the prelude to Christmas…but I love it! I also enjoy decorating my home for fall as it seems to bring in a cozier vibe. And what’s great is you don’t need much money to do that. You can go out in your yard and bring some of nature in if your into a more natural decor or you can head to your nearest Dollar Tree & create a beautiful fall centerpiece for just a few dollars!
I have been blown away at the quality of the florals that they have, this year! These bunches didn’t look like typical dollar store flowers! They are beautiful!
So, if you’re ready to dive in, let’s make this beautiful Dollar Tree fall centerpiece for your table!


DIY Dollar Tree Fall Centerpiece
Here’s what I used for this project:
4 bunches of flowers
5 bunches of Fall leaves (some had cute little pumpkins)
1 bunch of white berries
2 metallic pumpkins
1 Plastic garden container
2 blocks of oasis + 1 smaller square block of green styrofoam to hold a candle in the center (it’s harder than oasis).
Gold spray paint (Walmart .97 cents) I already had this.
1 battery candle
Hot glue gun
Wire cutters
Let’s Make It!
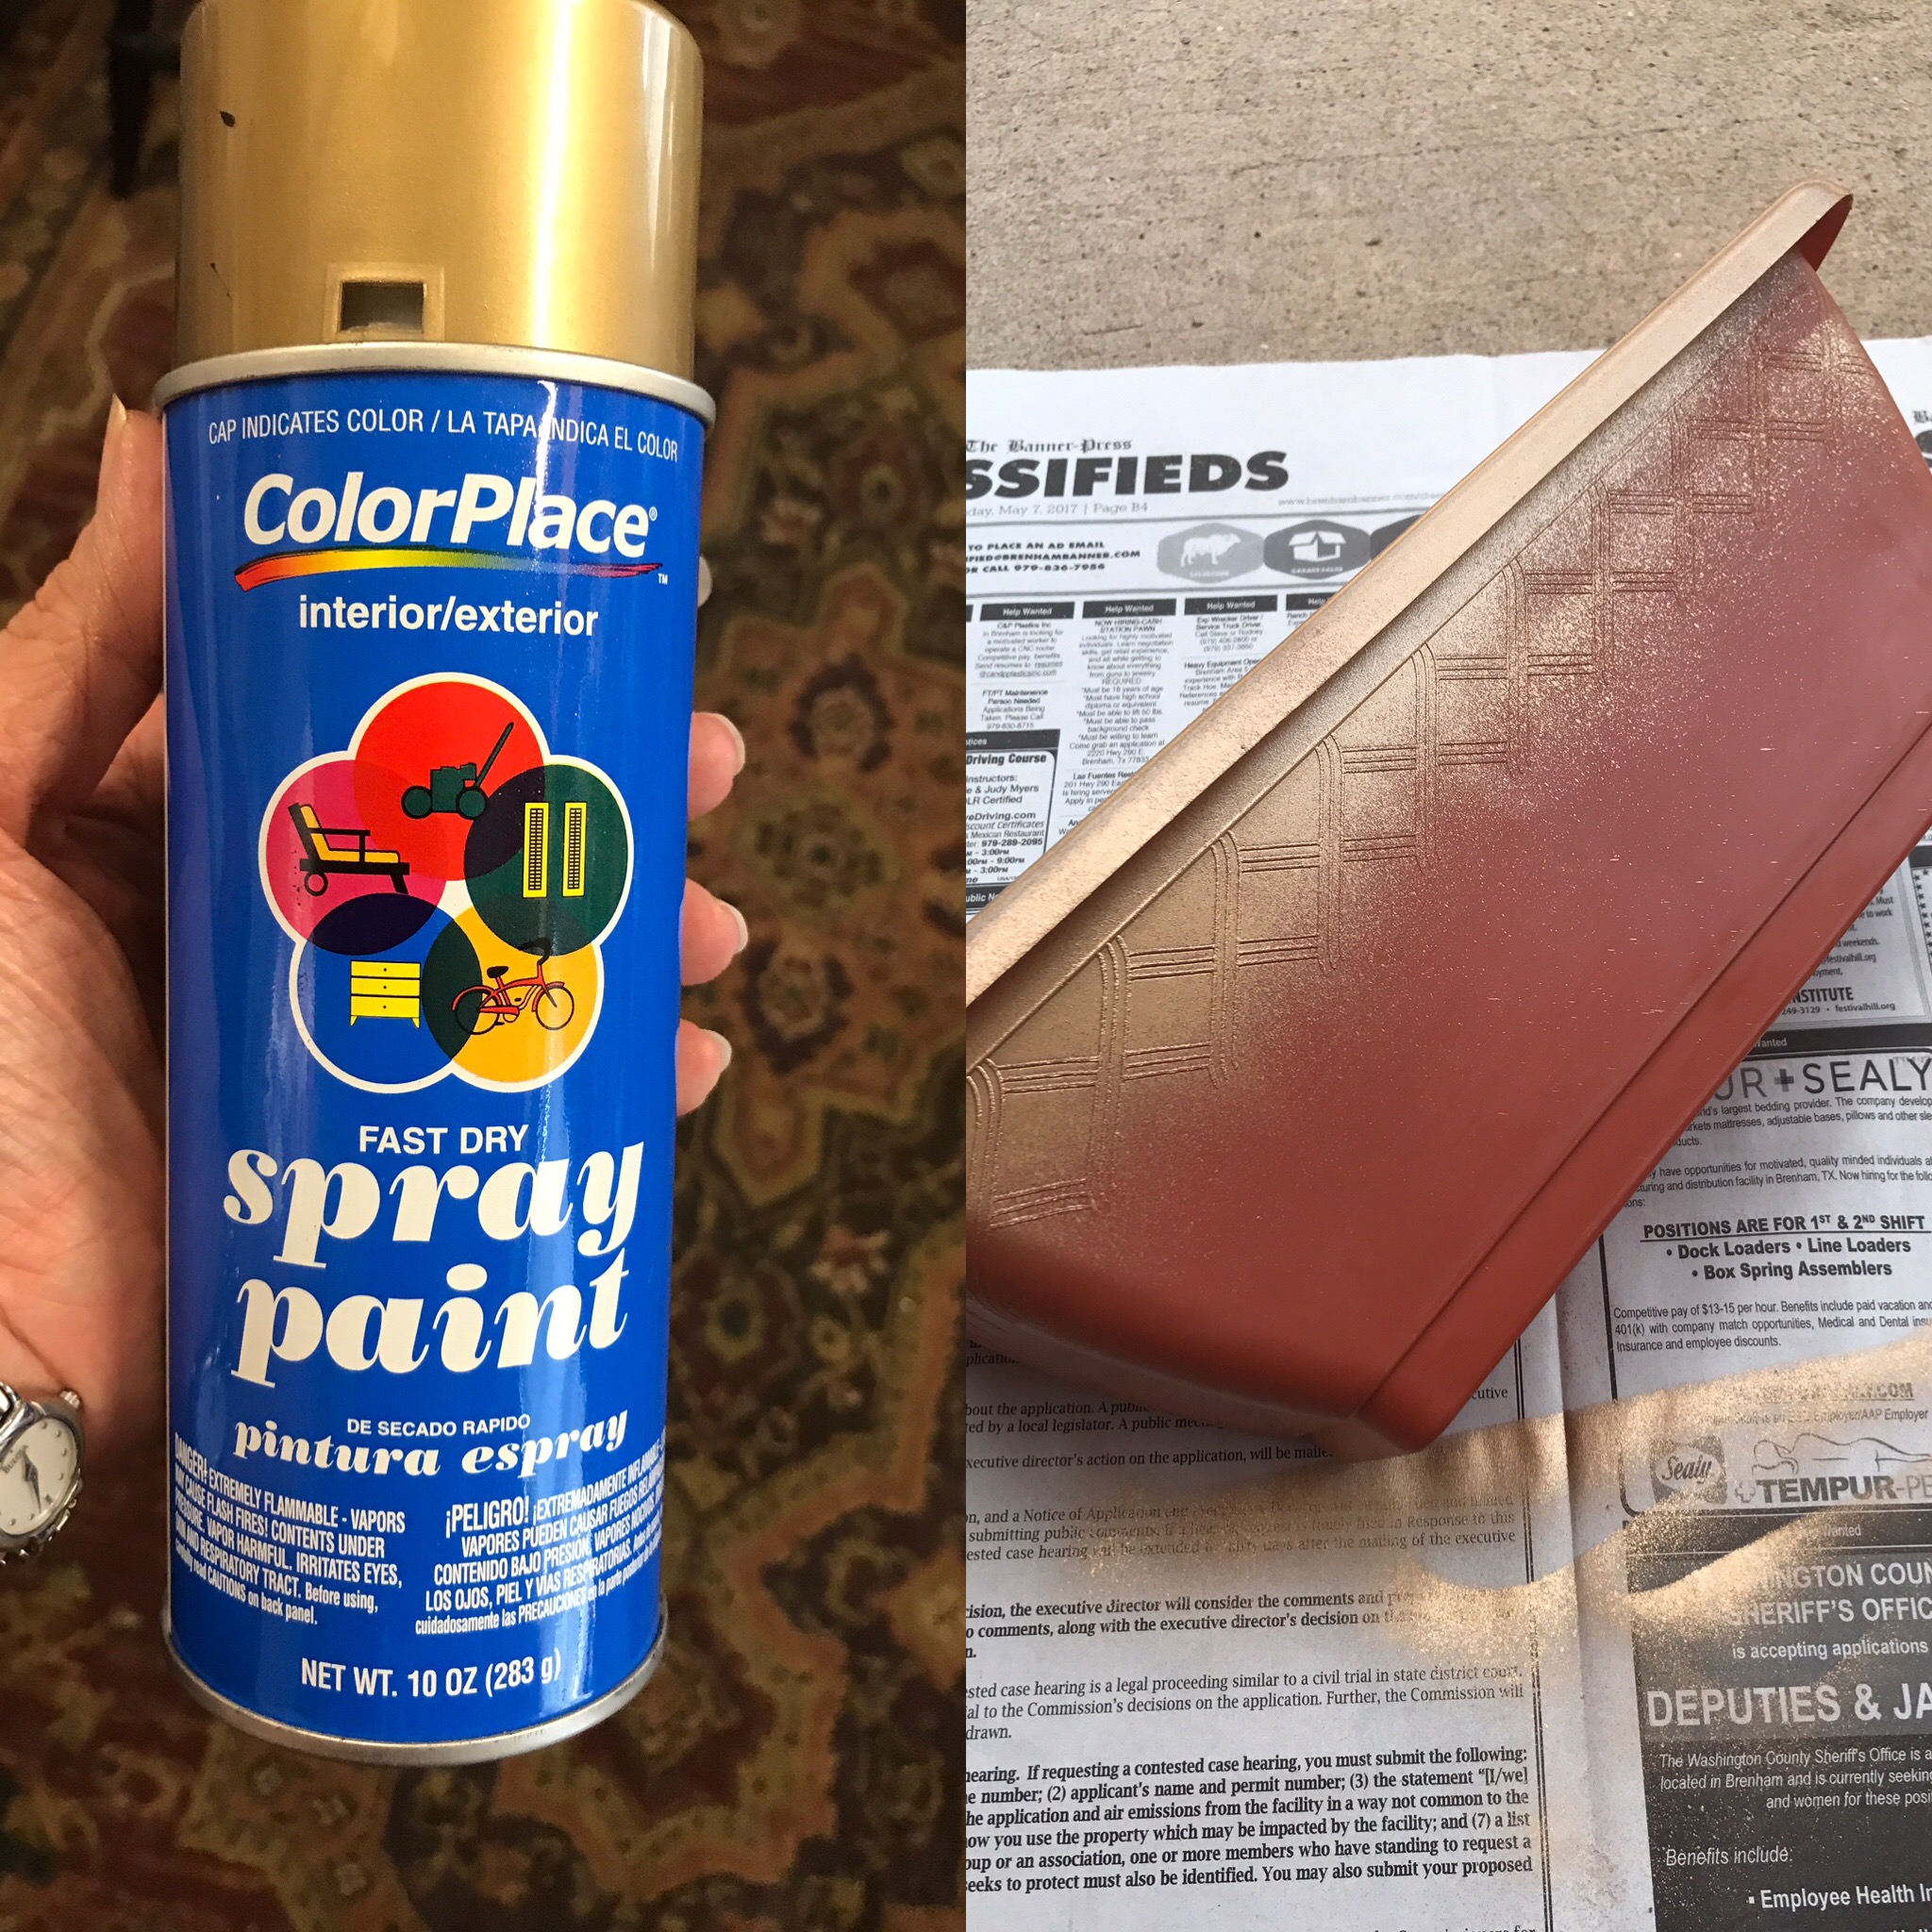
First thing I did was take the plastic container outside and give it a couple of coats of gold spray paint. I didn’t worry about the inside, as it will not be seen. This paint drys very fast.
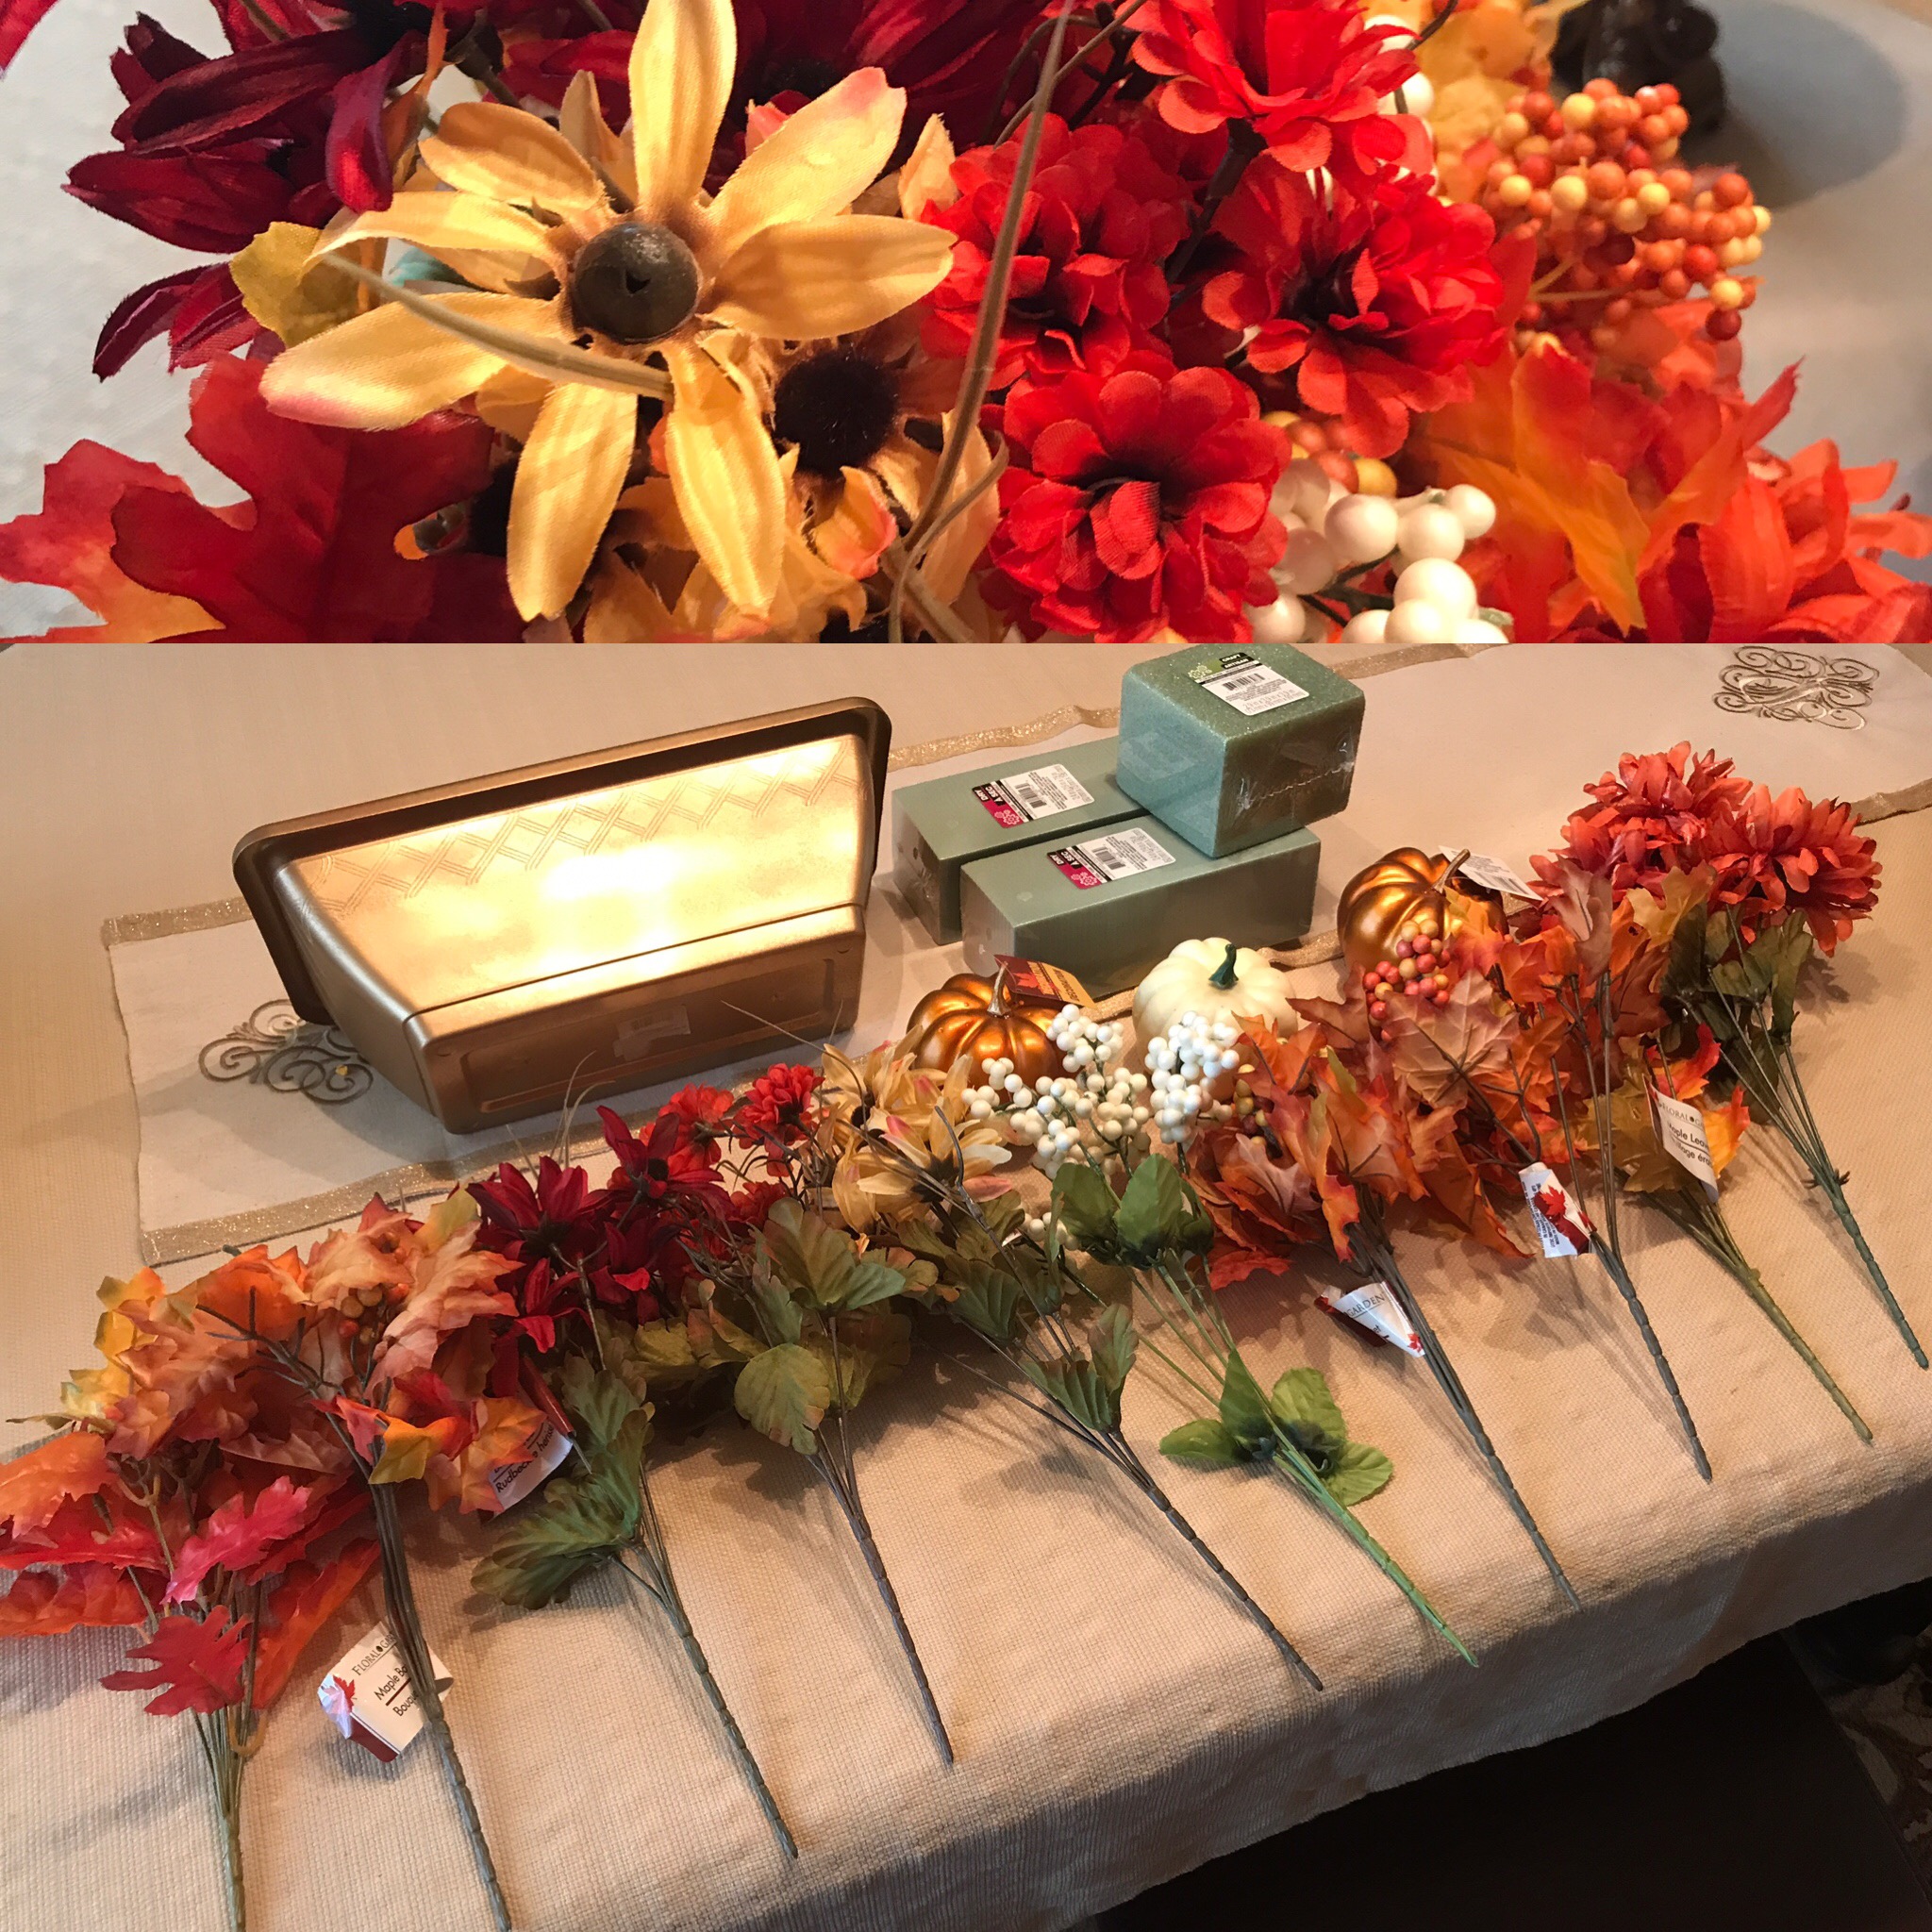
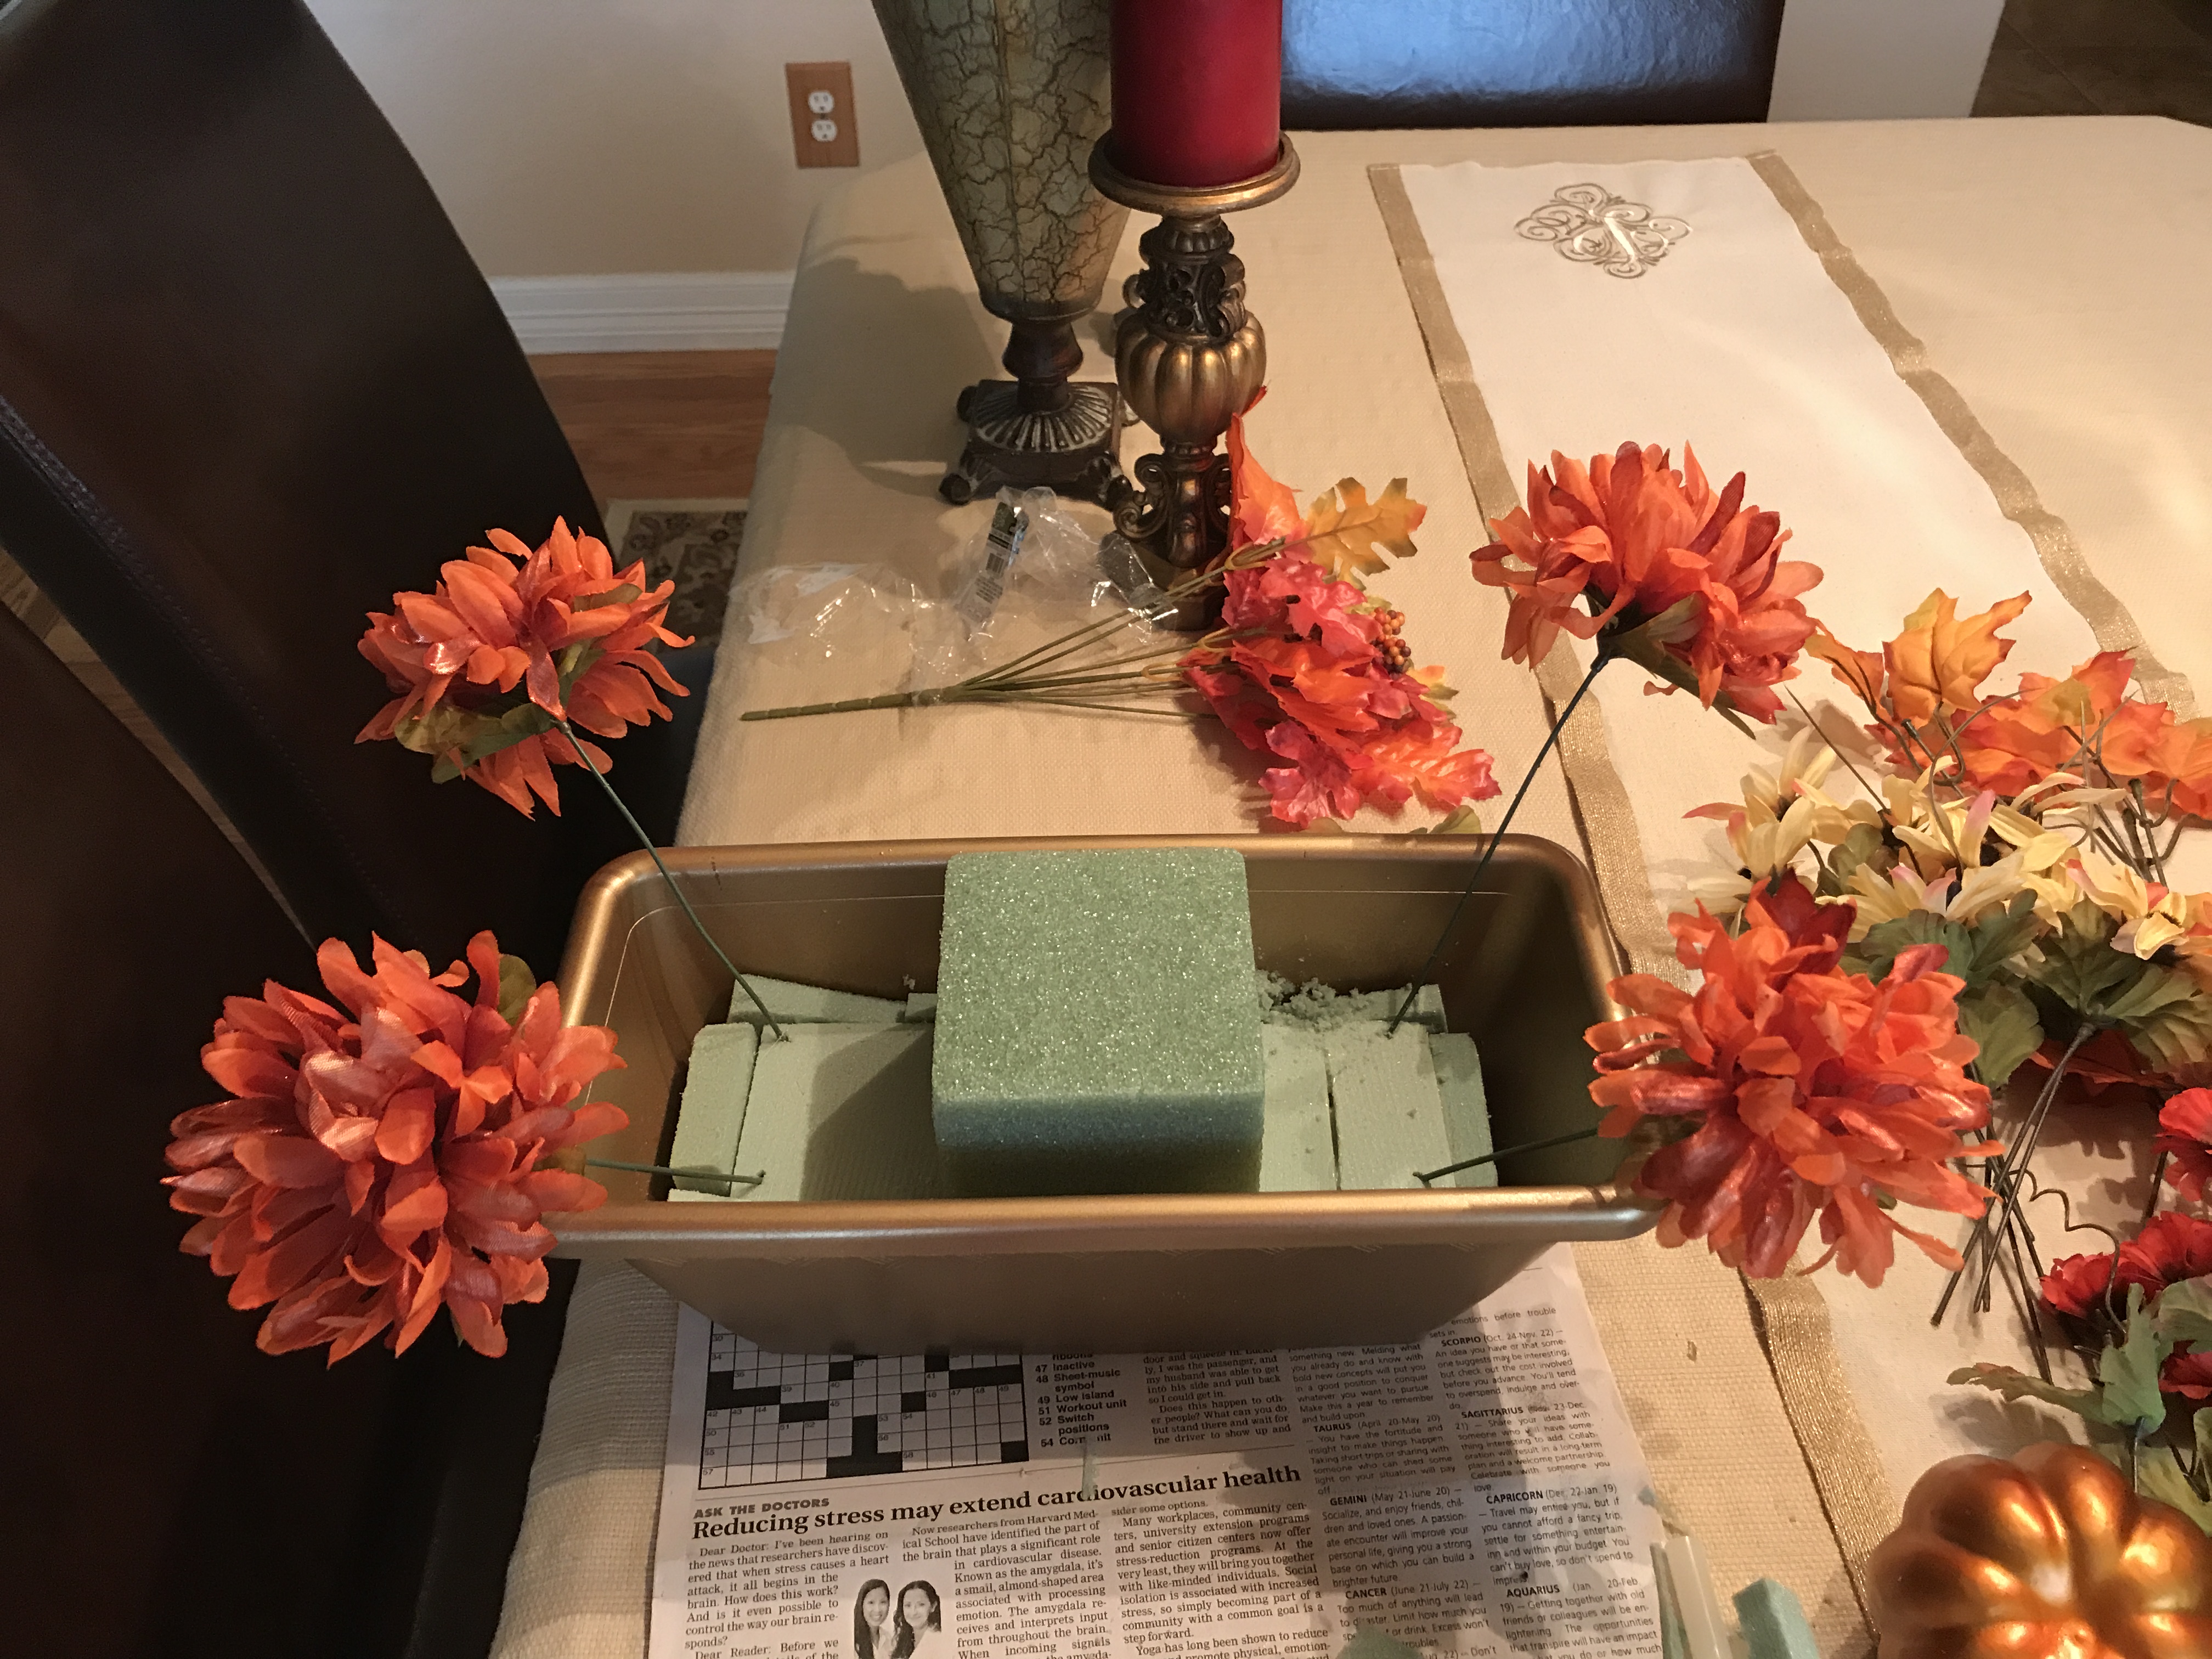
This pic is to mainly show you what was used. There are 10 bunches of florals, the oasis, the pumpkins and the container.
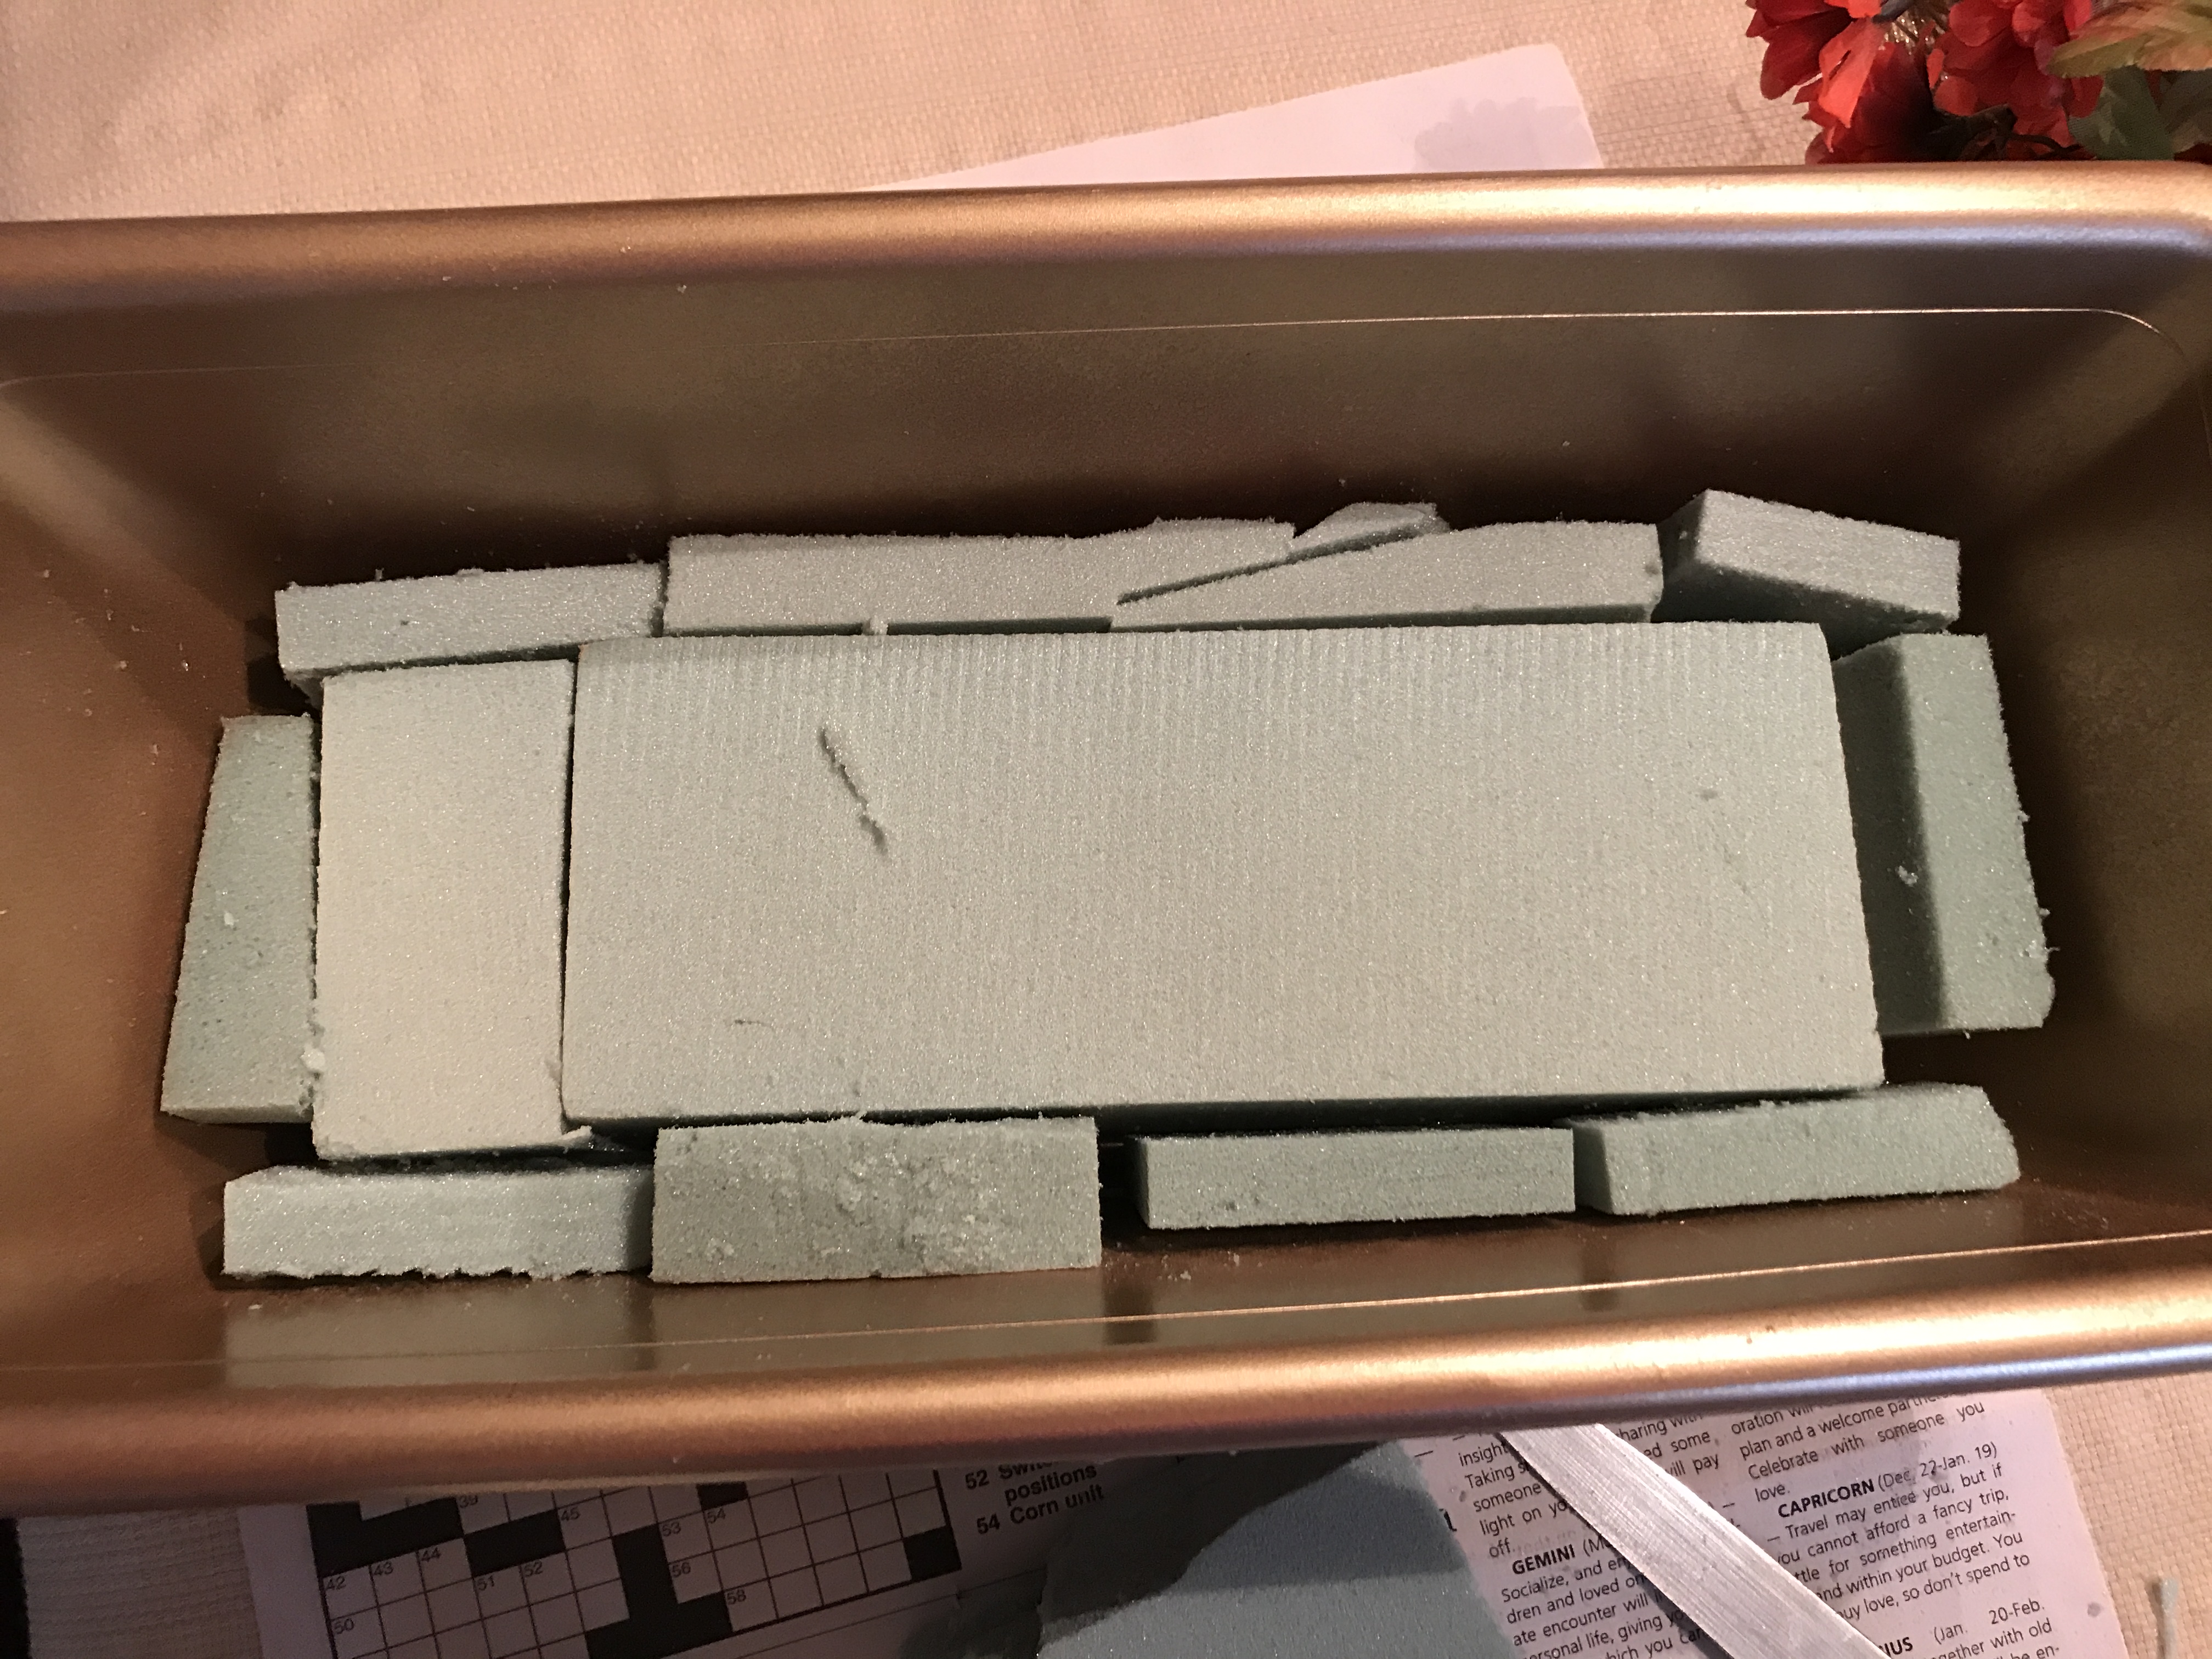
Lay one brick of oasis inside of the container, then start slicing up the other one to fill in the spaces.
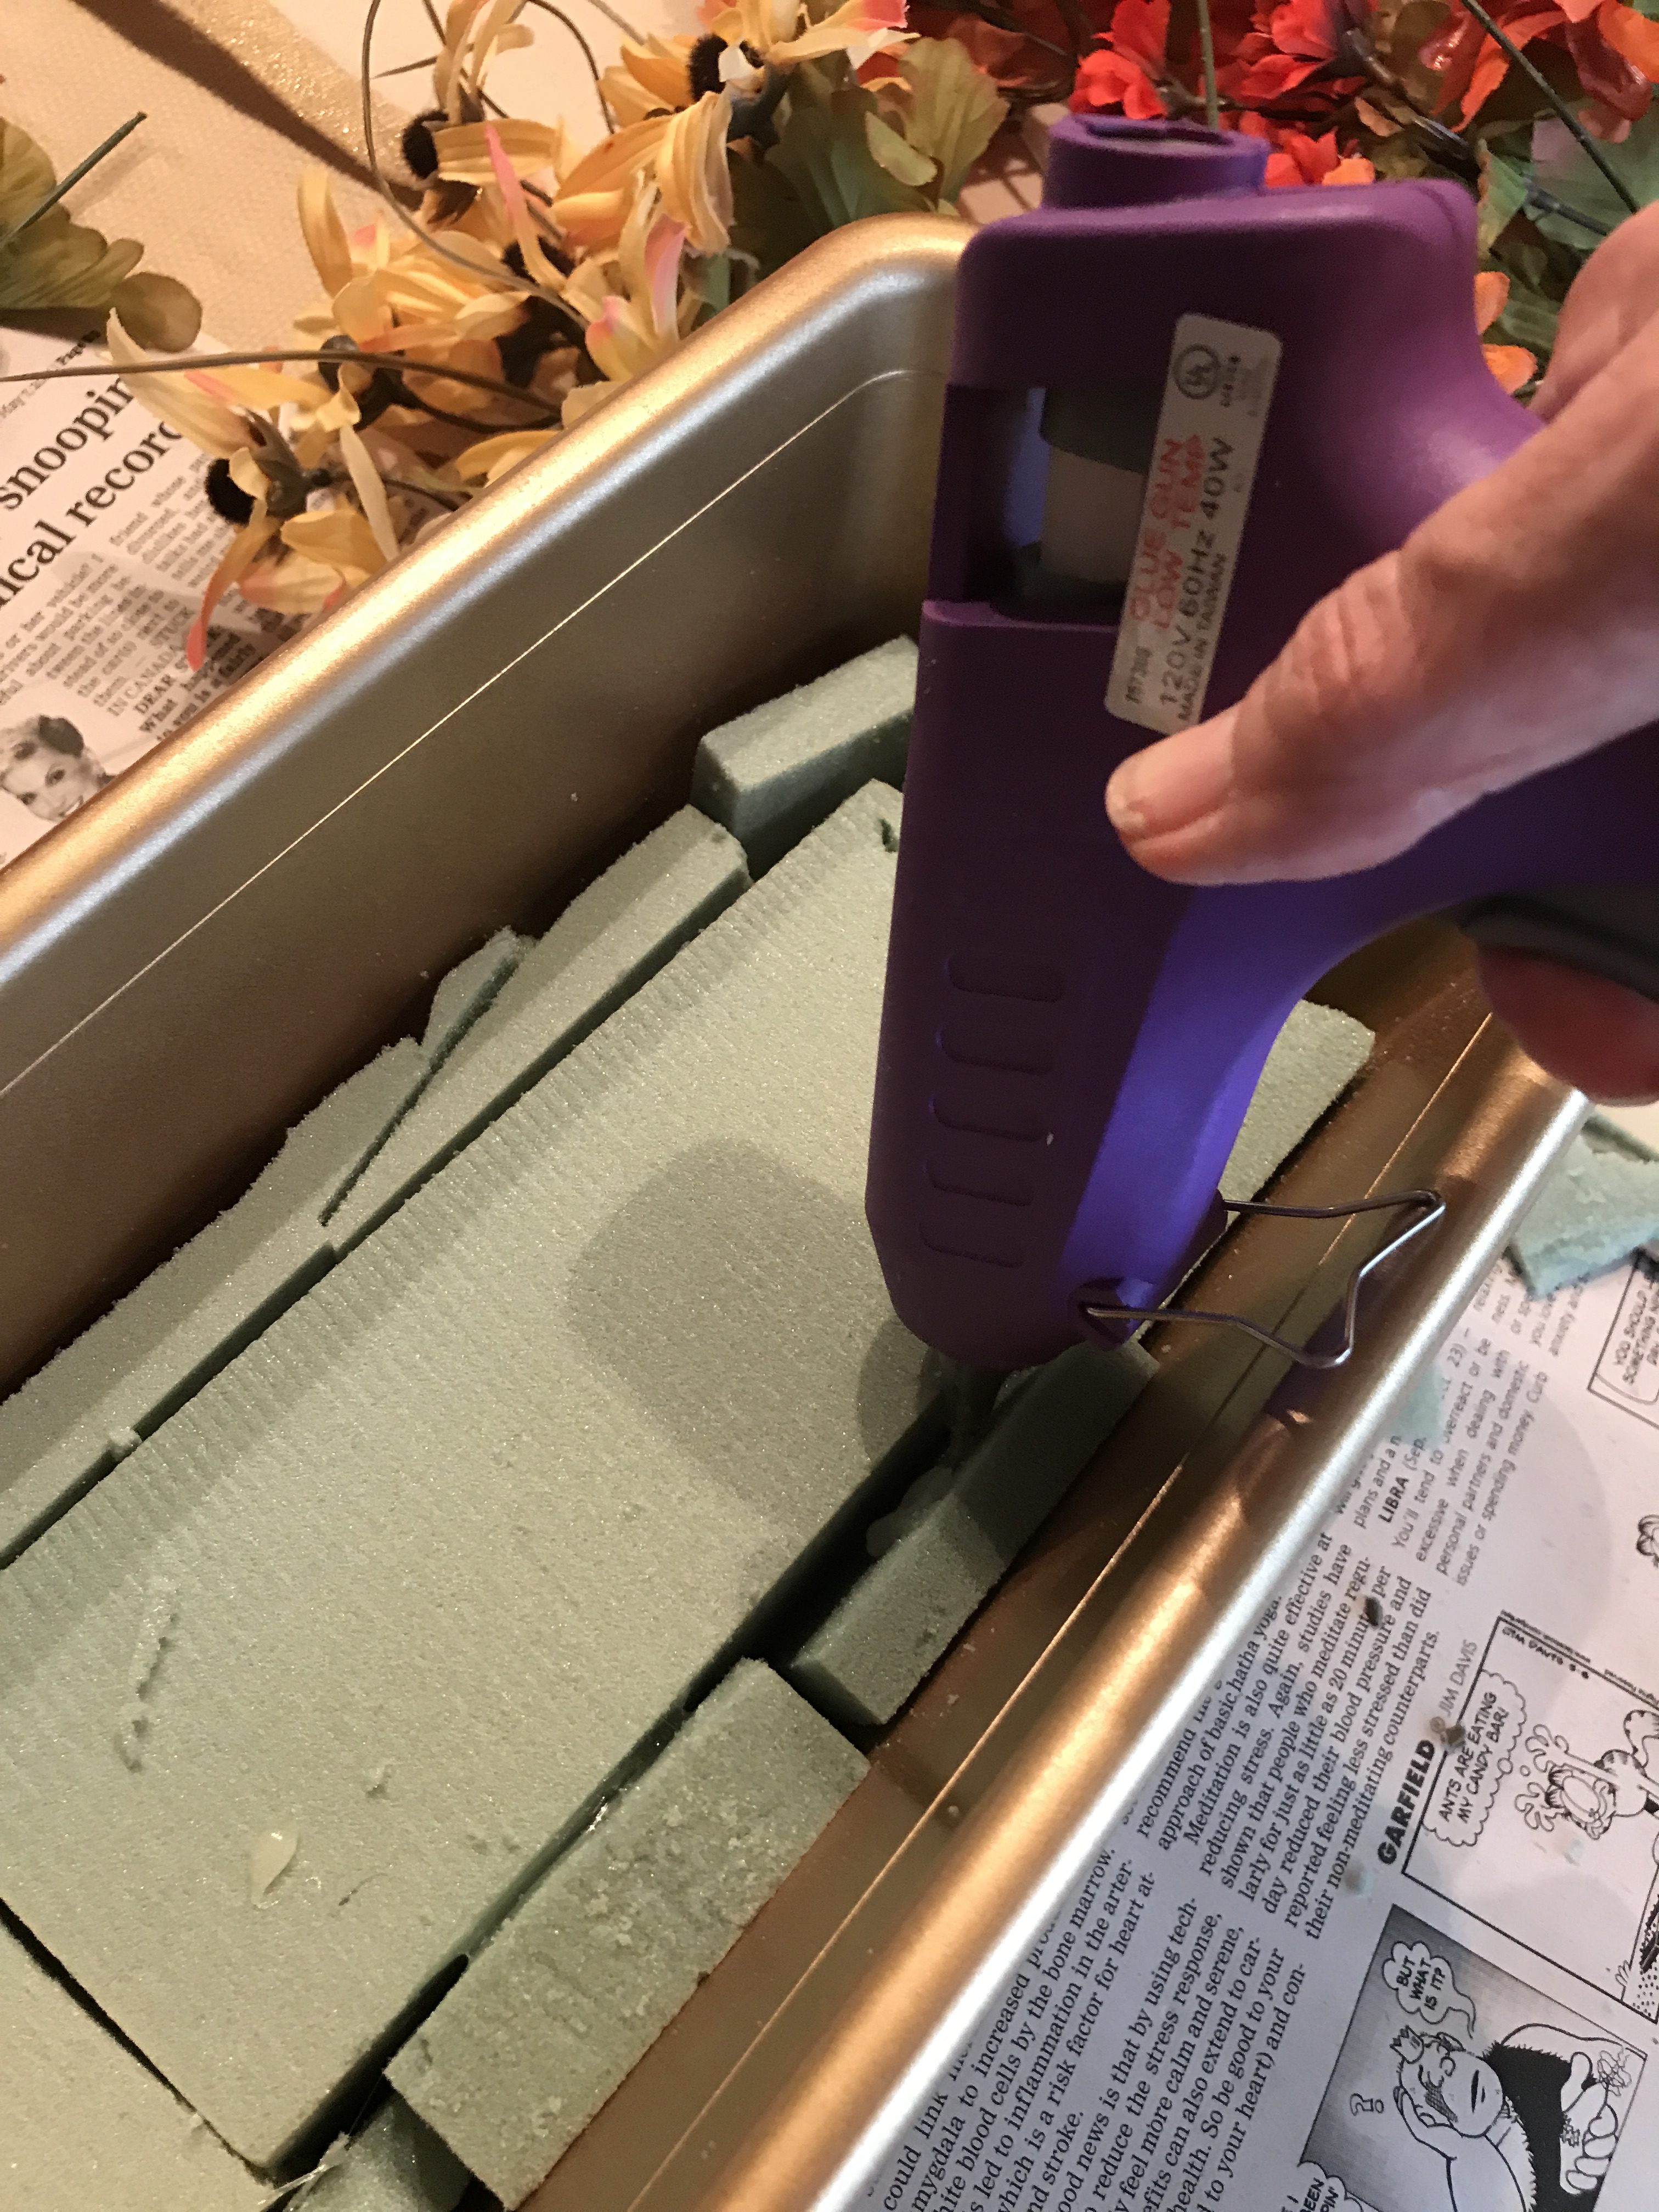
Hot glue the pieces together for stability.
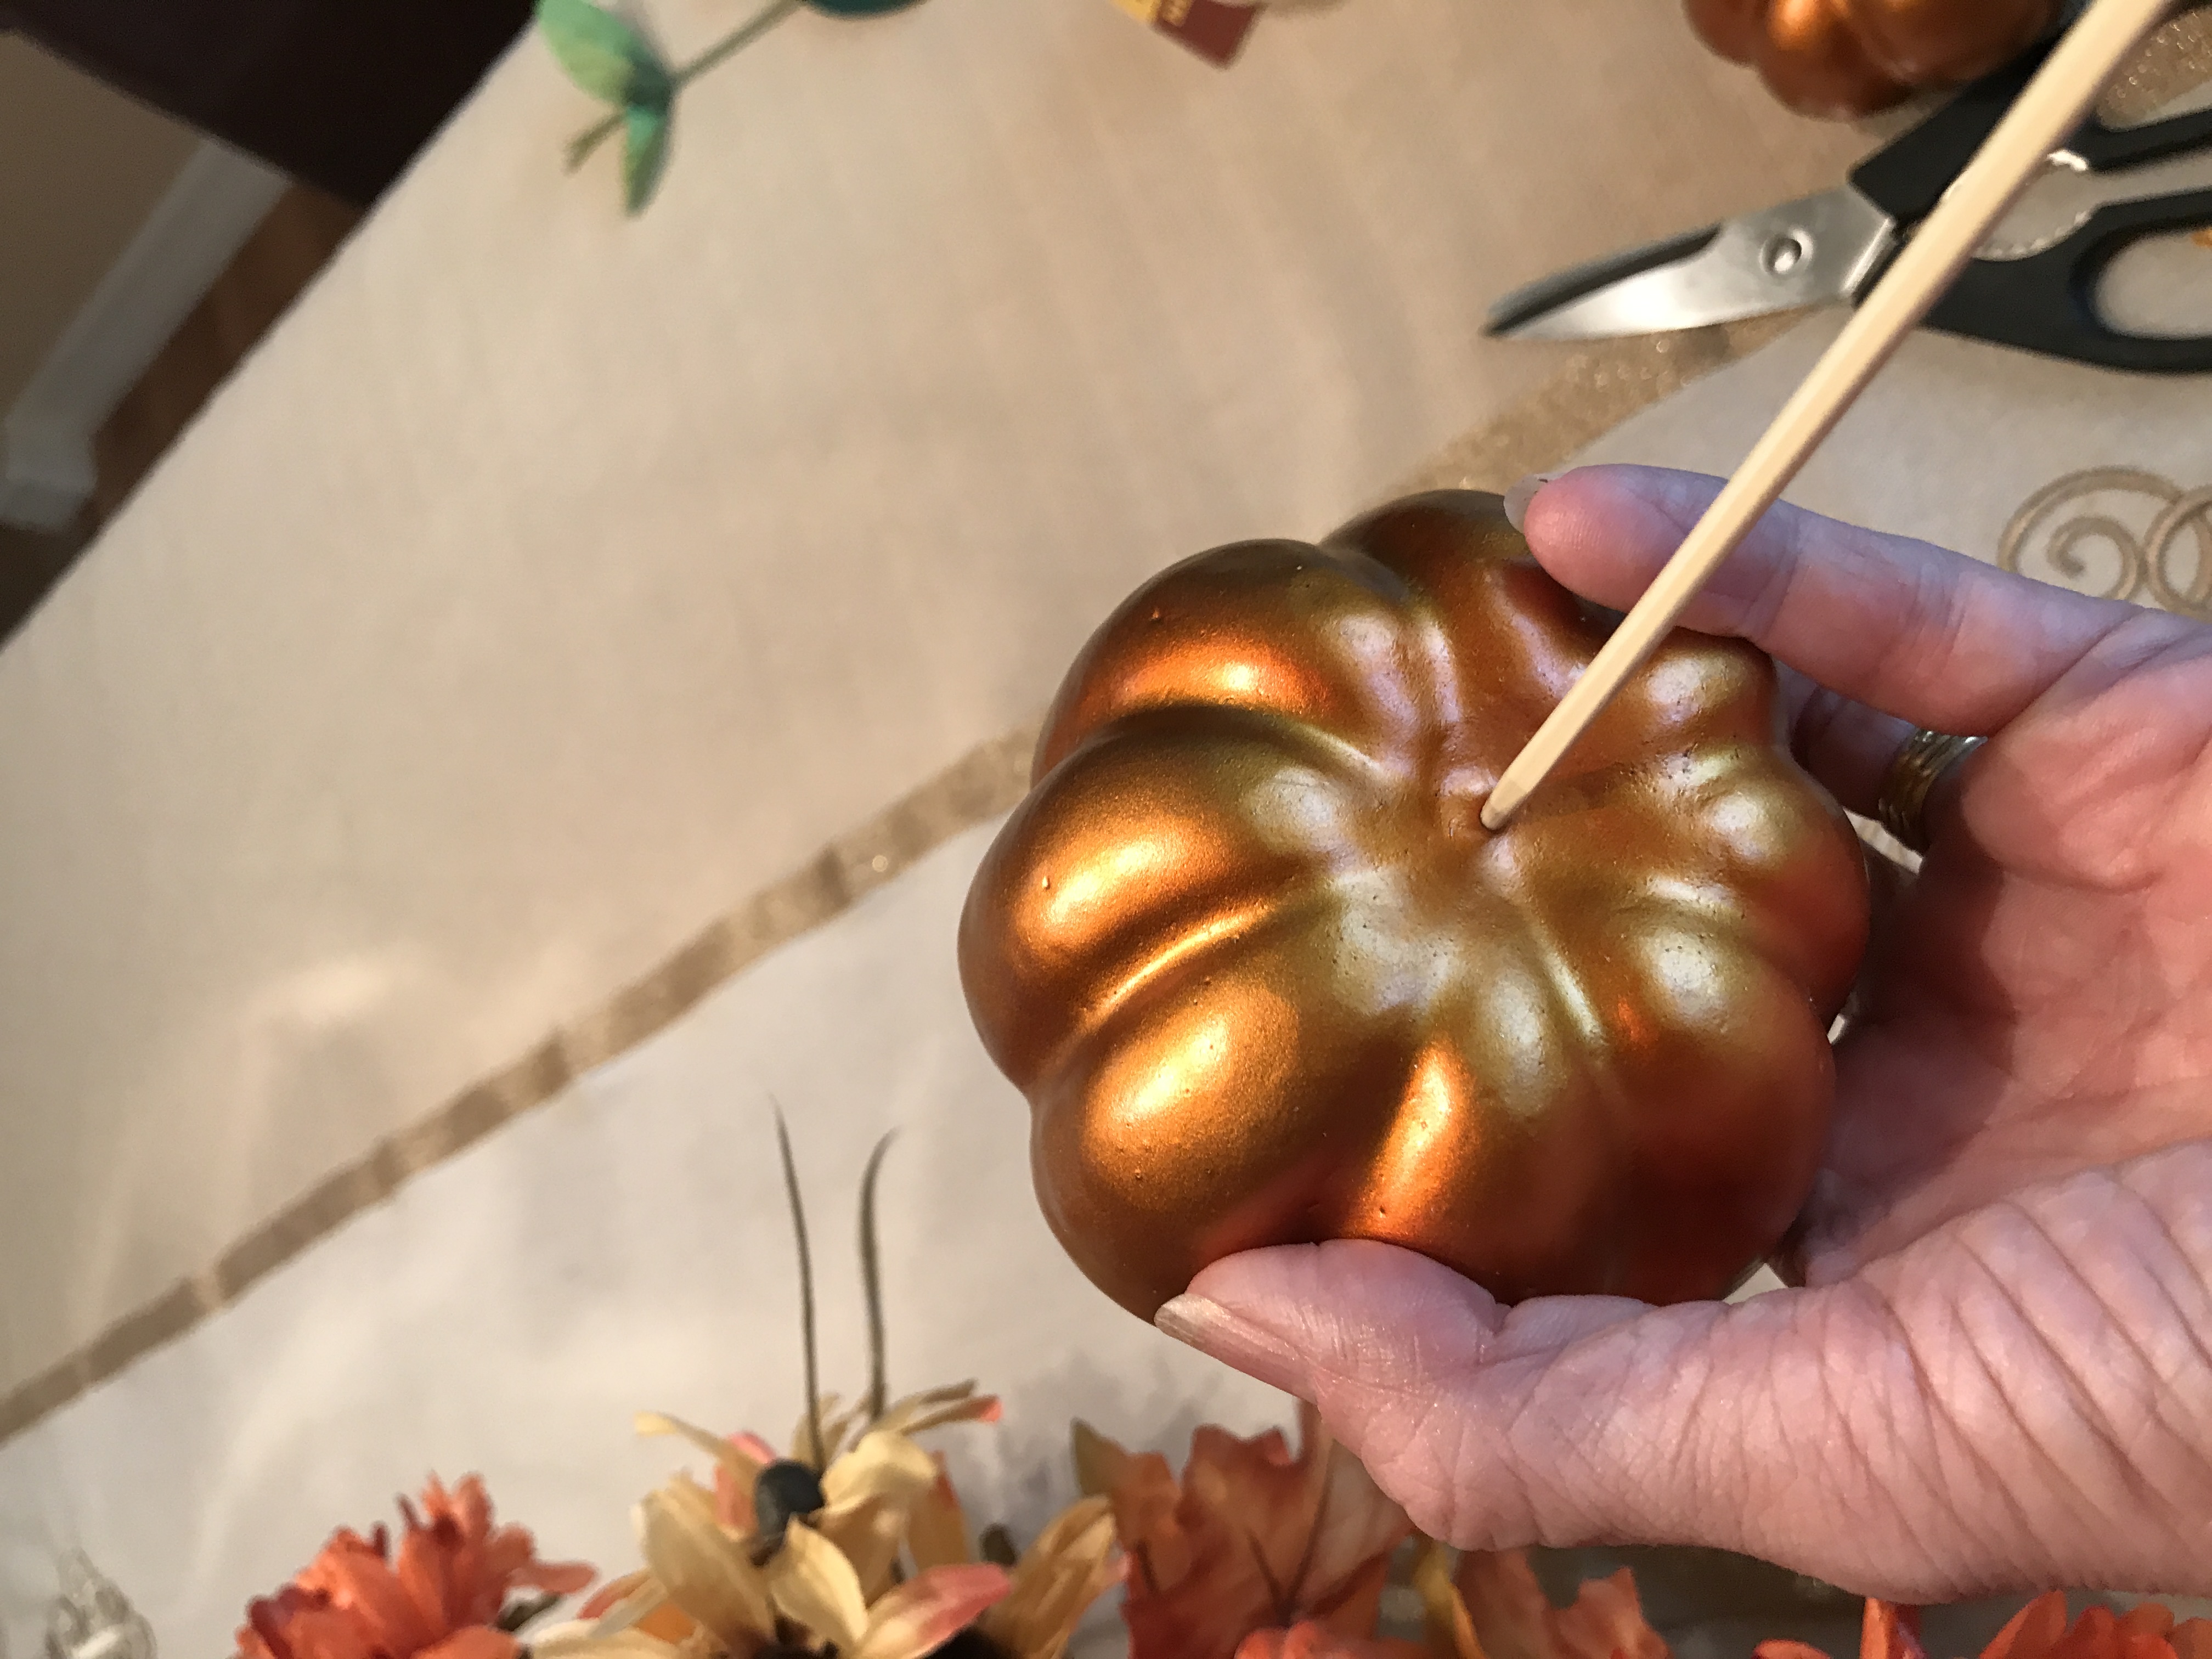
Take a skewer or one of the stems that you cut off from the flowers and poke it into the bottom of the pumpkins.
Put a large flower at each corner.
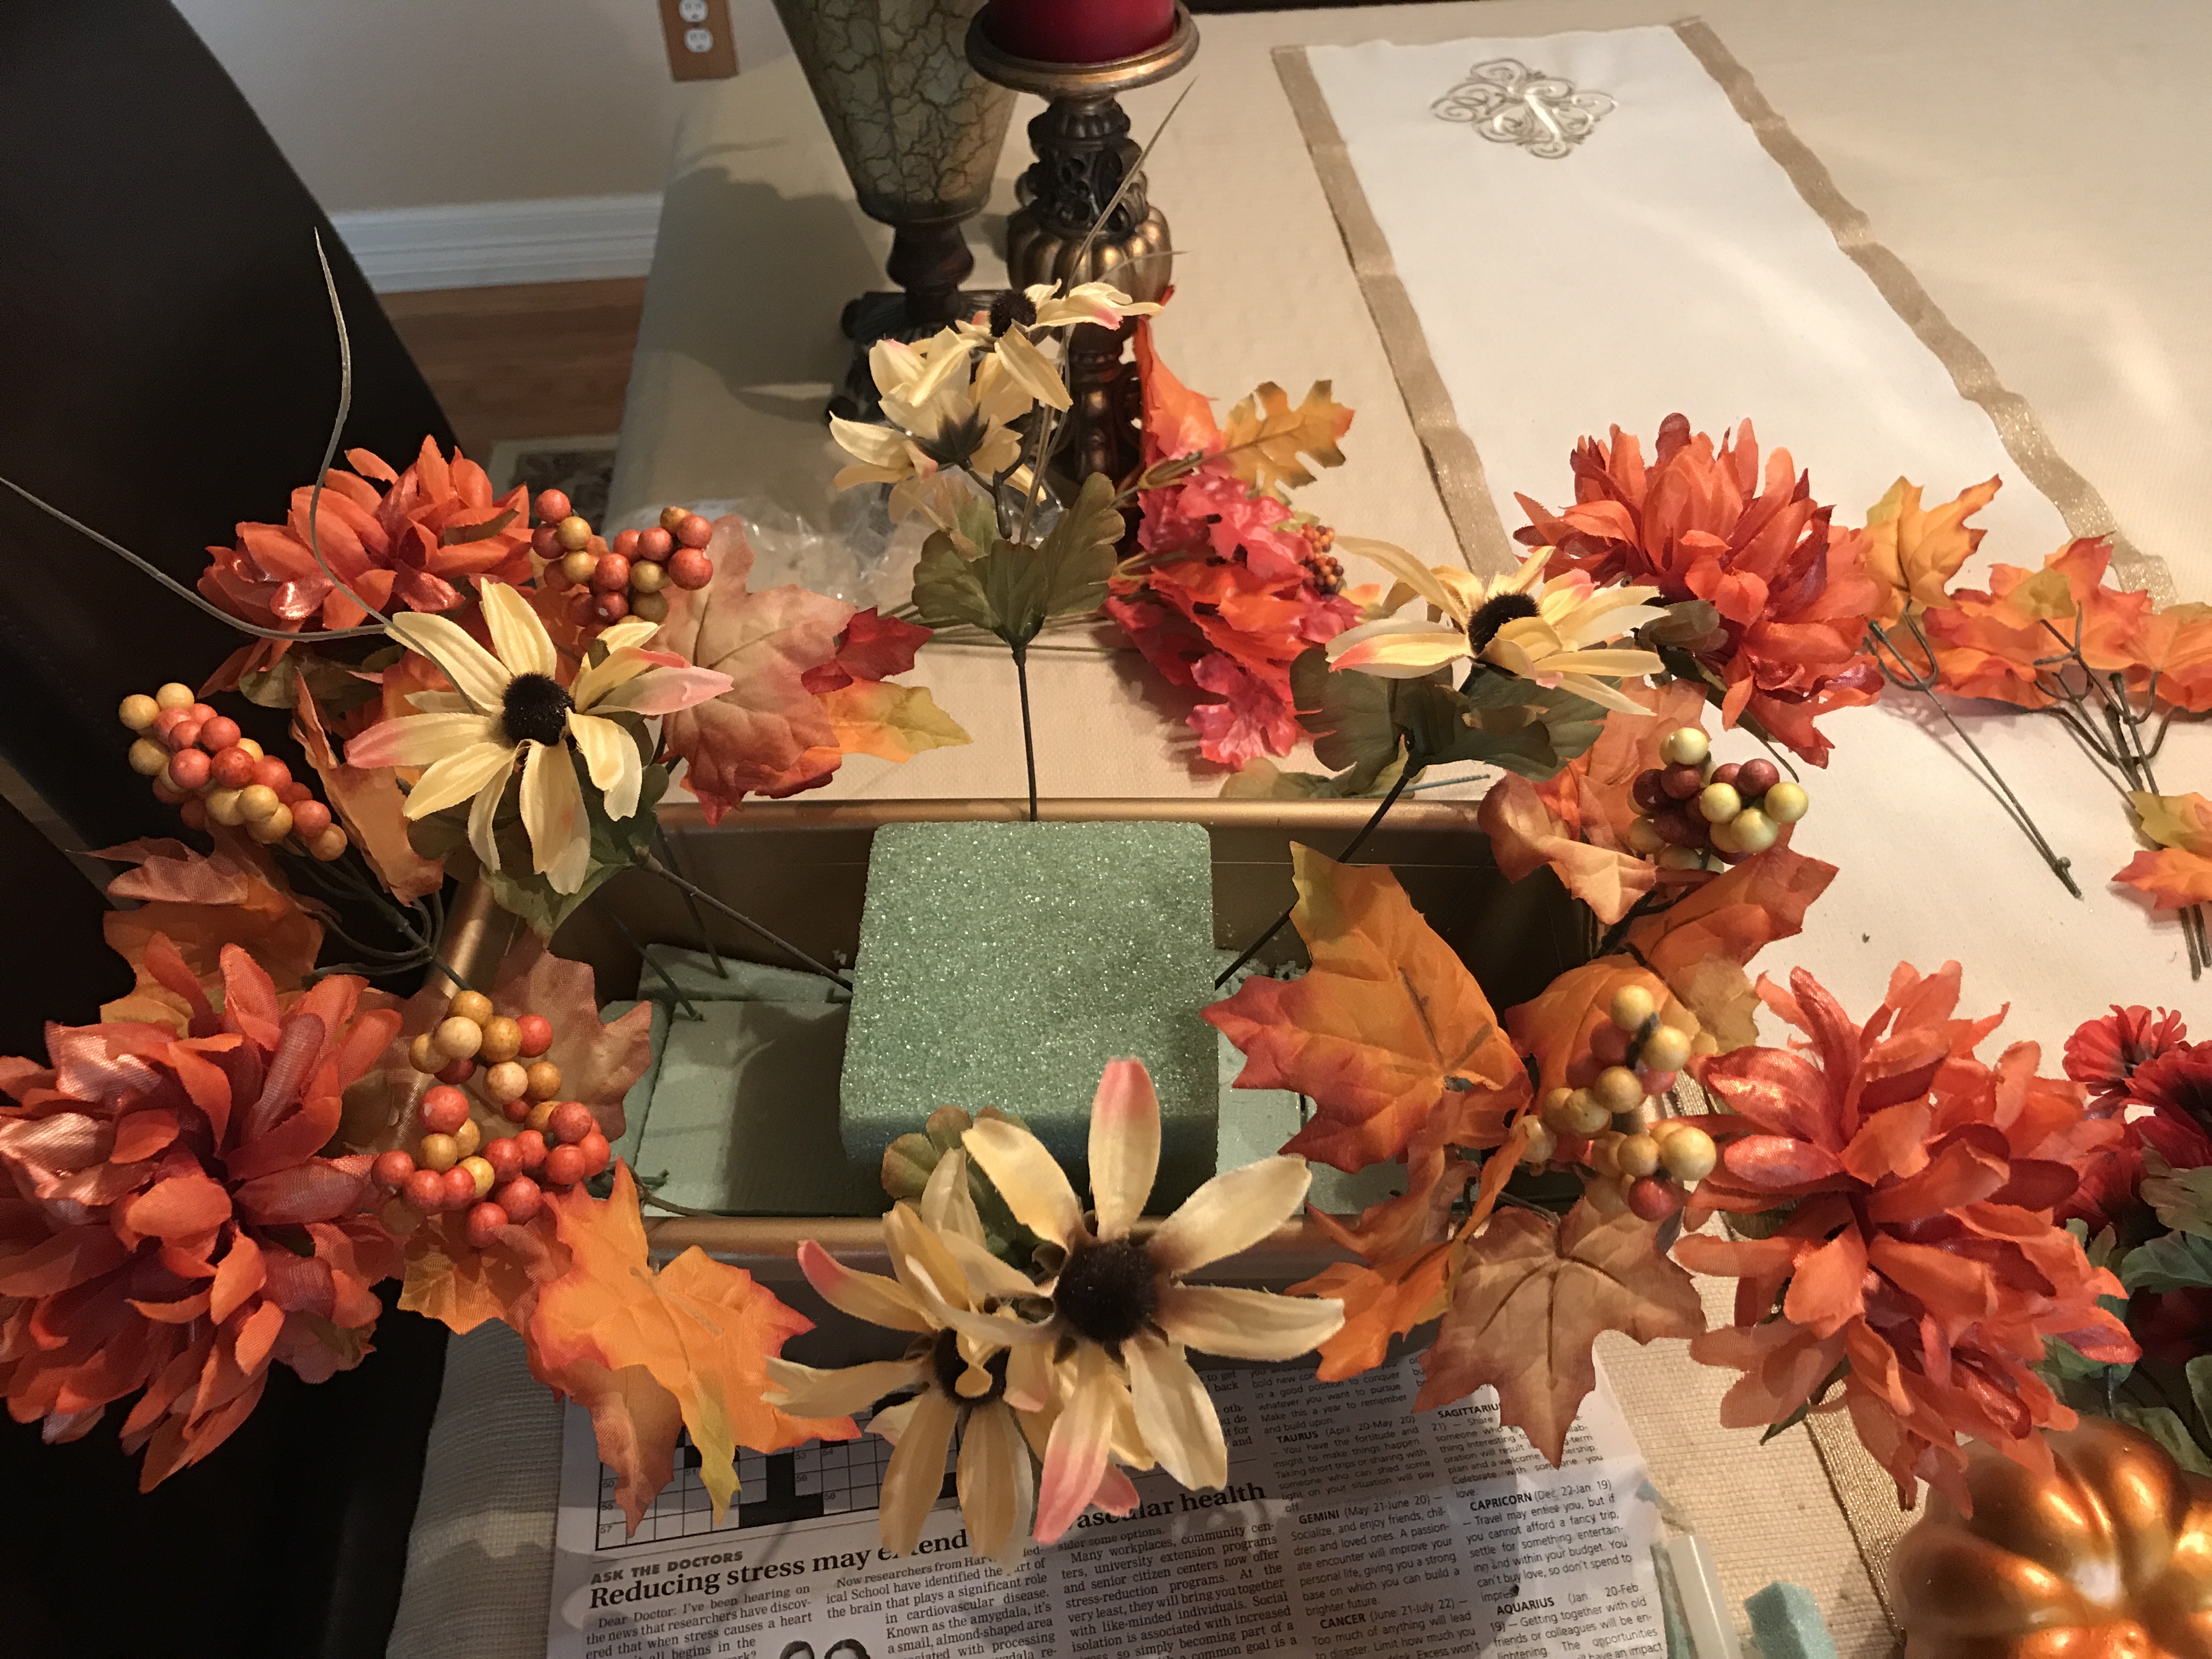
It’s all about symmetry
Start adding the other flowers, putting them diametrically across from each other. Meaning, whatever you do to one side, do to the other. When you finish adding the flowers, start filling in with the leaves. Every once in a while, step back and take a look to make sure it looks balanced. Continue doing this until you use all of the flowers/leaves. If you want to put the battery candle in the middle, be sure to leave space, otherwise, fill in with florals.
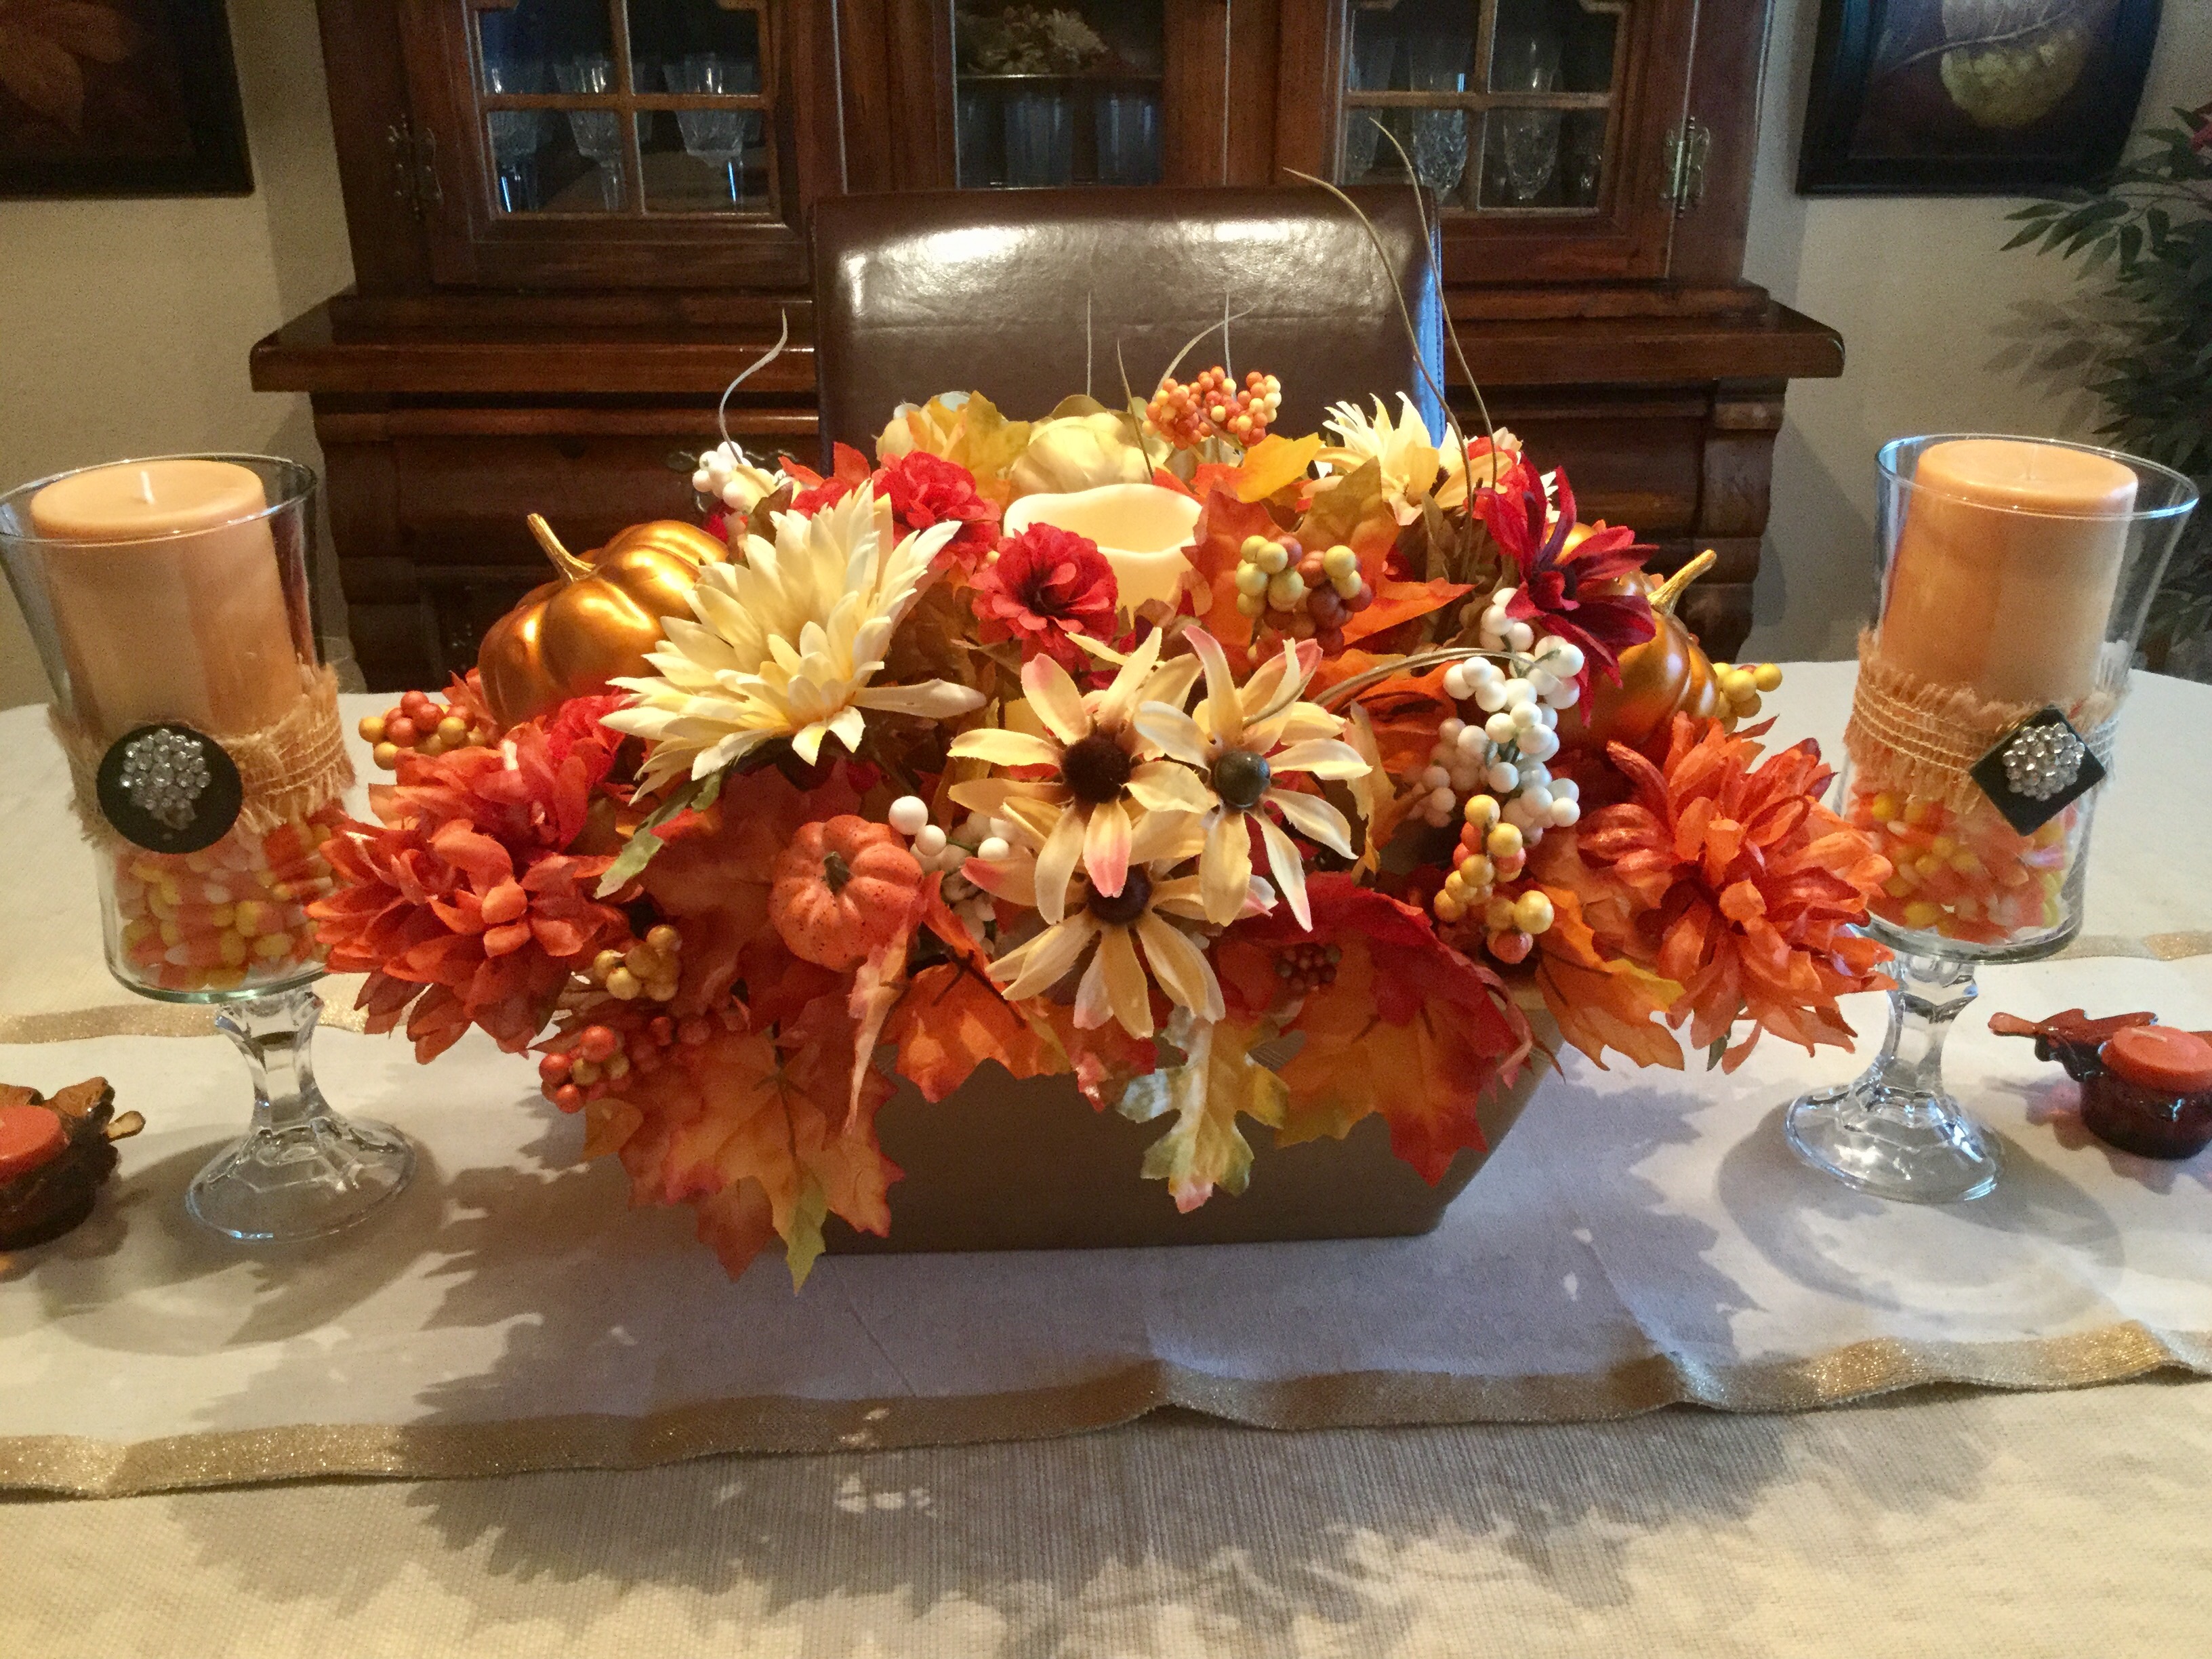
Viola! I was so pleased with the way this turned out and I’m very impressed at the quality of Dollar Tree’s florals.
BTW…The candleholders on each side of the centerpiece are Dollar Tree vases and candlestick holders, glued with E6000 glue.
If you’d like to see more Dollar Tree bargains, check out 25 Of The Best Things To Buy At Dollar Tree.
Have you made any beautiful DIY’s using all Dollar Tree items? I’d love to see them! Also, be sure to Subscribe to Love To Frugal so you never miss a post! You can also follow me on Pinterest, Instagram & Facebook for more money saving tips!
other posts you may be interested in:
Fall Decorating Ideas On A Budget
How To Decorate Your Home On A Tight Budget
How To Make A Coffee Filter Wreath


That is so cute! I love the candle holders on the side. I’m so going to make those. Thanks for the ideas!
What size plastic container did you use?
Hi Candy,
I used a Dollar Tree planter that measured approximately 13.5″ x 6.5″ x 5.5″ but any kind of rectangular or oval container would work.
Kimberly