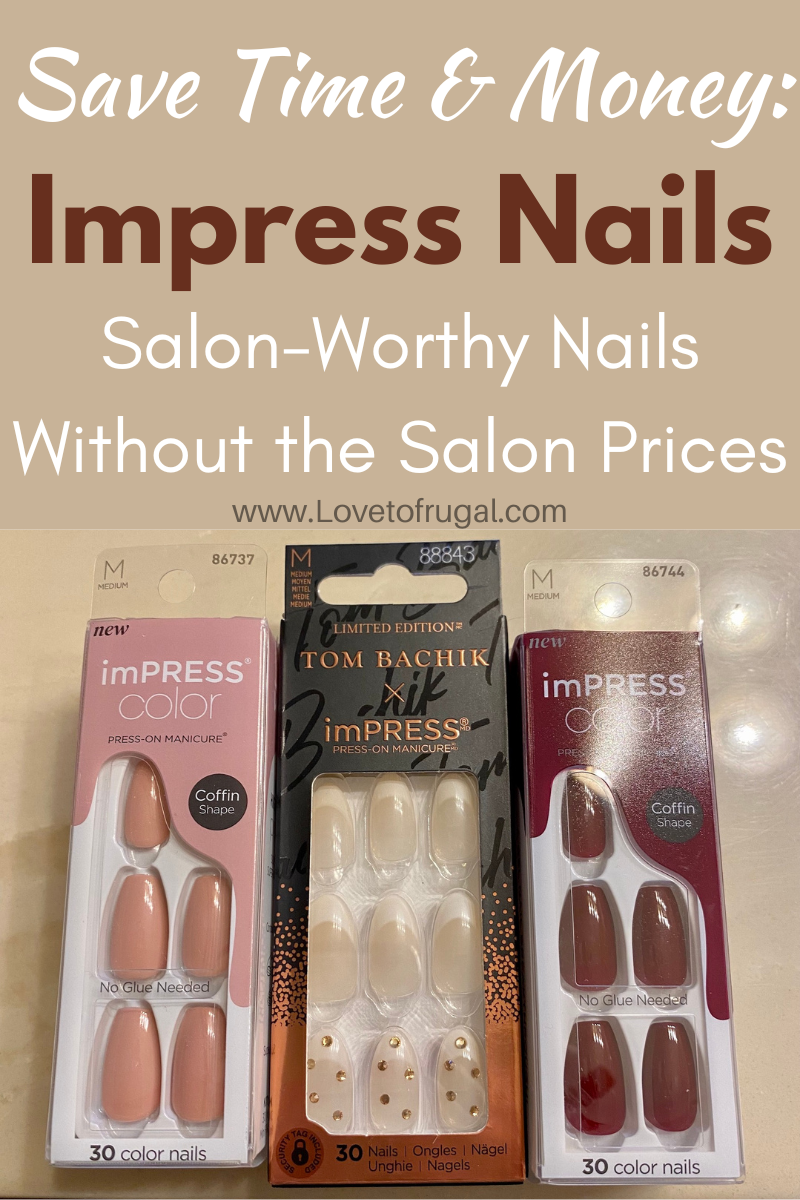
Achieve A Frugal Manicure With Impress Nails
Get ready to achieve a beautiful, frugal manicure with Impress nails. Today, we’re delving into the secrets of salon-worthy nails without the hefty price tag! Welcome to our guide on getting a frugal manicure using Impress press-on nails! In this post, we’ll walk you through the budget-friendly, hassle-free method of achieving a salon-quality look right at home. With a focus on cost-effectiveness, we’ll delve into the world of frugal nail care using Impress nails, and discover how you can enjoy gorgeous nails without breaking the bank.
In recent years, the popularity of at-home manicures has skyrocketed, thanks in part to the introduction of Impress nails. These press-on nails offer a convenient and affordable alternative to traditional salon manicures, but that’s not the only reason why they are better than going to the nail salon. In this post, I’ll give you a few reasons why you might want to consider Impress nails the next time you want a fresh manicure.
*This post may contain affiliate links, which means that if you buy a suggested product, I will earn a small commission, at no extra cost to you. For more information, see my disclosure page.
Save Money and Look Great: How to achieve a beautiful yet frugal manicure with impress nails
Time and Convenience
The first reason why Impress nails are better than going to the nail salon is their convenience. Traditional salon manicures can take up a lot of time, and you may have to wait for an appointment. With Impress nails, you can have a salon-quality manicure in just minutes, and you can do it from the comfort of your own home. All you need to do is remove the adhesive backing from the nail, press it onto your natural nail, and you’re done. The nails are pre-designed and pre-shaped, which means you don’t need to worry about filing, shaping, or painting them yourself. This makes them an ideal option if you have a busy schedule or if you’re short on time.
Cost Savings
One of the key advantages of Impress nails is their affordability. Unlike a salon manicure, which can be costly, Impress nails allow you to achieve a frugal solution that doesn’t compromise on style.
A single pack of impress nails usually costs less than $10, and you can use them multiple times before needing to replace them. In contrast, a salon manicure can cost upwards of $20 to $60 or more depending on where you live and the type of service you’re getting. This makes Impress nails a great option if you’re on a budget or if you simply want to save some money.
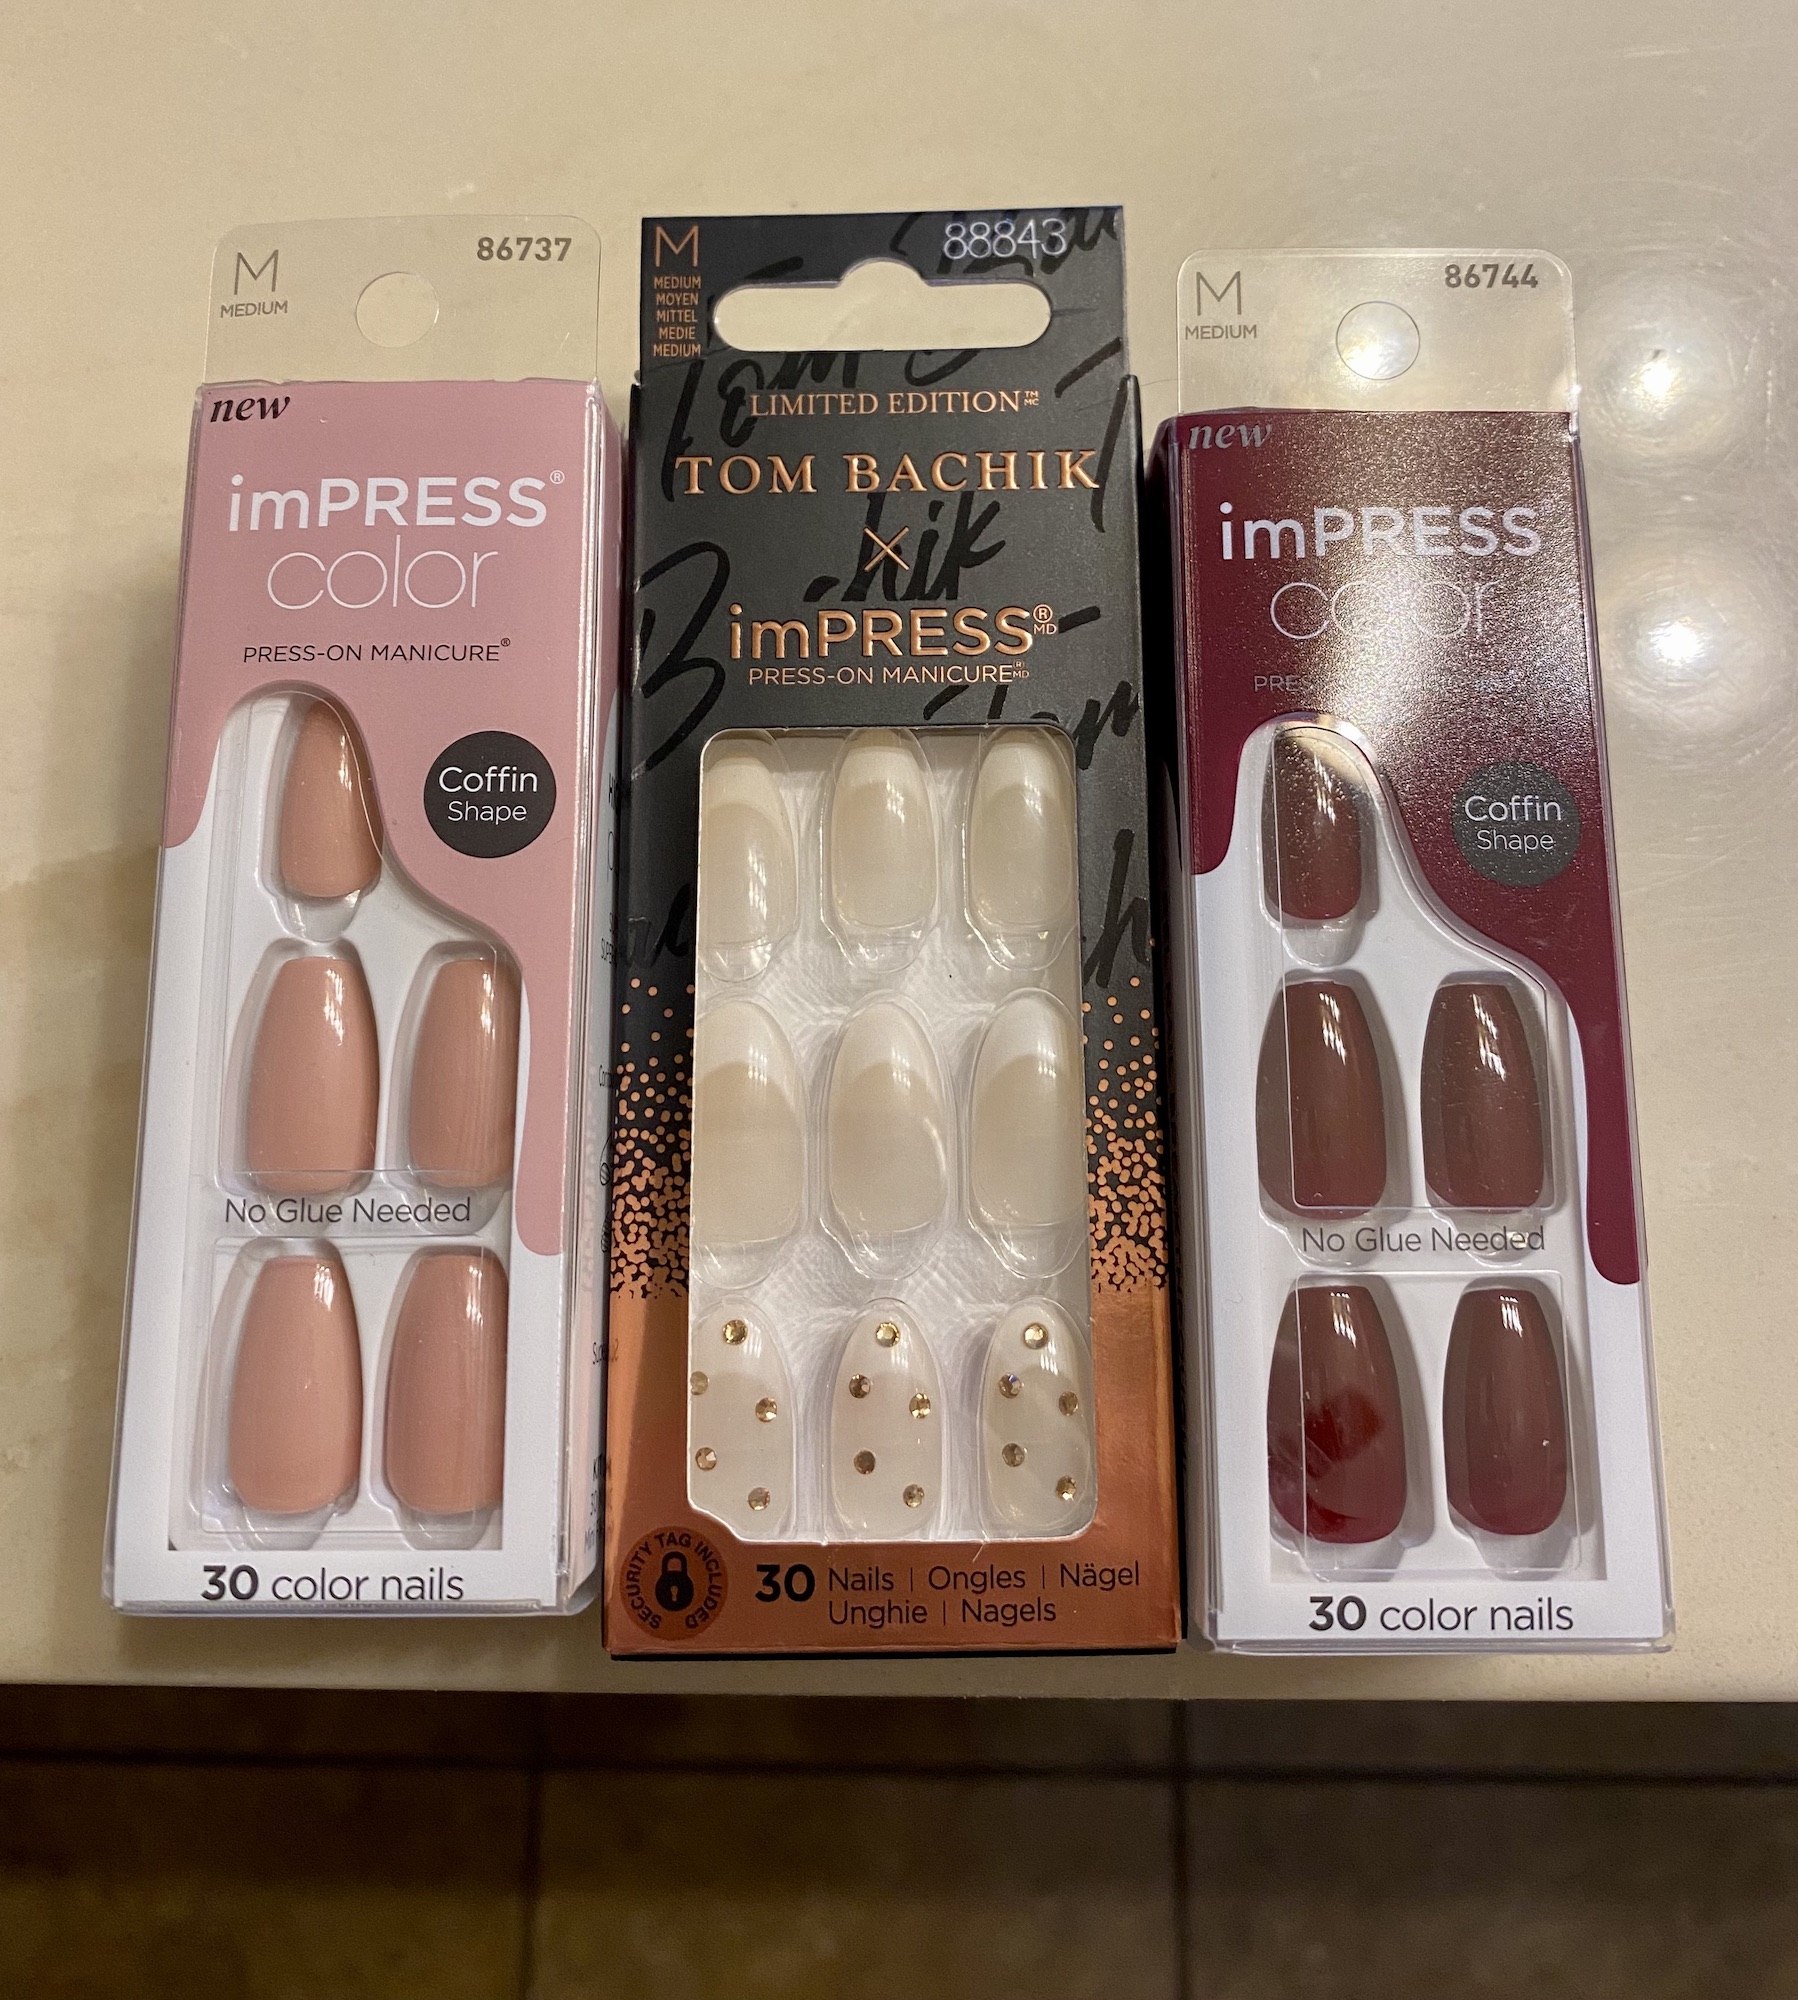
Variety of Styles and Color
Impress nails offer a wide range of styles, lengths and colors to choose from. This allows you to find the perfect match for any occasion or outfit. From bold and colorful to simple and elegant, there’s something for everyone. Plus, you can mix and match different sets to create your own unique look. This is particularly great for people who like to experiment with different nail designs and colors, or those who like to change their nails to match their outfit. In contrast, traditional nail salons may have a limited selection of nail polish colors or designs. This can be frustrating if you have a specific look in mind.
Availability
Another reason I love these nails is their availability! You can find them on Amazon as well as Walmart! I have even found them at my local grocery store (HEB here in Texas). For about the same price, you can even order them directly from the Impress website.
No Damage to Natural Nails
My favorite reason why Impress nails are better than traditional salon manicures is that they are less damaging to your natural nails. Traditional salon manicures often require filing and buffing of the natural nails, which can weaken them over time. In contrast, impress nails are completely safe and do not require any filing or buffing of the natural nails. This means that your natural nails remain healthy and strong, even after multiple applications of Impress nails.
Personally, I prefer using the nails that have the adhesive backing as opposed to the ones that use nail glue. If you notice on the box, you get 30 nails with the backing. With the nails that come with glue, you get 28 nails. Not sure why, but be aware when choosing the ones you want, that there is a difference.
Long-Lasting Results
The final reason why impress nails are better than traditional salon manicures is their longevity. Impress nails are designed to last for up to a week, so you can enjoy your fresh manicure for longer than you would with traditional nail polish. The press-on design also means that they are less likely to chip or peel, which can be a common problem with traditional nail polish. This is particularly great for people who lead busy lives and don’t have time to constantly touch up their nails. With impress nails, you can have a beautiful, long-lasting manicure that requires minimal maintenance.
**PRO TIP** If you really want to extend the life of your manicure, use gloves when doing the dishes or if you know your hands will be in warm/hot water for en extended amount of time.
Here’s a step-by-step guide on how achieve a frugal & beautiful manicure with impress nails:
Materials Needed:
- Impress Nails set
- Nail file
- Rubbing alcohol or nail polish remover
- Cotton balls or pads
Step 1: Prep Your Nails
Before applying the Impress nails, you need to prep your natural nails. Start by washing your hands with soap and water to remove any dirt or oil. Then, use a nail file to shape and buff your natural nails. This will help the Impress nails adhere better to your natural nails. If your natural nails have any polish on them, use rubbing alcohol or nail polish remover to remove it.
There are instructions in each box that will also instruct you how to prep your nails. They also come with an alcohol prep pad, as well as an orange wood stick.
Step 2: Choose the Right Size
Impress nails come in a variety of sizes, so it’s important to choose the right size for each nail. Hold up the impress nail to your natural nail and choose the size that fits best. If you’re unsure, it’s always better to choose a smaller size than a larger one.
**PRO TIP** When you find the right size for each nail, write down the number (size) that is on tab that coordinates with each nail. This way, when you get ready put on another set, you will know what size you need for each nail.
Step 3: Peel Off the Adhesive Backing
Each impress nail has an adhesive backing that you need to peel off. Start by peeling off the clear plastic tab at the base of the nail. Then, hold the Impress nail by the sides and peel off the remaining adhesive backing.
Step 4: Apply the Impress Nail
Once you’ve peeled off the adhesive backing, align the impress nail with your natural nail. Start by pressing down on the middle of the nail, and then press down on the sides. Make sure the nail is centered and flush with your natural nail.
Step 5: Press and Hold
After applying the impress nail, press down firmly on the nail for 30-60 seconds. This will help the adhesive bond to your natural nail and ensure the impress nail stays in place.
Step 6: Repeat the above steps for each of your nails, one at a time
Remember to choose the right size for each nail, and to press and hold each nail firmly for 30-60 seconds.
Step 7: Trim and File
If necessary, use nail clippers to trim the impress nails to your desired length. Then, use a nail file to shape and smooth the edges of the nails. You can also buff the nails to give them a natural shine.
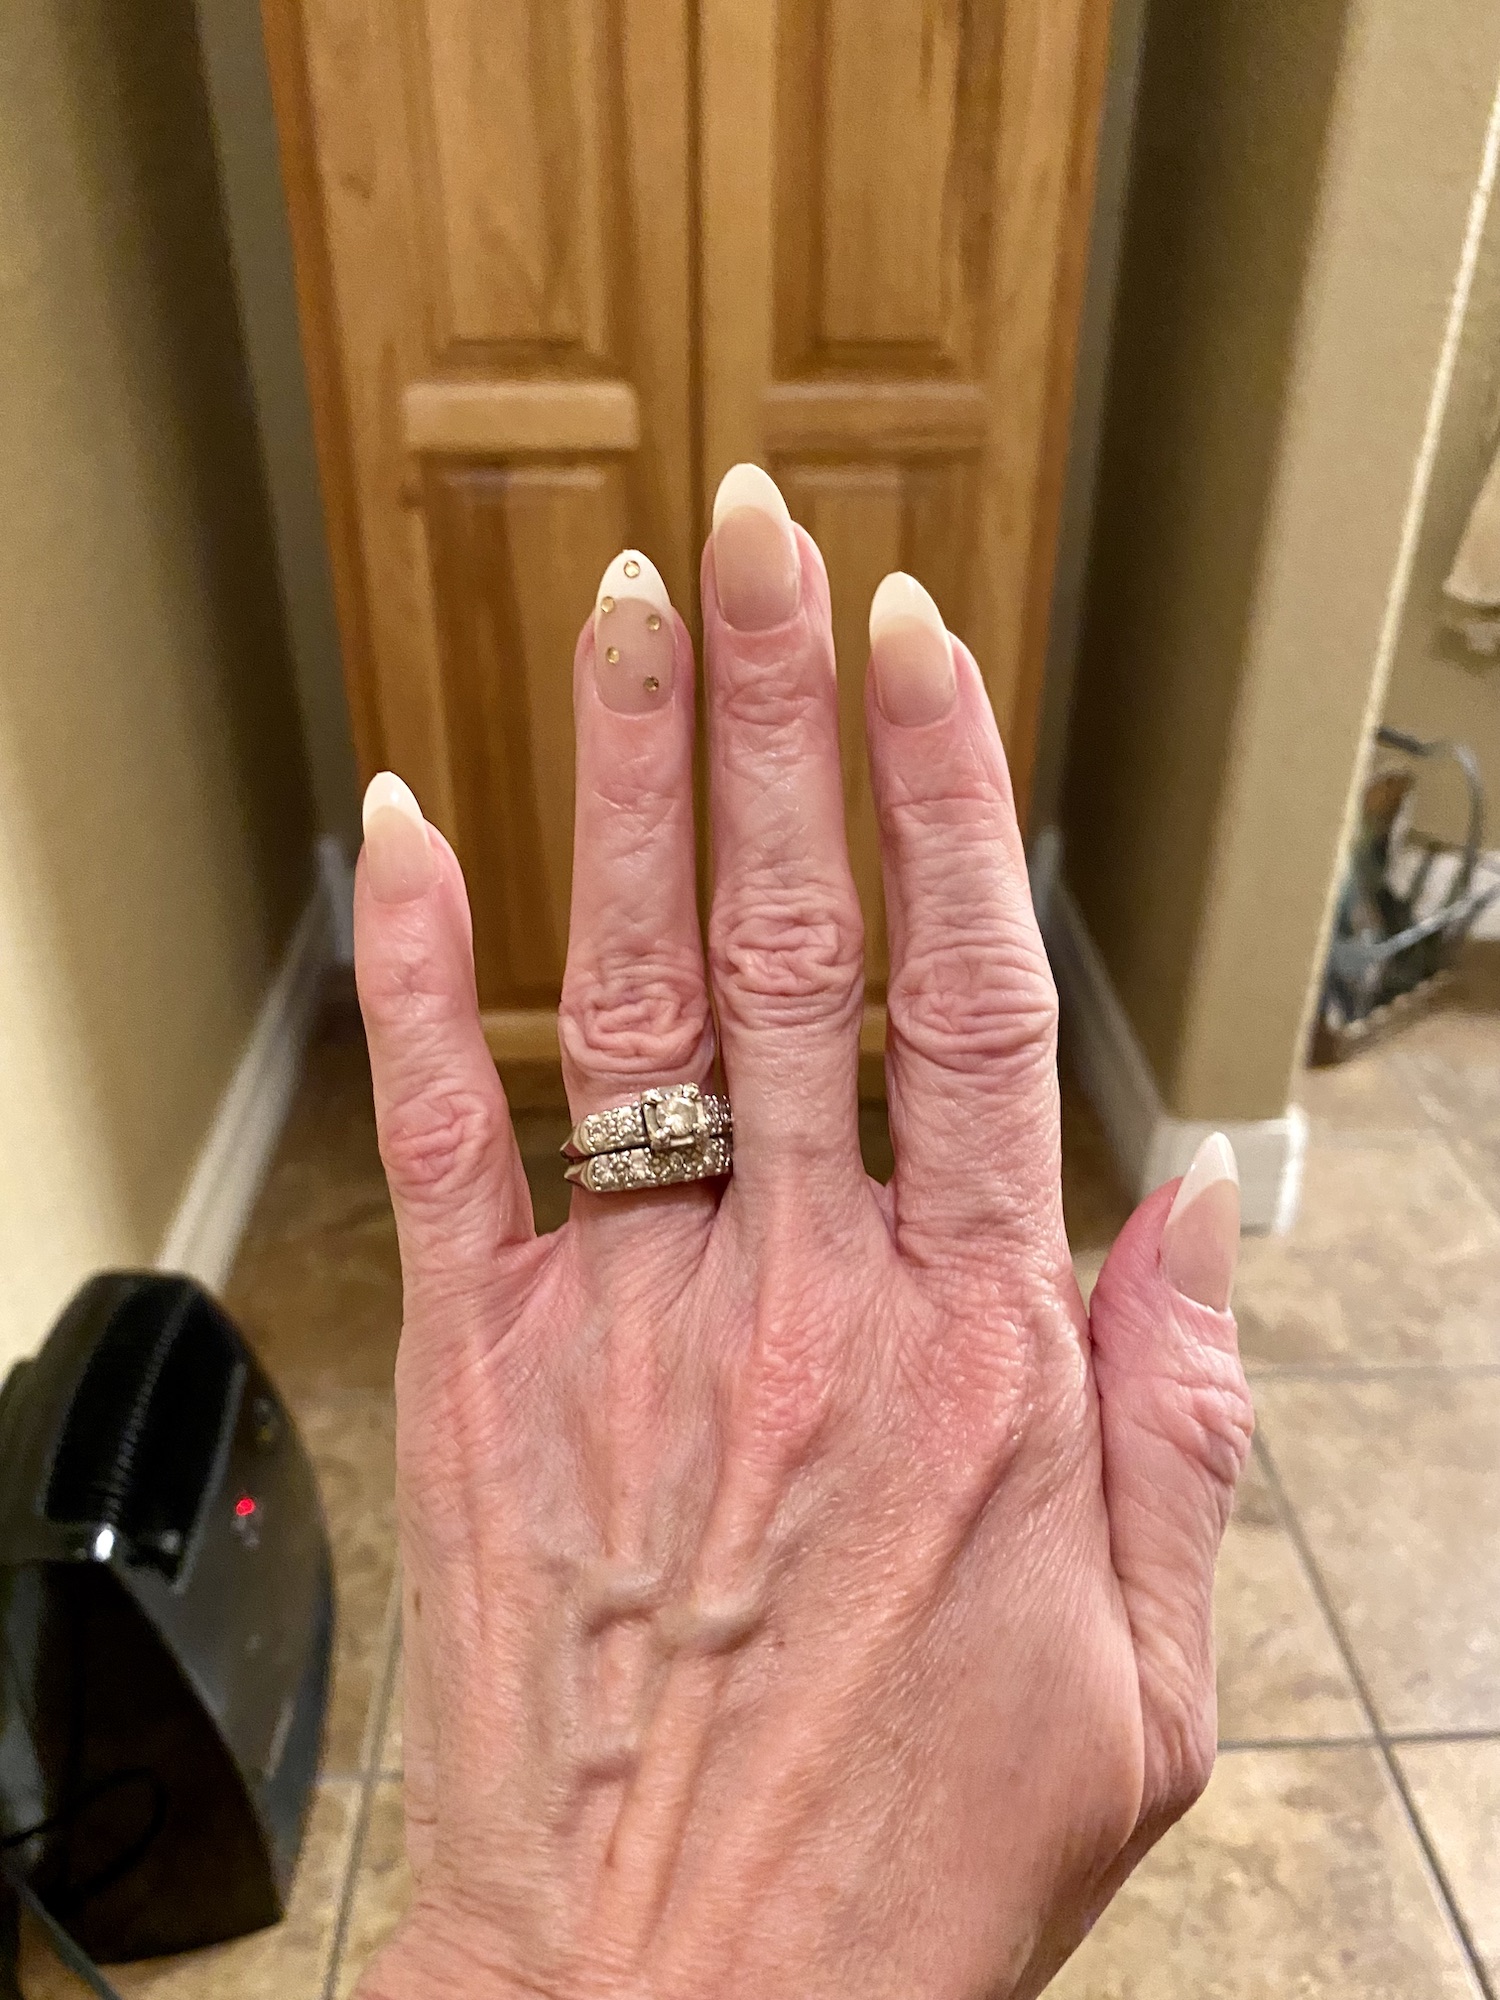
Step 8: Enjoy Your Beautiful New Nails!
Once you’ve applied and trimmed your impress nails, you’re ready to show off your beautiful new manicure! With proper care and maintenance, your Impress nails can last for up to a week (or maybe even longer)! This gives you plenty of time to enjoy your salon-quality manicure.
I have tested the length of these nails and the longest I have gotten out of each manicure has been 13 days. That’s a win in comparison to a traditional manicure. I also love the fact that when one has become loose or fallen off, I can replace a single nail in a matter of minutes. No appointment needed!
Removing your impress nails
Removing Impress press-on nails is a relatively straightforward and easy process. Here are the steps you can follow:
Soak your nails:
Fill a small bowl with warm water and add a few drops of soap or dish detergent. Soak your fingers in the soapy water for 5-10 minutes. This will help loosen the adhesive and make it easier to remove the press-on nails.
Remove the press-on nails:
After soaking, gently lift the edges of the press-on nails using a cuticle stick or orange stick. Be careful not to damage your natural nails. Once the edges are lifted, use a cotton pad or ball soaked in nail polish remover to dissolve the remaining adhesive. You can also use a cuticle oil or olive oil to help loosen the adhesive. Gently rub the nail with the cotton pad or ball until the press-on nail comes off.
Clean and moisturize your nails:
After removing the press-on nails, wash your hands with soap and water to remove any remaining adhesive. Then, apply a cuticle oil or moisturizing cream to your nails and cuticles to keep them healthy and hydrated.
In summary, Impress nails are a convenient, affordable, and stylish alternative to traditional salon manicures. They offer a wide range of colors and designs, don’t damage your natural nails, and last longer than traditional nail polish. Whether you’re short on time, on a budget, or simply looking for a change, impress nails are a great option to help you achieve a beautiful, yet frugal manicure from the comfort of your own home.
On a final note, be sure to subscribe to Love To Frugal so you never miss a post and make sure to follow me on Pinterest, Instagram & Facebook for even more money saving, frugal living tips!
Other posts you may be interested in:
Saving Money on Monthly Bills
Things I Stopped Buying To Save Money
How To Live A Fabulous Lifestyle On A Budget